Prepare this no-bake classic Italian dessert in just 35 minutes!
- Use true espresso for this tiramisu recipe, as it will yield the richest of flavors.
- Add a few tablespoons of coffee liqueur to give this dessert an extra coffee kick!
- This is a no-bake dessert, meaning it’s somewhat better for the planet as less energy is required!
- Let this tiramisu cake chill for a full 24 hours in order to bring out the richest flavors.
- Pair this classic tiramisu with a light roast coffee to bring out the espresso flavors of this decadent dessert.
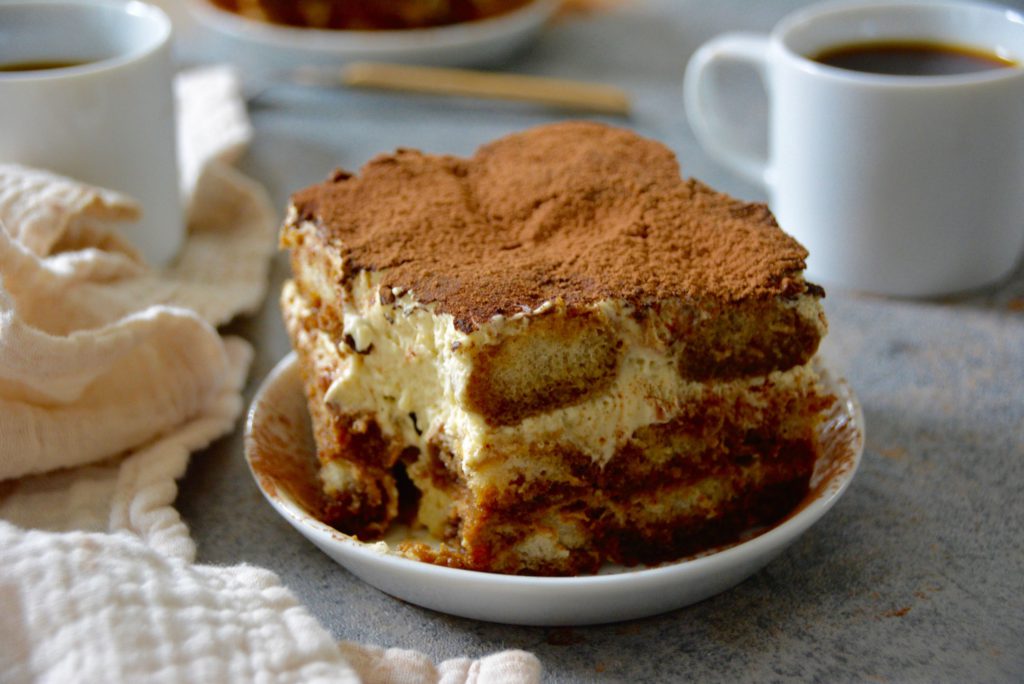
Meaning “pick me up” in Italian, tiramisu is a blend of espresso, mascarpone, ladyfingers, and cocoa. This decadent dessert is rich and stunning in design, and one that is often saved for special occasions in Italian households. But after making this particular classic Italian tiramisu recipe, you may want to consider adding it to your regular dessert list.
To make this tiramisu recipe even easier when it comes to the preparations (which is the majority of the work for this no-bake dessert), I’ve compiled a tiramisu grocery store checklist that you can find at the very bottom of the page. It will help you find the exact ingredients you need at the store, so your tiramisu turns out beautifully on the first try! Click here to jump right to it.
Read on for a few tips to making the best classic Italian tiramisu.
Let the eggs and mascarpone come to room temperature before hopping into this recipe.
Before jumping into this tiramisu recipe, take your eggs and mascarpone cheese out of the fridge. Allow them to sit on the counter for at least 15 minutes to bring them to room temperature.
This will allow you to mix these ingredients together more smoothly than if you just pull them out of the fridge and start prepping.
Use true espresso by making it or going to a local coffee shop to pick it up.
Another important tip for this recipe is to use true espresso shots for the 1 3/4 cup requirement. You can pull the espresso shots yourself at home if you have an espresso machine. It’s ideal to start pulling the shots while the eggs and mascarpone are being brought to room temperature.
This step will likely take about 15 minutes in order to grind the beans, pull the shot, and clean out the portafilter for the next shot. It took me much longer than I anticipated because 1 3/4 cup equals 14 ounces (equivalent to 7 double shots!).
If you don’t have an espresso machine, go to your local coffee shop and buy 7 shots of espresso. This is also a big time-saver, if you don’t want to spend the time pulling the shots at home.
Avoid using cake-like ladyfingers because they will fall apart when dipping.
You can find for class Italian ladyfingers (Savoiardi in Italian) at most grocery stores. If you buy them from the store, it’s likely they are firm enough for this recipe.
I used Whole Foods Organic Ladyfingers, and they were just the right firmness. They didn’t fall apart, and they had a great flavor in this tiramisu recipe. I ended up using two packages minus 5 or 6 individual ladyfingers.
To help you find the right type of ladyfingers when you’re out at the store, you can download my free Tiramisu Grocery Checklist & Recipe Cards found at the bottom of this page.
A mesh strainer works beautifully to dust the cocoa powder if you don’t have a sifter.
I’m all about substituting and making do with what I have, thanks to my mom’s teachings growing up. Whenever we didn’t have an ingredient for a recipe, there was no need to panic because there was always a substitution for it!
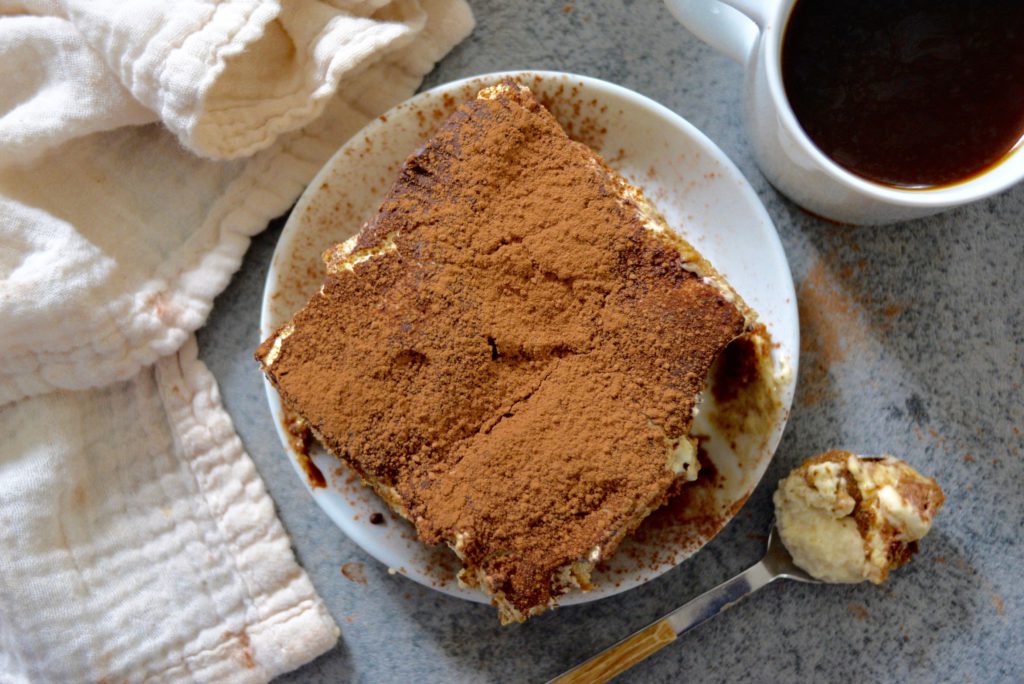
In this case, if you don’t have a sifter (which I do not), you can just as easily use a fine mesh strainer to dust the cocoa powder over the bottom and top of the tiramisu. It works beautifully!
Add a few tablespoons of coffee liqueur to give this dessert an extra coffee kick!
If you’re anything like Prue Leith of “The Great British Bake Off,” then you enjoy an extra kick in your desserts. With this tiramisu recipe, I found that Jägermeister Cold Brew Coffee wonderfully complements the flavors in this Italian dessert.
Just add 1 to 2 tablespoons in addition to the rum that’s asked for in the espresso mixture. To be quite honest, it didn’t make it too boozy, but offered an extra layer of flavor to this dessert.
Pair this classic tiramisu with a light roast coffee to bring out the espresso flavors of this decadent dessert.
While this dessert is already brimming with plenty of espresso, I want to offer a coffee pairing recommendation because that’s what I do. Because tiramisu is so rich and decadent, I recommend going with a light roast coffee with a tea-like body. For a specific pick, try Passenger Coffee’s Heza. It boasts of raspberry, black tea and apricot tasting notes.
This delicate kind of texture and flavor will contrast the richness of the cream and cocoa of the tiramisu. It’s a lovely balance that I highly recommend. But enjoy this pairing in the morning because light roasts tend to have high caffeine content!
Allow the tiramisu to chill for a full 24 hours — it’s worth it.
I know it’s difficult, but do your best to refrain from pulling the tiramisu out of the fridge any earlier than the 24 hour mark. In order for the flavors to fully soak and properly marinate, one full day is really necessary.
While you certainly can pull the tiramisu out of the fridge at the 4-hour mark when in a pinch, it won’t quite be the same as if you had waited the full 24 hours. Be patient, I promise it’s worth it.
Enjoy this no-bake classic Italian tiramisu while also preserving our planet!
What’s great about this classic Italian tiramisu recipe is that it doesn’t require any baking. It’s the ideal dessert for those hot summer months when you don’t want to heat up the house. You just need access to a refrigerator and a stove.
Plus, considering we’ll be soon celebrating Earth Day (April 22), making tiramisu is a wonderful way to reduce your carbon footprint ever so slightly! Small actions are in fact what add up to start making big changes (see this post on how to make your coffee more eco-friendly).
Show me your brewtiful dessert masterpieces on Instagram @bakedbrewedbeautiful!
When you’ve finished with your tiramisu, post a pic and tag me on Instagram @bakedbrewedbeautiful or use the hashtag #bakedbrewedbeautiful, so I can see your brewtiful Italian desserts!
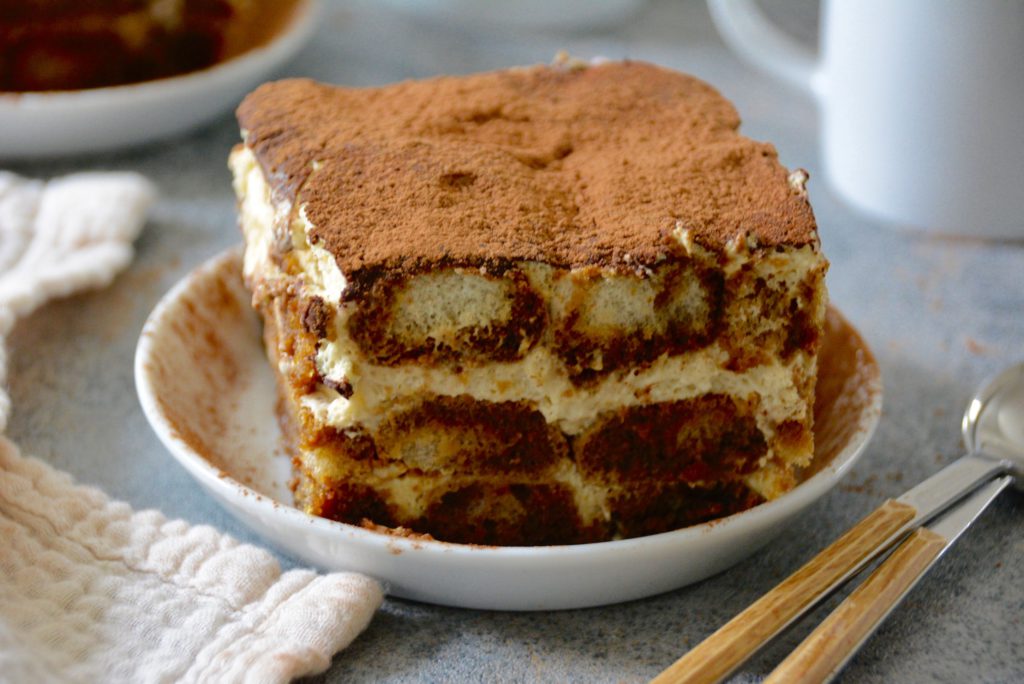
I love to talk baking, so if you had any issues with your tiramisu too, feel free to send me a message or reply with a comment below!
Best Classic Italian Tiramisu Recipe
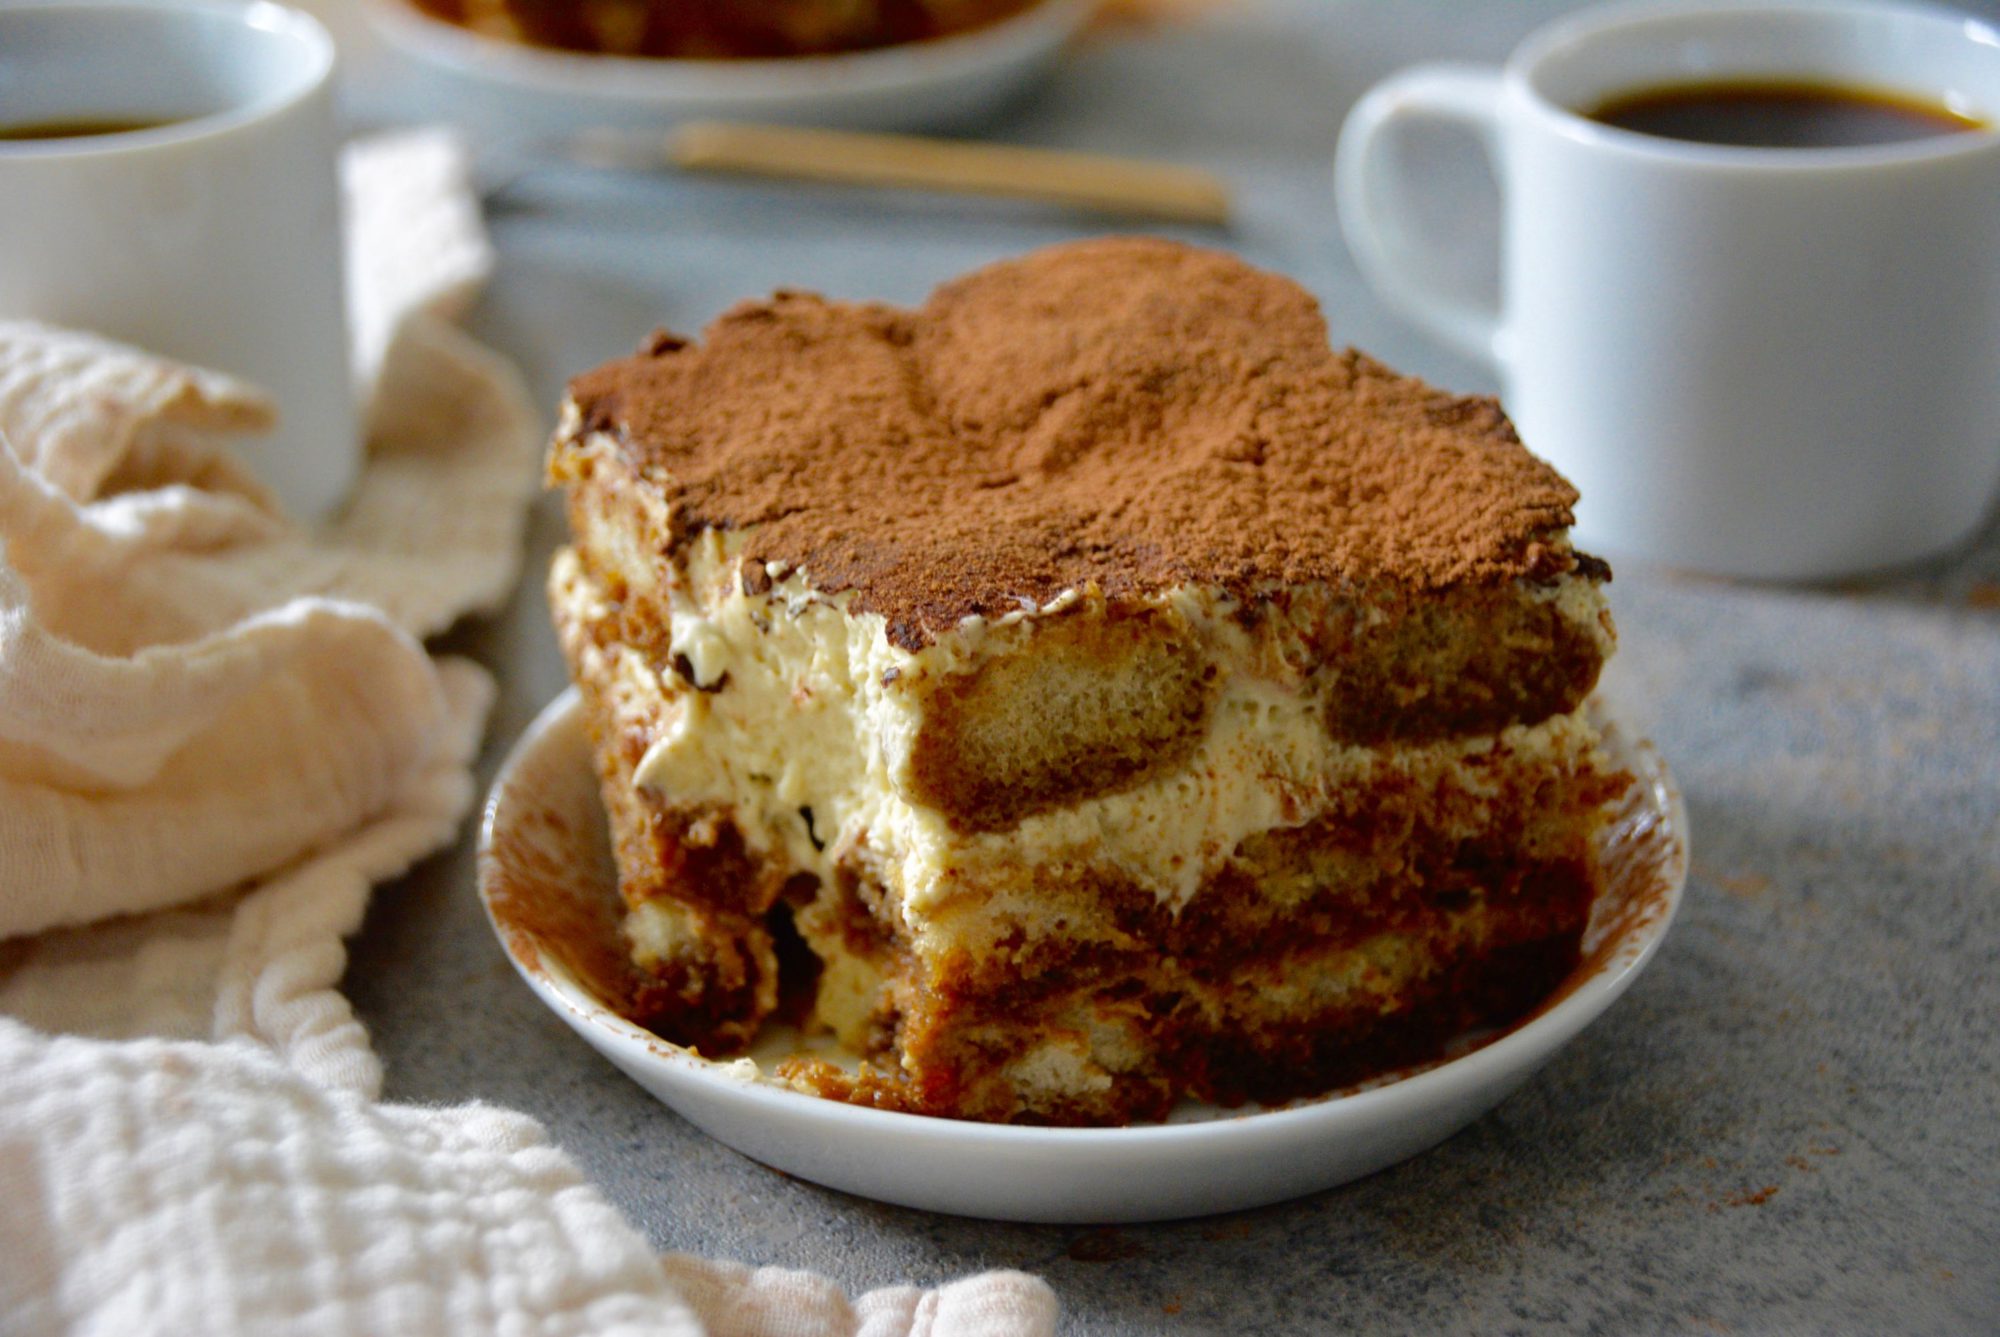
Get my Tiramisu Grocery Store Checklist & Recipe Card to get all of the ingredients you need for this recipe! Find it at the very bottom of the page.
Using a double boiler or two nearly equal-sized pots (or you can use a stovetop pot and a heat-proof bowl), bring one inch of water to a boil in one of the pots. Bring the water to a simmer and place the second pot on top of the first pot. Ensure that the top pot is not touching the water.
Place the egg yolks and the superfine sugar into the top pot (or bowl if using) of the double boiler, and whip the ingredients together with a whisk for 10 minutes. The mixture will start to thicken, and this will be your sabayon. Remove the top pot from heat and turn off the stove. Continue to whisk the egg mixture to help it cool down. At this stage, the sabayon should be which and have a light yellow color. Let it cool some (10 minutes) before moving to the next step.
Add the room temperature mascarpone to the whipped eggs mixture, and mix until combined. Be careful to not over mix. Set aside and proceed to the whipped cream layer.
In a medium bowl, add the heavy whipping cream and the 1/2 cup of sugar. Using a stand mixer, whisk until soft-medium peaks form. Taste and add more sugar if desired.
Slowly, fold the whipped cream into the sabayon just until combined.
Combine the espresso, rum, and the coffee liqueur (optional) in a shallow bowl. Set aside.
Prepare a 8 x 8 inch baking pan by dusting the bottom with 1 tablespoon of cocoa powder. Use a sifter or a mesh strainer to get an even dusting.
Dip one (only one!) ladyfinger into the espresso mixture just so it's fully coated in the liquid and quickly pull it out and place on the bottom of the prepared baking pan (rounded side up). Repeat this step working with only one ladyfinger at a time until there is an even layer on the bottom of the pan.
Note: Ladyfingers are quite porous and will easily break apart if left in the liquid mixture for too long, so that's why I stress working with one at a time.
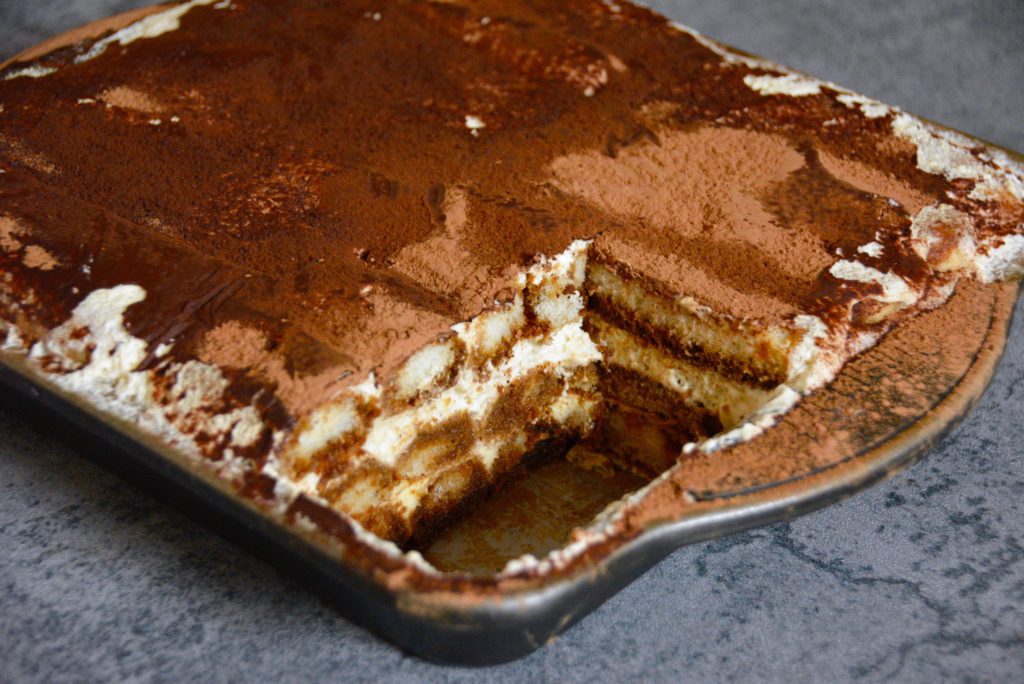
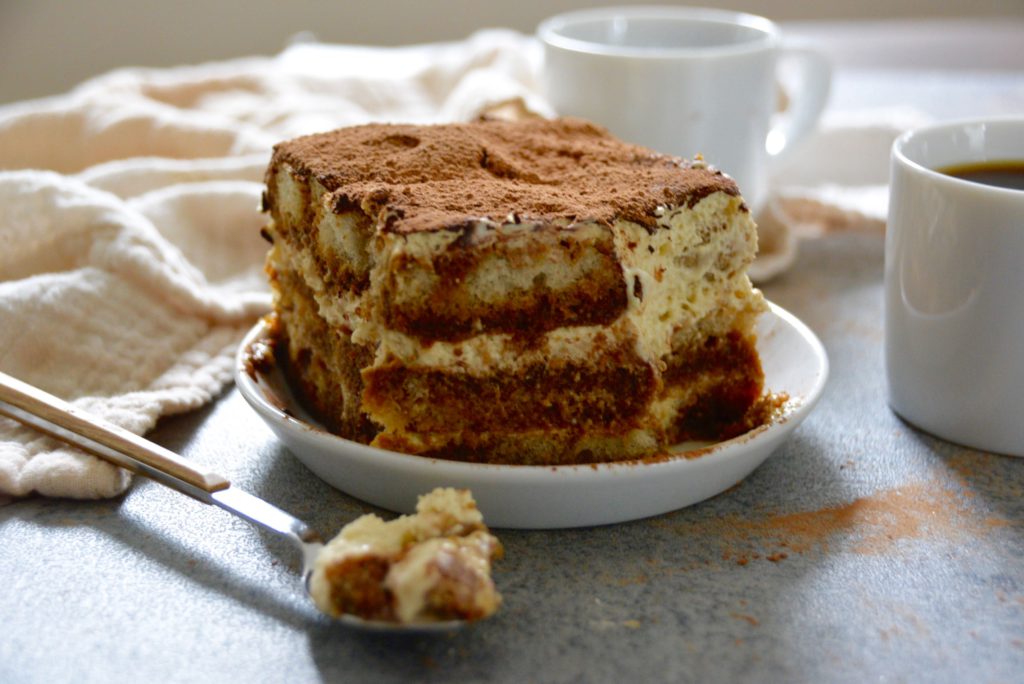
When you have an entire layer of ladyfingers, spread 1/3 of the sabayon mixture over the ladyfingers. On top of this layer, add another layer of dipped ladyfingers followed by another layer of sabayon. Repeat this once more. You should have three layers of ladyfingers and 3 layers of sabayon. The 3rd layer of sabayon will be the top layer. Lastly, dust the top layer with the remaining cocoa powder using a sifter.
Cover the pan entirely with plastic wrap. It's okay if the plastic touched the top layer, as the cocoa powder acts as a protective layer here. Refrigerate for at least 4 hours before serving. For best results, let it chill in the fridge for 24 hours.
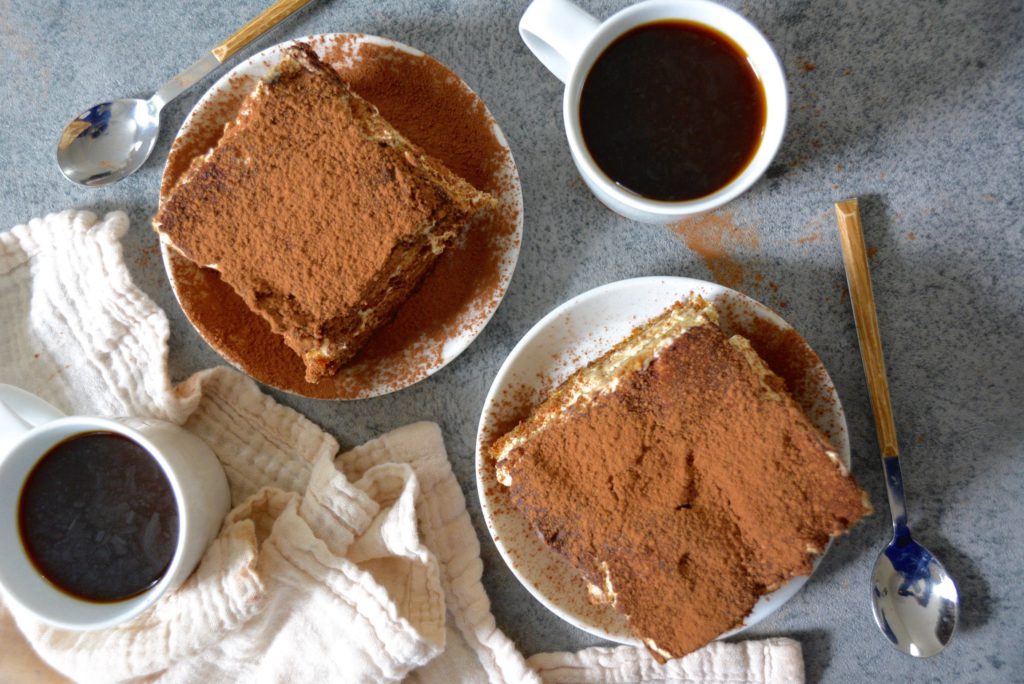
After the tiramisu has chilled, gently remove the plastic wrap, slice, and serve with a cup of light roast coffee - bon appetit !
Ingredients
Directions
Get my Tiramisu Grocery Store Checklist & Recipe Card to get all of the ingredients you need for this recipe! Find it at the very bottom of the page.
Using a double boiler or two nearly equal-sized pots (or you can use a stovetop pot and a heat-proof bowl), bring one inch of water to a boil in one of the pots. Bring the water to a simmer and place the second pot on top of the first pot. Ensure that the top pot is not touching the water.
Place the egg yolks and the superfine sugar into the top pot (or bowl if using) of the double boiler, and whip the ingredients together with a whisk for 10 minutes. The mixture will start to thicken, and this will be your sabayon. Remove the top pot from heat and turn off the stove. Continue to whisk the egg mixture to help it cool down. At this stage, the sabayon should be which and have a light yellow color. Let it cool some (10 minutes) before moving to the next step.
Add the room temperature mascarpone to the whipped eggs mixture, and mix until combined. Be careful to not over mix. Set aside and proceed to the whipped cream layer.
In a medium bowl, add the heavy whipping cream and the 1/2 cup of sugar. Using a stand mixer, whisk until soft-medium peaks form. Taste and add more sugar if desired.
Slowly, fold the whipped cream into the sabayon just until combined.
Combine the espresso, rum, and the coffee liqueur (optional) in a shallow bowl. Set aside.
Prepare a 8 x 8 inch baking pan by dusting the bottom with 1 tablespoon of cocoa powder. Use a sifter or a mesh strainer to get an even dusting.
Dip one (only one!) ladyfinger into the espresso mixture just so it's fully coated in the liquid and quickly pull it out and place on the bottom of the prepared baking pan (rounded side up). Repeat this step working with only one ladyfinger at a time until there is an even layer on the bottom of the pan.
Note: Ladyfingers are quite porous and will easily break apart if left in the liquid mixture for too long, so that's why I stress working with one at a time.
When you have an entire layer of ladyfingers, spread 1/3 of the sabayon mixture over the ladyfingers. On top of this layer, add another layer of dipped ladyfingers followed by another layer of sabayon. Repeat this once more. You should have three layers of ladyfingers and 3 layers of sabayon. The 3rd layer of sabayon will be the top layer. Lastly, dust the top layer with the remaining cocoa powder using a sifter.
Cover the pan entirely with plastic wrap. It's okay if the plastic touched the top layer, as the cocoa powder acts as a protective layer here. Refrigerate for at least 4 hours before serving. For best results, let it chill in the fridge for 24 hours.
After the tiramisu has chilled, gently remove the plastic wrap, slice, and serve with a cup of light roast coffee - bon appetit !
Grab my FREE Tiramisu Grocery Store Checklist To Make Baking Prep Super EASY
Subscribe to my newsletter to receive exclusive access to my FREE resource library & grab this Tiramisu Grocery Store Checklist & Recipe Card.
PLUS, be the first to grab bonus recipes and other awesome coffee pairing freebies. Sign up below!






It was really good; especially with coffee!