Brew a clean cup of coffee using an AeroPress and choose from one of these four popular brew methods.
- The AeroPress is a brewing instrument that has a loyal fanbase due to its resulting clean cup of coffee.
- There are 4 popular methods for making coffee with an AeroPress.
- AeroPress generally uses a coffee to water ratio of 1:13.
- The basic method, the inverted method, the pour over method, and the cold brew method are a few of the ways to brew coffee with the AeroPress.
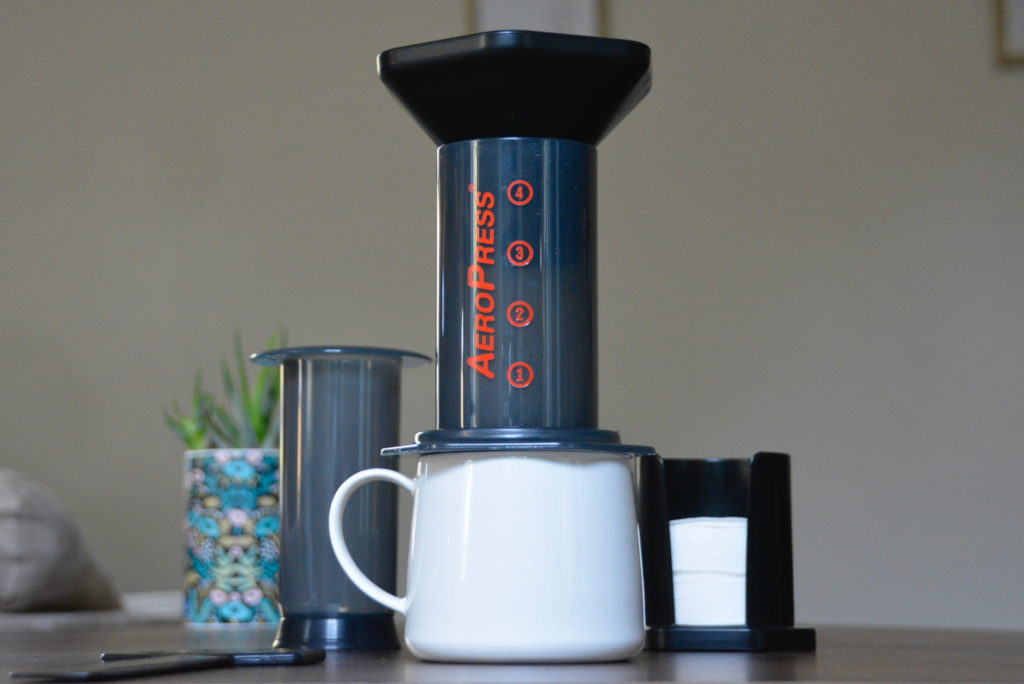
When it comes to coffee brewing, there are many alternative brew methods from Chemex and French Press to espresso machines and moka pots. Another brew method that has a loyal fanbase due to its clean-tasting coffee is the AeroPress. The AeroPress is a coffee brewing instrument invented by Alan Adler that consists of two nesting cylinders that ultimately brews espresso-strength coffee. The coffee is forced through a filter by pressing the plunger through one of its cylinders.
Though it looks somewhat complicated, using an AeroPress really is not hard as long as you have a good guide which is what you’ll find here. The AeroPress actually can be used in several different ways to get a number of different coffee beverages. This is another reason why a lot of people like this coffee brewing device. Below you’ll find the most frequently used methods for making coffee using an AeroPress.
Download My FREE AeroPress Brew Guide for BONUS Brew Tips
Subscribe to my newsletter (free!) & get instant access to my FREE resource library to grab my AeroPress brew guide!
PLUS find bonus coffee tutorials, recipes & brew guides that don’t get posted here on the blog!
The Basic Method
This AeroPress brewing method yields espresso-style coffee, meaning that the coffee made is highly concentrated. I write espresso-style here in lieu of espresso because the coffee made from an AeroPress is certainly not as strong as an espresso pulled from an espresso machine.
The basic method is best for making a single cup of coffee. For best results when making multiple cups, see the inverted method below.
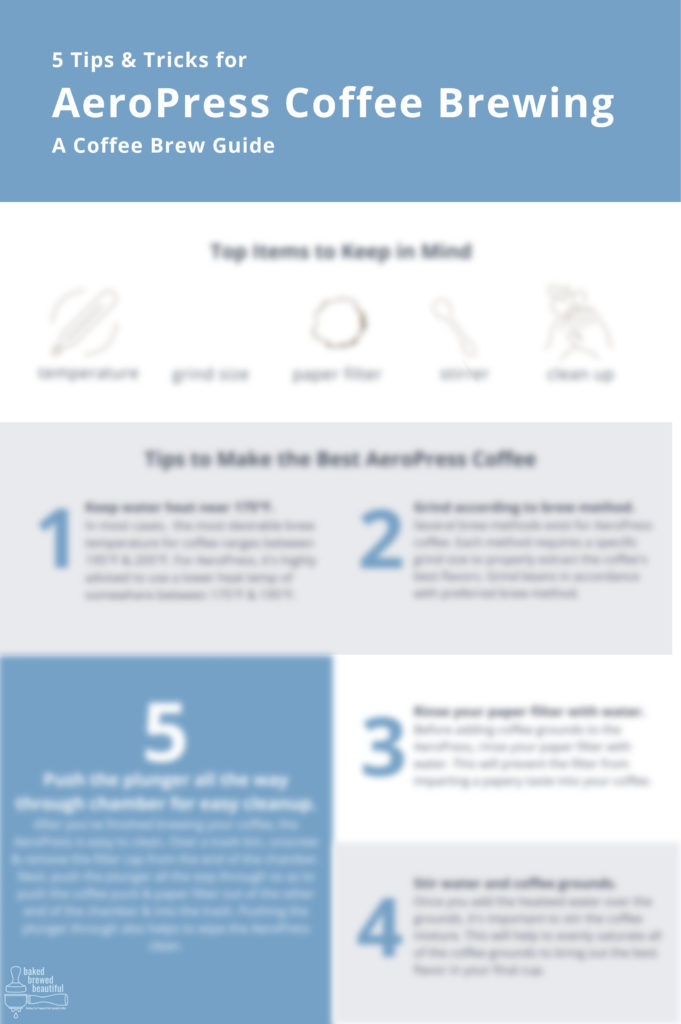
Begin by heating 1 cup of water to somewhere in between 175°F – 195°F.
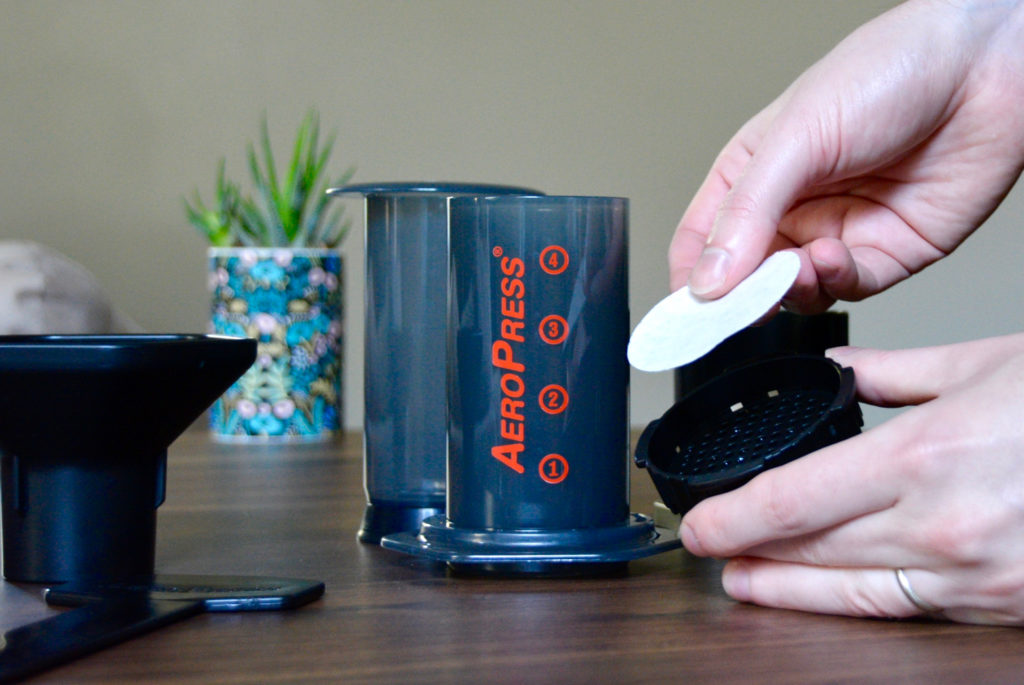
Before anything, start heating your water to about 175°F – 195°F. Use about 1 cup of water or 236 grams. Next, separate the plunger (the smaller cylinder with the seal at the end) from the chamber (the larger cylinder). Then, place the paper filter inside of the filter cap and twist the cap onto the chamber.
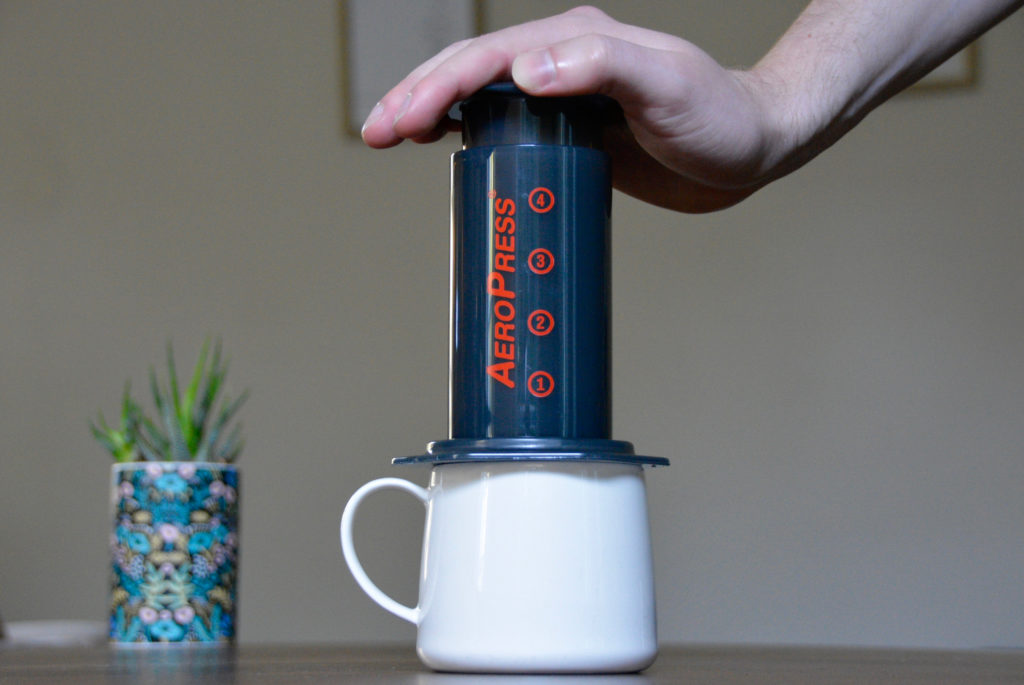
Assemble the AeroPress like normal by standing the chamber onto your mug or server.
Next, place the chamber onto your mug with the filter cap essentially resting on top of your mug. While the water continues to heat, measure out and grind your beans.
Grind 15 grams of beans to a fine grind.
For this method, it’s important to grind your beans to a fine grind. The grinds should resemble table salt. Pour the finely ground coffee into the chamber (use the funnel to prevent spills).
Stir the water and the coffee grounds together and let rest for about a minute.
Add the heated water over the grounds up to the number 1 line on the chamber. Stir the water and coffee grounds for about 10 seconds and allow the mixture to rest for about a minute.
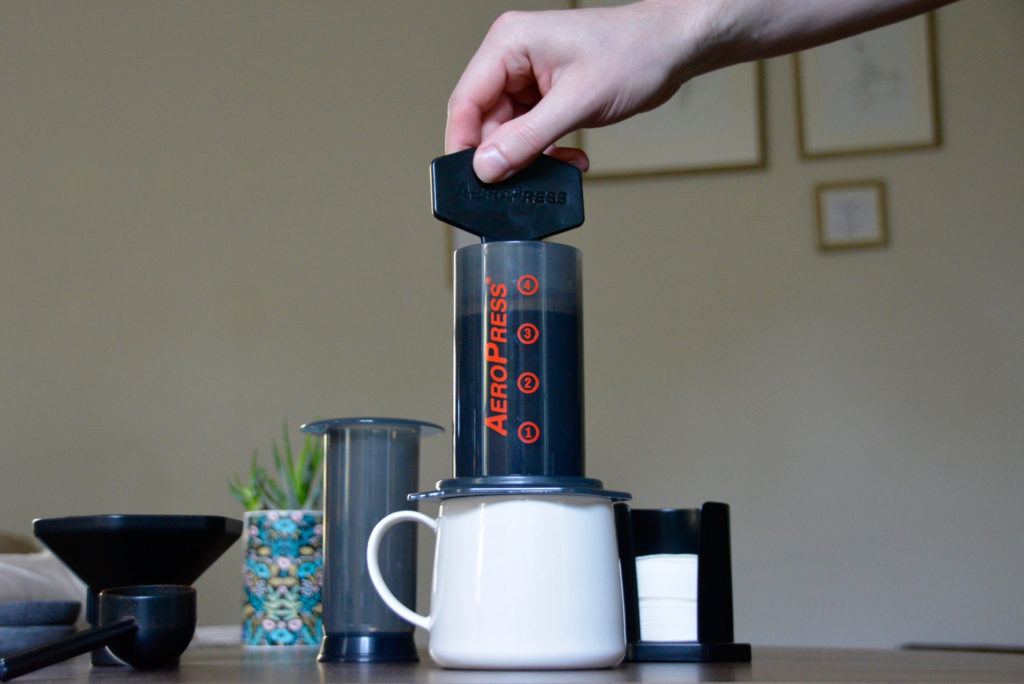
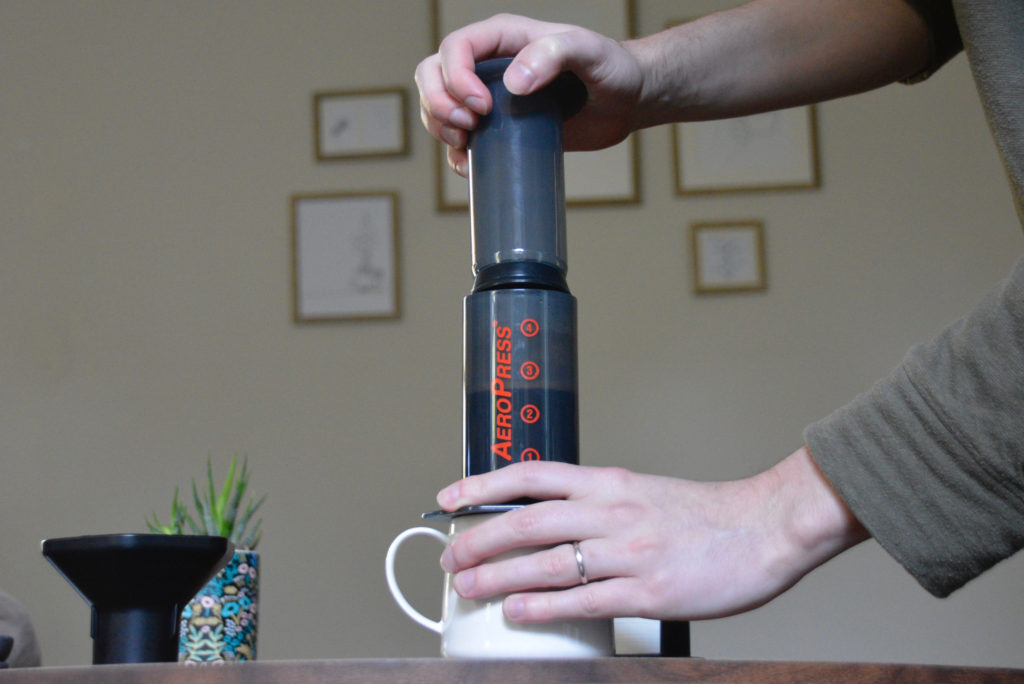
Place the plunger with the seal side down into the top of the chamber.
After the brief resting period, insert the plunger into the chamber. Slowly, press the plunger down. It’s essential to do this step slowly, as the the hot water can splash or spill out. Stop pressing on the plunger when you hear an audible hissing sound.
Remove the AeroPress from the mug and enjoy as an espresso, Americano, or latte.
The coffee should now be dispersed into your mug or server. There will be a very small amount of coffee because this method yields an espresso-style concentrate. If you’d like to make it into an Americano, add hot water directly to the concentrate until it reaches 8 ounces in total.
To make the espresso concentrate into a latte, add foamy or frothy milk until the serving reaches 8 ounces. You can use an electric frother or even a mason jar and a microwave to make foamy milk. See this post for further instructions on foaming milk without a fancy machine!
The Inverted Method (AKA The Dilution Method)
The dilution method (or the inverted method) is ideal for brewing multiple cups of coffee. It’s also my preferred brewing method because I like the stronger concentrate this method yields. This is due to the method’s ability to ensure a longer steep time. This method also results in a slightly different flavor than in the basic method because of the longer steep combined with the element of pressure that the AeroPress is well-known for in the coffee industry.
Want to get it right the first time around?
Sign up for my email list to receive my free AeroPress brew guide and be the first to gain access to more brew guides and other awesome coffee freebies.
To assemble the AeroPress in the inverted style, place the plunger (seal side up) on the counter first.
Begin by placing the plunger (seal side up) on your counter. Next, place the main chamber over the seal of the plunger (just so the chamber covers the seal) with the filter cap side facing up towards the ceiling.
Note that you should not yet place the paper filter or the filter cap on the end of the chamber yet, as you need to have an opening at the top to place your grounds and water. If done properly, the chamber should balance on top of the plunger.
Place your coffee grounds into the chamber first (about 40 grams).
Heat your water at this time to 175°F – 190°F, and grind 40 grams of coffee beans. The grounds should be quite fine for this method and should resemble table salt just as in the basic method. Place the grounds in the chamber’s opening.
Pour about the heated water over the grounds.
Once the water is ready, add the 1 cup of heated water over the grounds. After you’ve added the water, stir the grounds so all of grounds get evenly saturated to properly extract the best flavor from your beans. Now, you’ll wait about 2 or 3 minutes to allow the grounds to steep.
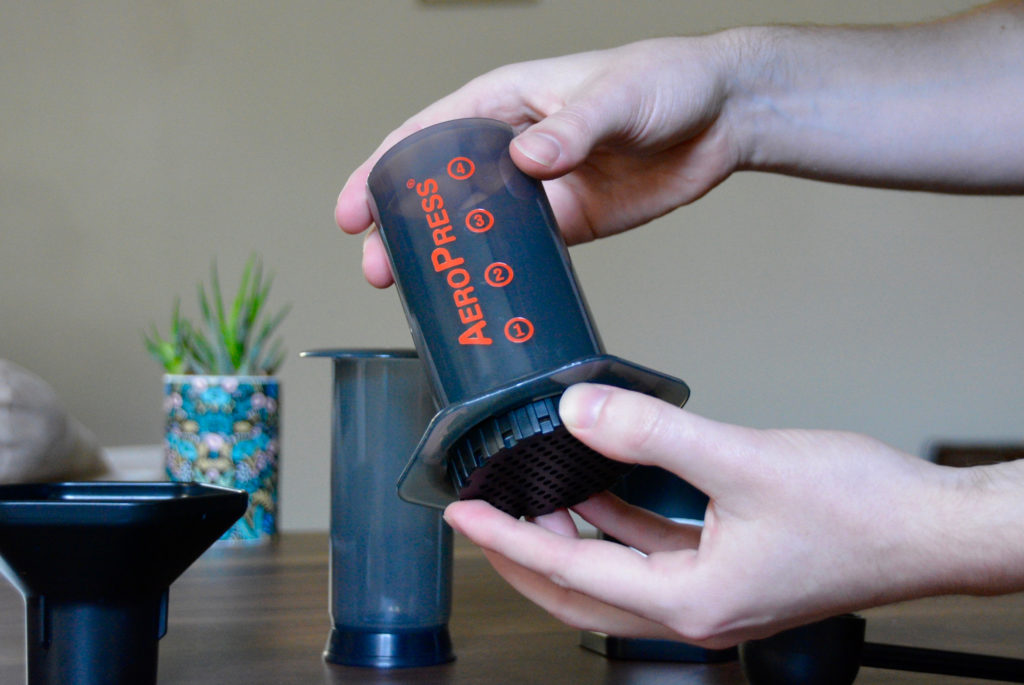
Attach the cap with the paper filter to the chamber.
Before attaching the cap, be sure to wet the paper filter first to prevent imparting a papery flavor into your coffee. Attache the cap, and flip the AeroPress over to sit on top of your mug or server. At this point, it should look like it’s assembled normally as in the basic method. There may be some spillage, so have a towel handy. I’ve yet to flip it without any leakage.
Push down on the plunger until you hear a hiss.
Slowly, press down on the plunger and listen for the air hiss. This sound will indicate that you’ve pressed down far enough. You can now remove the AeroPress from the cup and enjoy your coffee.
This time, you should have 2 normally brewed cups of coffee instead of a concentrate.
The Pour Over Method
Another way to brew regular coffee instead of espresso-style is to approach the AeroPress like a pour over instrument. This method can brew about 2 cups of coffee.
Heat 550 grams of water and grind your beans to a coarse grind.
Heat your water to 175°F – 195°F. While your water heats, grind your beans this time to a coarser setting. As a guide, the grounds should resemble rough sand. Add the grounds to the chamber
You can also assemble the AeroPress as normal while the water heats.
Pour 70 grams of water over the grounds using a gooseneck kettle.
Pour 70 grams of water over the grounds with a precision pour instrument. Using a gooseneck kettle will provide you with more control over where the water goes. It’s important to saturate all of the grounds evenly with the hot water. Then, allow the grounds and water to rest for about 30 seconds. You may even notice a slight bloom happening.
After resting, pour more water over the grounds very slowly.
You’ll continue to pour the rest of the heated water in 200-gram increments over the grounds. In between pours, you can stir the grounds and water gently for a few seconds. At this point, the brewed coffee should be draining through the filter into your server.
After all 550 grams of water have been poured into the chamber, wait another minute or so to allow the mixture to rest.

Press the plunger down slowly, and stop when you hear the hissing.
Slowly press the plunger down towards the grounds, and stop when you hear the hissing begin. You can remove the AeroPress from the server and enjoy! Here you’ll find that this method brews about 2 cups of coffee.
The Cold Brew Method
If you’re a fan of cold brew, you’ll certainly want to experiment with this fun AeroPress brew method.
Grind about 15 grams of beans to a fine grind.
For the cold brew method, you’ll be making an espresso-style concentrate so you’ll need a finer grind. Assemble the AeroPress like normal, and add 3 to 4 ice cubes to your server.
Use room temperature water instead of heated water.
Once the AeroPress is assembled, add the grounds to the chamber like normal. Next, you’ll add room temperature water to the number 1 line on the chamber and stir (there is also no need to heat water for this method). Allow the grounds and water to rest for about 1 minute.
Press down gently.
After resting, press the plunger down gently until you hear the hissing sound. Add ice water to the resulting concentrate to bring the serving size to 8 ounces.
Did you grab my FREE AeroPress brew tips yet?
Join my email list to receive exclusive access to my FREE resource library to grab my free AeroPress brew guide.
PLUS, be the first to grab more free brew guides and other awesome coffee freebies. Sign up below!


Leave a Reply