

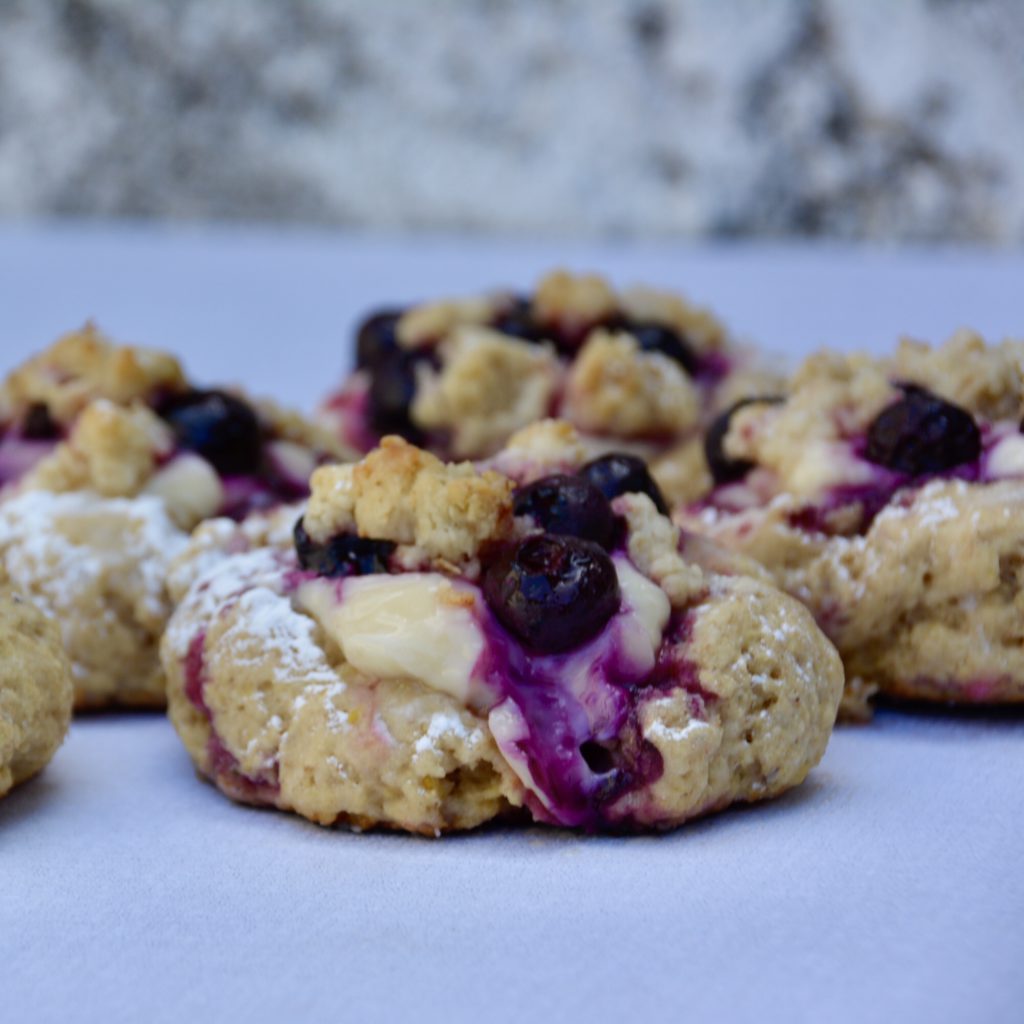
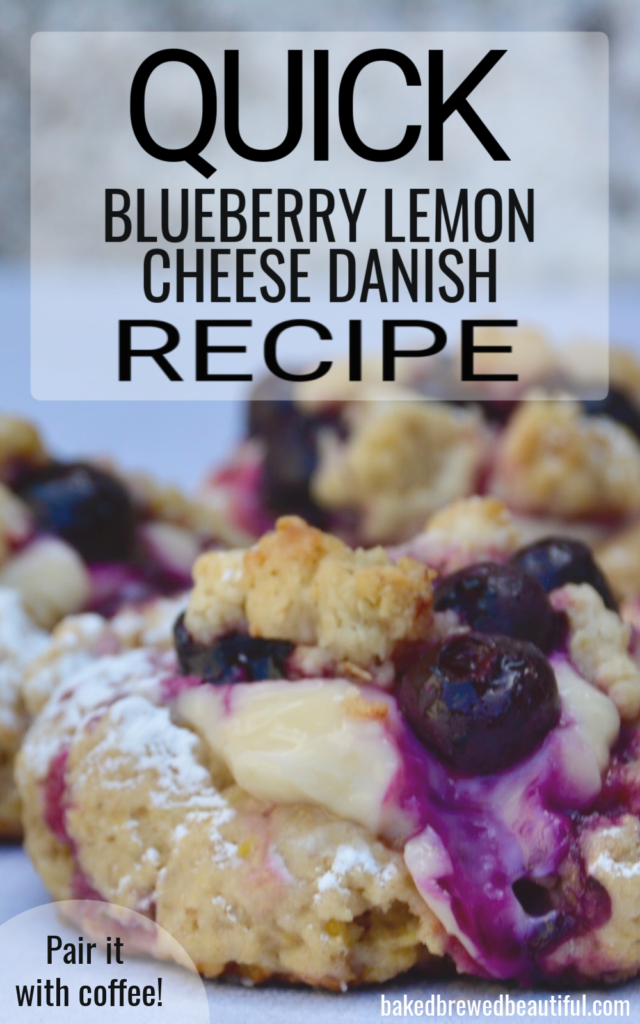
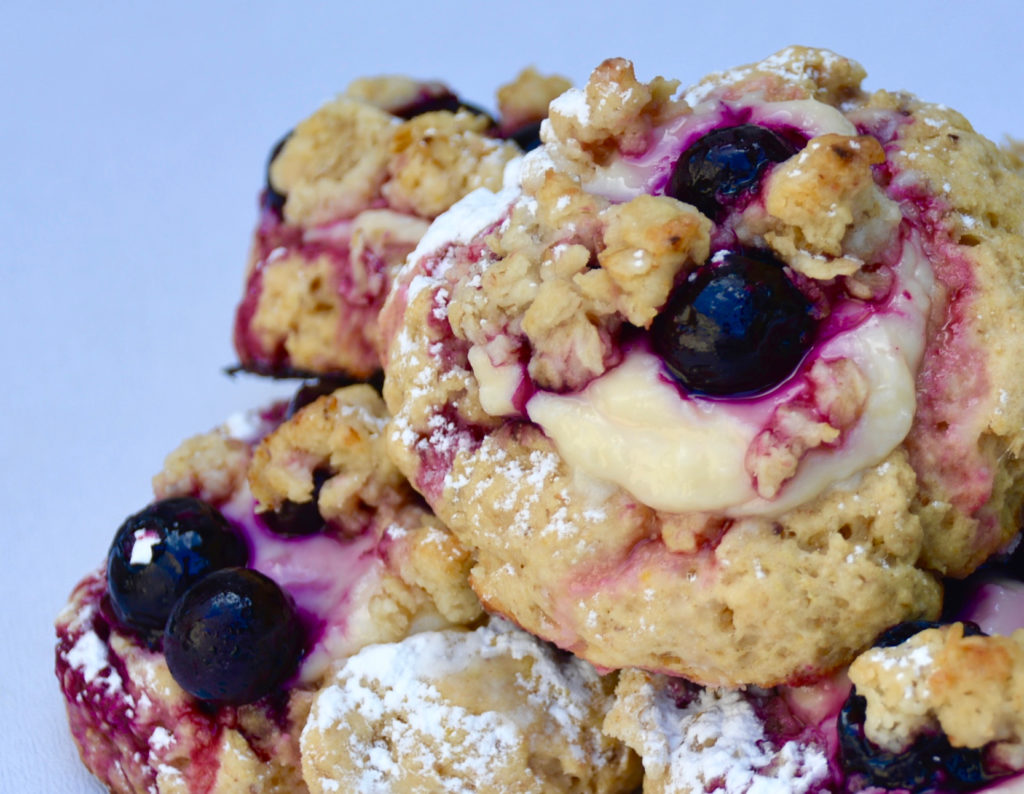
These lemon blueberry danishes are quick & delectable and pair well with your morning coffee.
- This quick lemon blueberry danish pairs well with light roast coffee.
- Though there are several components to these lemon blueberry danishes, it takes only about 30 minutes.
- You’ll need 4 or 5 lemons (preferably locally sourced) for this recipe to turn out best.
Bisquick Original Pancake and Baking Mix works well for this recipe.
Note: I may earn a small commission when you make a purchase through some of the below links. Read my disclosure policy to learn more.
For the ingredient listed as “pancake baking mix,” you can use something like Bisquick Original Pancake and Baking Mix or Bob’s Red Mill Buttermilk & Waffle Mix.
Pair Coffee Like You Would Wine
Join my newsletter (free!) and get exclusive access to my FREE resource library, which includes coffee pairing recipes and tutorials that don’t get posted here on the blog!
I happened to have Bob’s Red Mill on hand, so I used that and it worked really well. It’s also a little healthier because it’s made with whole grains.
Fresh lemons are highly encouraged!
The real lemon juice in this recipe makes a significant difference. It gives the danishes a fresher, lighter taste that you don’t get with lemon juice from a bottle (though it is very convenient in a pinch).
I highly recommend buying about 4 or 5 lemons for this recipe. There is a good amount of lemons (juice & zest) required for all of the components: crust, filling, crumble, and glaze.
Recommended coffee pairing: coffee beans from Jamaica, Kenya, Ethiopia, or Uganda.
If one of my recipes doesn’t have espresso or coffee in them, then I will always include a good coffee pairing.
For any berries such as blueberries, raspberries or strawberries, light roast coffee beans, in particular, are excellent companions.
If you’re looking for specific coffee beans to go along with these pastries, I’d recommend coffee from Jamaica, Kenya, Ethiopia, or Uganda.
Quick Lemon Blueberry Cheese Danish Recipe
Preheat the oven to 450 degrees. Line three baking sheets with parchment paper.
Mix together the baking mix, sugar, and butter until it is crumbly. Stir in the milk and lemon zest and mix with a fork until a soft dough comes together. It will be very sticky.
Drop 6 spoonfuls of dough onto each prepared pan. Use the back of a spoon to press the dough out creating a well in the center of each one.
In a small bowl, combine the cream cheese, 2 tablespoons of the sugar, and the vanilla extract. Spoon equal amounts of the filling into the center of each pastry rectangle. Spread it onto the dough within the inside border.
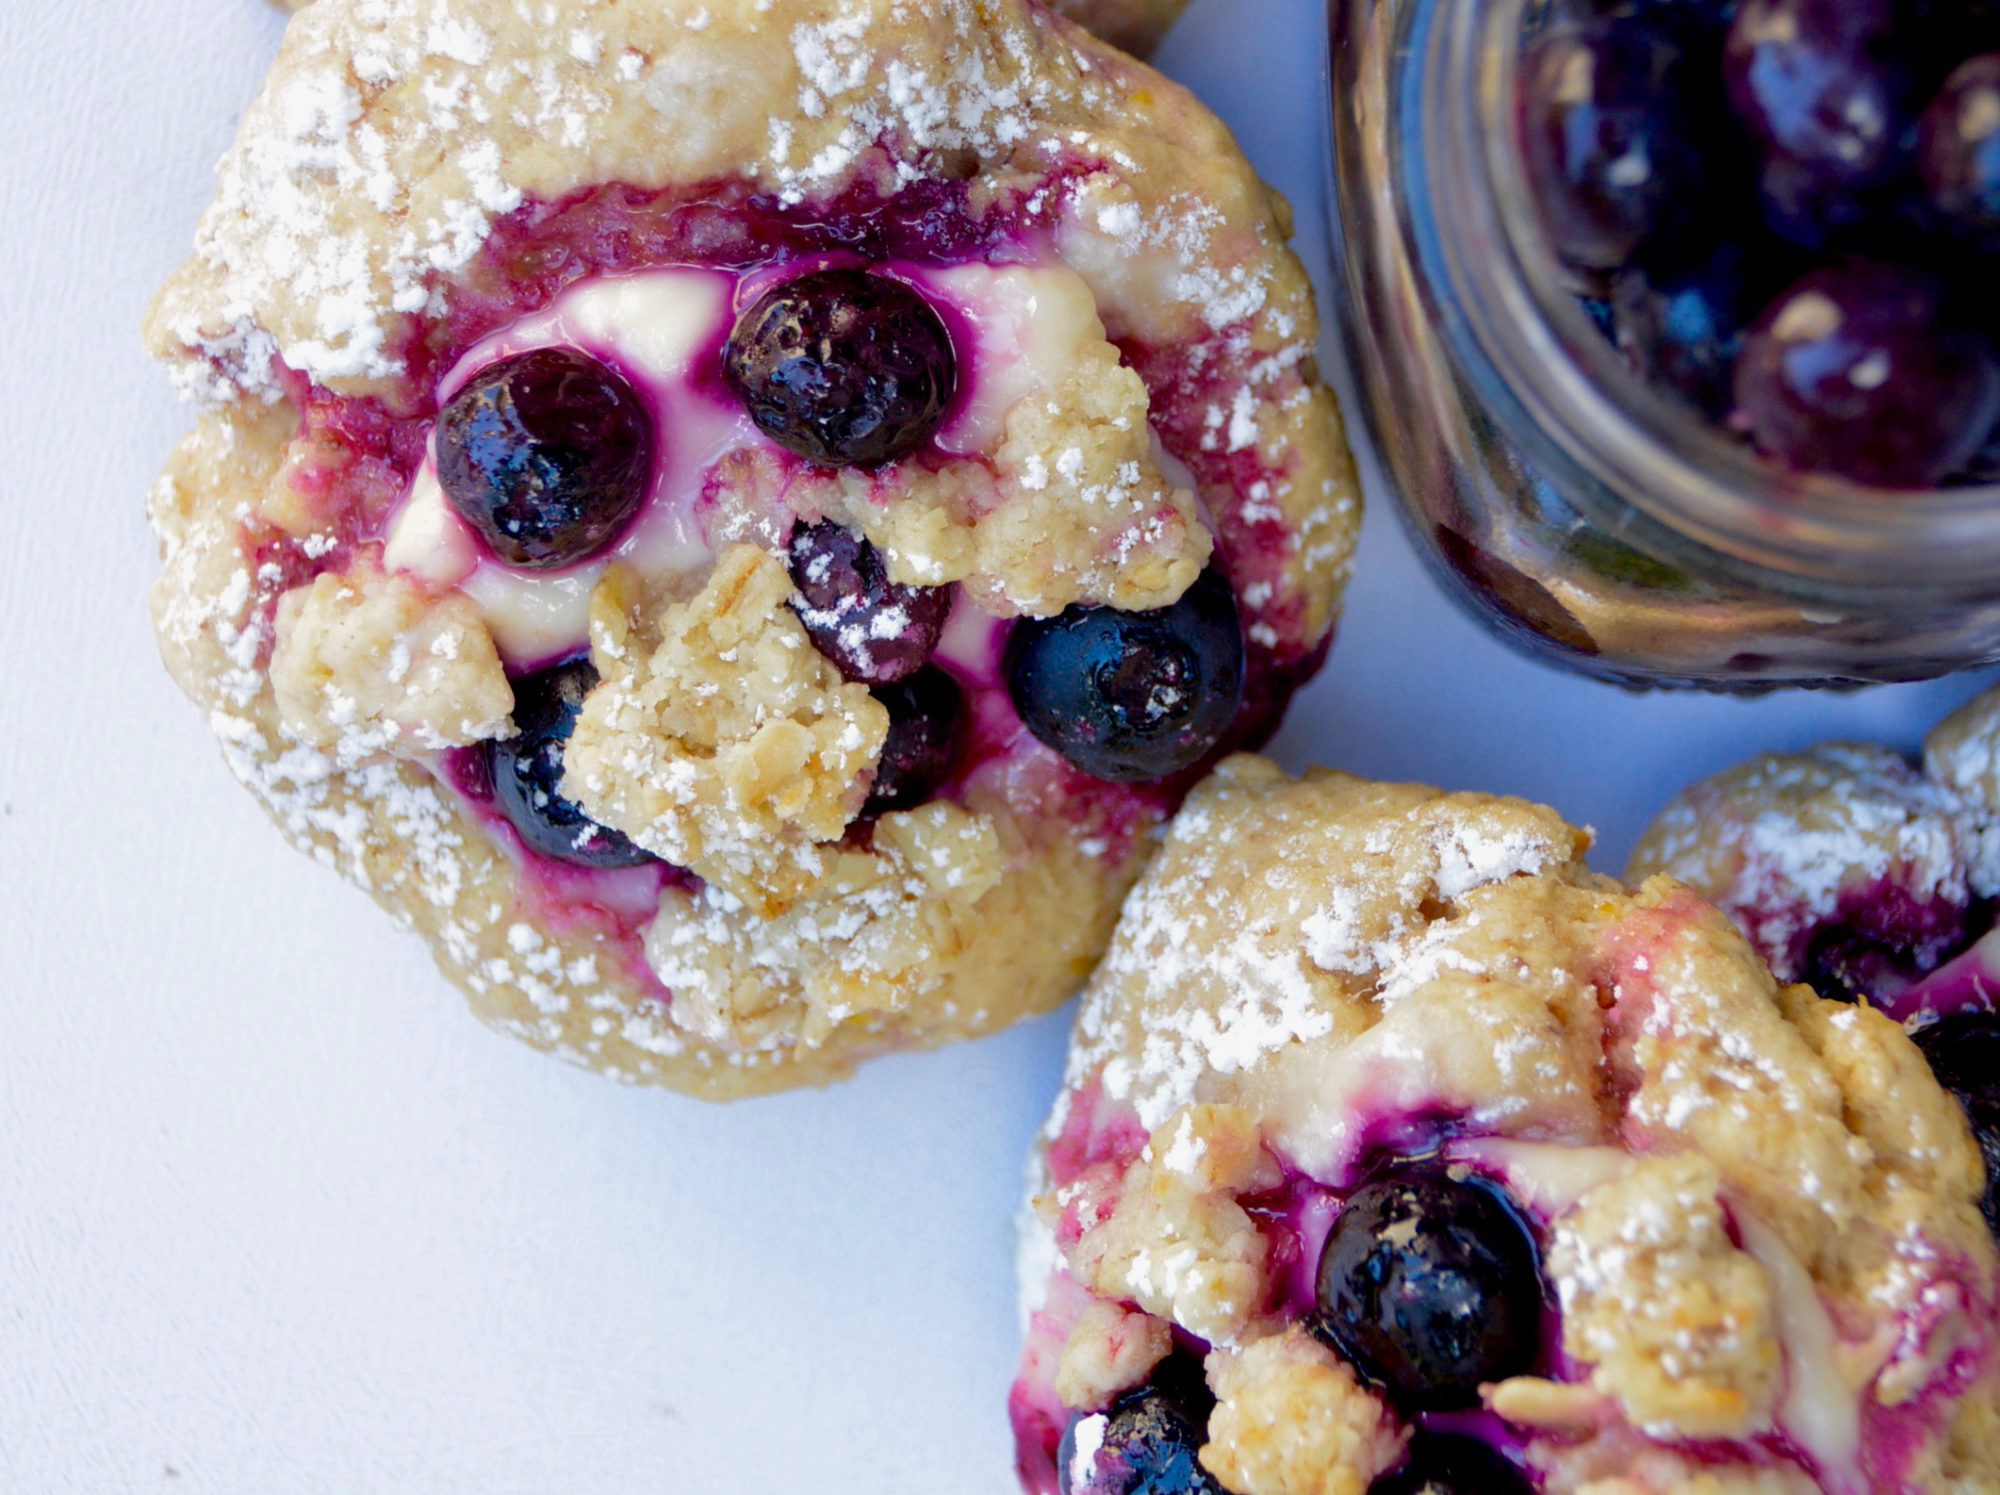
In a small bowl, toss the fresh blueberries with the lemon juice, then sprinkle with 1 tablespoon of the sugar. Add the sugared blueberries on top of the cream cheese on the pastries.
Use a fork or pastry blender to mix together the crumble topping. Sprinkle it evenly on top of each danish. Bake for 10 minutes.
Remove and let cool on the pan for a few minutes before moving gently to a wire rack.
Whisk together the powdered sugar and lemon juice and drizzle over the tops of each cooled danish.
Ingredients
Directions
Preheat the oven to 450 degrees. Line three baking sheets with parchment paper.
Mix together the baking mix, sugar, and butter until it is crumbly. Stir in the milk and lemon zest and mix with a fork until a soft dough comes together. It will be very sticky.
Drop 6 spoonfuls of dough onto each prepared pan. Use the back of a spoon to press the dough out creating a well in the center of each one.
In a small bowl, combine the cream cheese, 2 tablespoons of the sugar, and the vanilla extract. Spoon equal amounts of the filling into the center of each pastry rectangle. Spread it onto the dough within the inside border.
In a small bowl, toss the fresh blueberries with the lemon juice, then sprinkle with 1 tablespoon of the sugar. Add the sugared blueberries on top of the cream cheese on the pastries.
Use a fork or pastry blender to mix together the crumble topping. Sprinkle it evenly on top of each danish. Bake for 10 minutes.
Remove and let cool on the pan for a few minutes before moving gently to a wire rack.
Whisk together the powdered sugar and lemon juice and drizzle over the tops of each cooled danish.
Want more delicious recipes like this?
Join my free newsletter & get instant access to my FREE resource library, which includes more coffee pairing recipes like this and bonus tutorials that don’t get posted here on the blog!


I just made these and they are perfect for Sunday brunch! I used a gluten free pancake mix so I had to add more milk to get the dough sticky. This was super easy to follow and so delicious! These are going to become one of our go to recipes for brunch dessert!
Hi Tara! Thanks for sharing your recipe experience! I’m thrilled to hear it worked out for your brunch! Happy baking to you 🙂