Learn how to brew a clean, full-bodied cup of coffee with a vacuum siphon coffee maker.
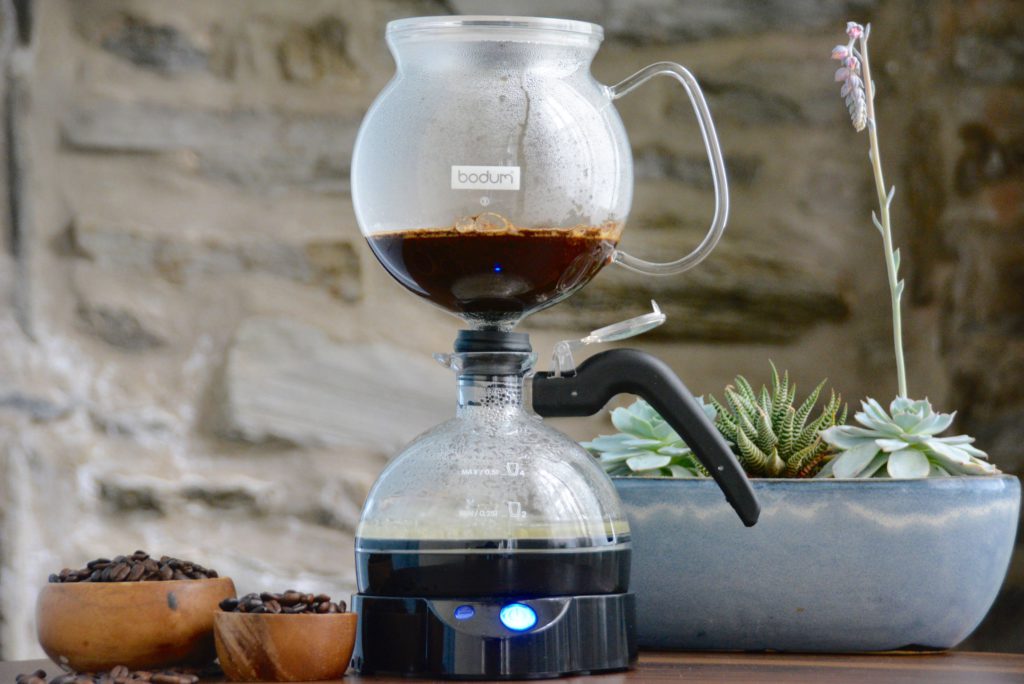
- Siphon coffee offers an incredible coffee experience both in taste and in aesthetic.
- It’s important to use high-quality, fresh coffee beans and a top-notch burr grinder for best siphon coffee brewing results.
- Get my free Siphon Coffee Review Sheets at the bottom of this post to improve your siphon home brews. Click here to jump right to it!
If you’ve ever visited a specialty coffee shop in a coffee city like Seattle or Melbourne, you may have been lucky enough to spot something called a vacuum siphon coffee maker. This attention-grabbing device — sometimes referred to as a vacuum coffee maker or a vacuum pot — is perhaps most unique in its shape. It looks something akin to a chemistry set consisting of an upper chamber and a lower glass chamber connected by a small tube (the funnel).
A vacuum siphon coffee maker essentially brews coffee using vapor pressure to force boiling water upwards (from the bottom chamber to the top) to mix with the coffee grounds that sit in the upper chamber. It’s a full impression coffee brewer that yields a full-bodied cup of clean coffee.
Read on for a full step-by-step tutorial on how to use a vacuum siphon coffee maker along with a recipe and pro tips.
Watch The Siphon Coffee Maker Video Tutorial Here:
Quick Links
How To Brew Coffee Using A Vacuum Siphon Coffee Maker
The Beans & Water
Before we even get into the nitty-gritty of brewing coffee with a siphon coffee maker, it’s important to talk about the type of beans you will need for this brew method. Siphon coffee is a specialty coffee brew method, so if you’re reading this, it’s likely you already know the importance of using freshly roasted coffee beans (if yes, skip this section).
In case you aren’t familiar with the concept of using fresh beans, here’s the rub. You need to use coffee beans that have been recently roasted (within the last two weeks is ideal). This will ensure the best-tasting cup of coffee with your siphon brewer. You wouldn’t want to go through all of the trouble of making siphon coffee using low-grade beans. So avoid buying coffee beans from the grocery store and any online retailer that doesn’t roast the coffee to order.
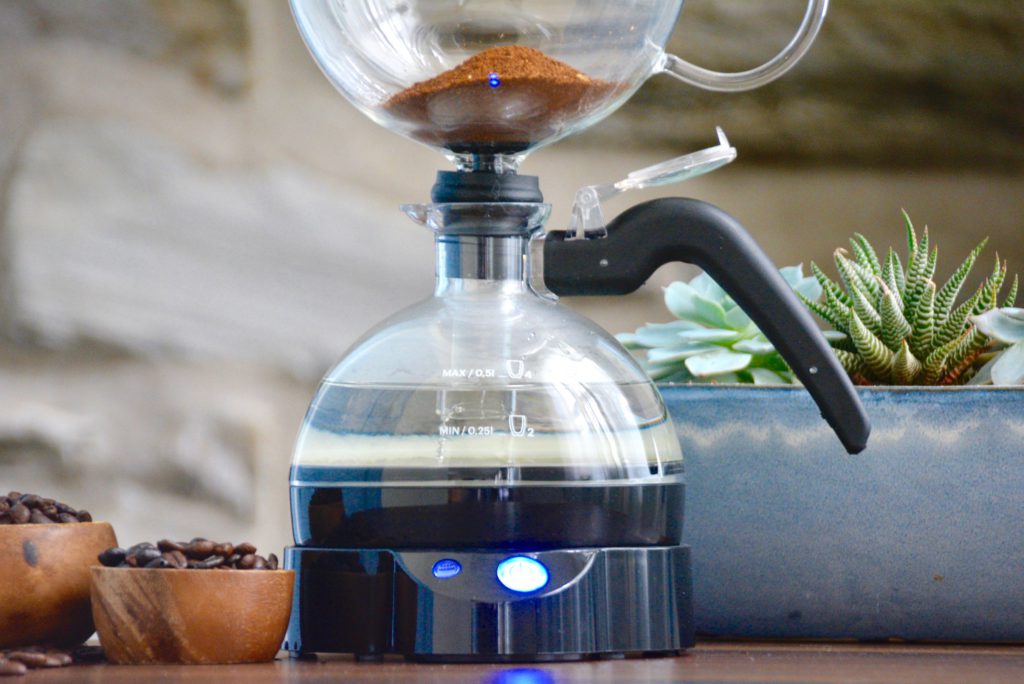
Look for locally roasted beans (at a coffee shop nearby) or order some beans online but choose carefully. Ensure that the online retailer’s site states that the beans are roasted to order.
While you’re searching for coffee beans, look for a medium or light roast in order to take full advantage of your fancy coffee setup. Dark roast coffee won’t offer the same tasting experience that you would get with a light roast or a medium roast. This is because light and medium roast beans offer you more of the flavors of the original coffee beans. Dark roast beans have been roasted so much that most of those original coffee bean flavors have vanished providing you with a consistent chocolatey taste across the board (in other words, most dark roast beans taste the same). See my light and medium roast recommendations by clicking here.
As for your water, use filtered water, spring water, or any water you like the taste of on its own. If you use subpar water, the coffee will fittingly be subpar. Coffee is 98% water, so if your water suffers, so will your coffee. Bottom line here is this: use good water.
The Ratio
Every brew method has an ideal coffee to water ratio to get the best-tasting coffee. For siphon brewing, a 1:15 coffee to water ratio is recommended. This means 1 part coffee to 15 parts water. For the recipe below, I used 27 grams of ground coffee with 400 grams of water.
The Grind Size
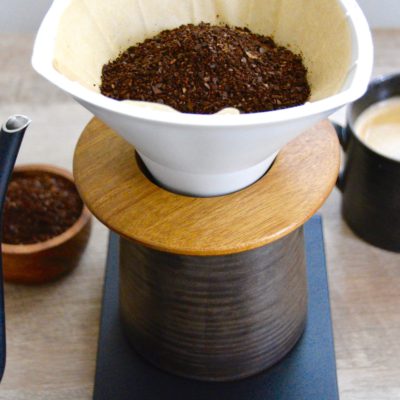
To get that full-bodied coffee that siphon coffee makers are best known for, it’s very important to properly grind your coffee beans. A medium grind size is highly recommended to get the proper extraction when using a siphon coffee brewer.
Medium coffee grinds will look similar to coarse or rough sand. Note that grinding beans too fine or too coarse will have a significant impact on the flavor of your final brew. If you’re not familiar with the different grind sizes, check out this article here on how to grind according to your brew method.
The Temperature
Depending on your vacuum pot, you may or may not have the capability of controlling the temperature of the water. Starter machines such as the Bodum or the Kitchenmaid don’t have temperature control capabilities.
However, more advanced siphon brewers such as the Hario or the Yama will. This is a good thing, so that you have more control over the coffee variables and you can avoid scorching your coffee.
If you do have that control, keep the water temperature to somewhere between 190°F to 200°F. Using a gooseneck kettle with an integrated thermometer helps a great deal to keep track of the water temperature during the brew process.
Pro Tip: If you regularly brew specialty coffee at home anyways, it’s a good idea to invest in a nice gooseneck kettle with a thermometer. See resource section below for recommendations.
The Setup
Setting up your vacuum siphon coffee maker properly is essential to having a successful brew. If one of the pieces are just slightly out of place, you run the risk of not properly filtering your coffee (which I’ve done and wasted coffee as a result of my mistake), so read this section carefully before proceeding.
Firstly, you need to attach the filter to the funnel (or the bottom of the upper chamber). There is a little metal chain attached to a clip (the filter) that you should see dangling out of the funnel. Pull the chain down far enough to get the clip to attach the bottom of the funnel. If you don’t do this part correctly, your coffee will be ruined. You can also reference your siphon coffee maker’s user guide for a diagram on how to do this. After you’ve attached the filter, set the upper chamber safely aside while you proceed to the next step.
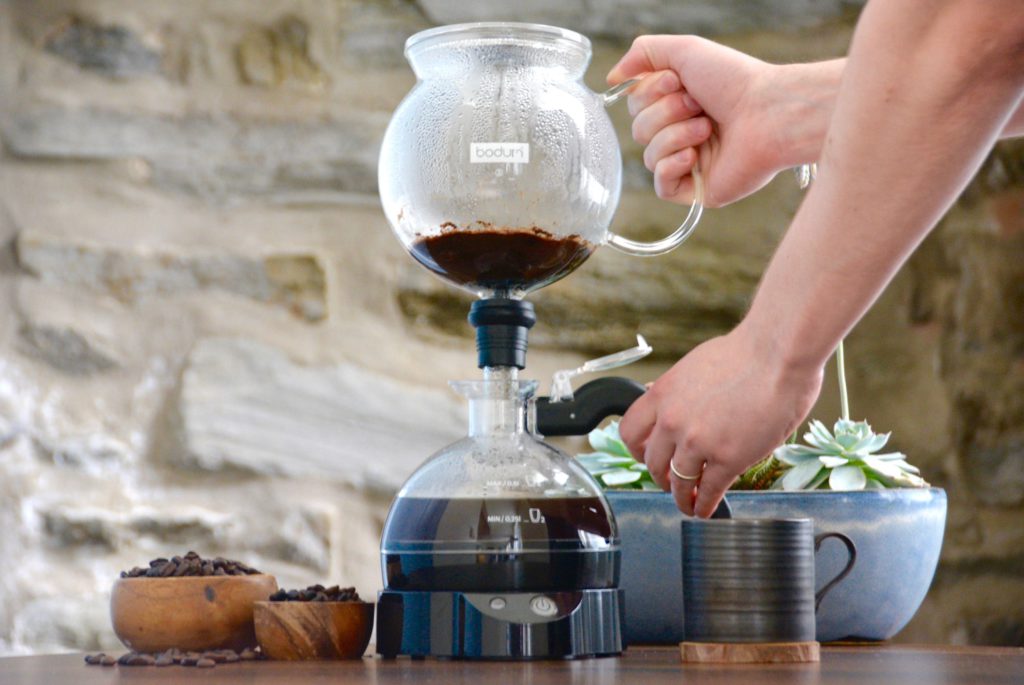
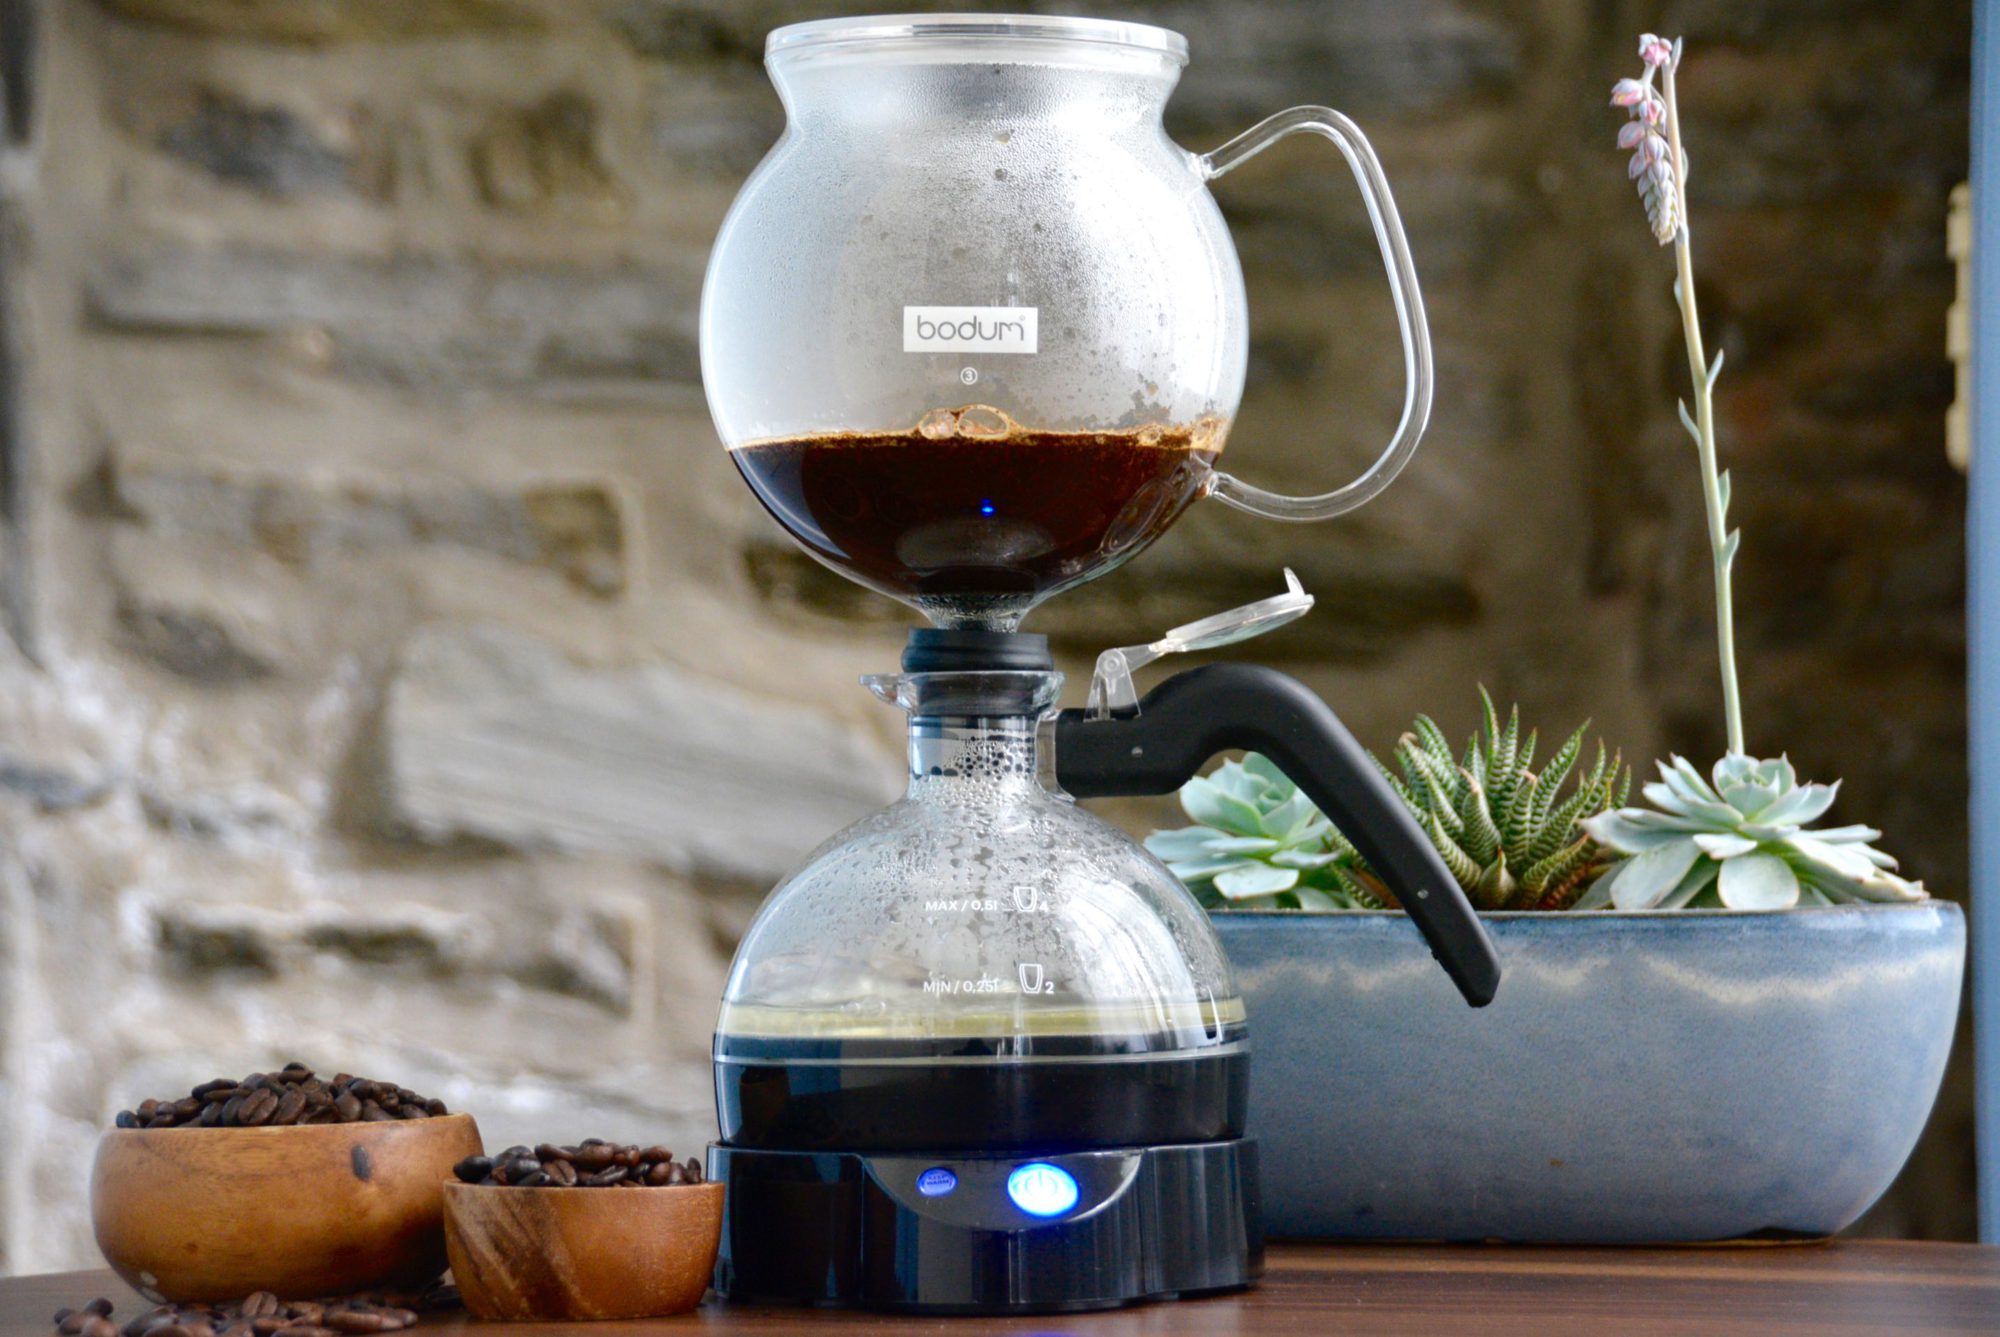
Next, pour all of your measured water (preheated water is best) into the lower chamber. Place the upper chamber on top of the lower chamber. For an electric siphon (like the one pictured), ensure that the upper chamber is attached securely and that the funnel is far enough inside of the bottom chamber. If using a traditional siphon brewer (non-electric), loosely place the funnel inside of the bottom chamber just so that it sits at an angle.
The next step begins the heating process. Some siphon brewers are electric and require just a touch of a button while others require the use of a candle burner. Proceed to the appropriate section depending on the type of siphon brewer you have.
The Process For An Electric Siphon
If using an electric siphon, simply turn it on by flipping the switch or pressing the power button. The water should begin to heat automatically. Pressure will build in the lower chamber, pushing the water upwards through the funnel into the upper chamber. Allow the water to drop to the bottom and come up to the top again.
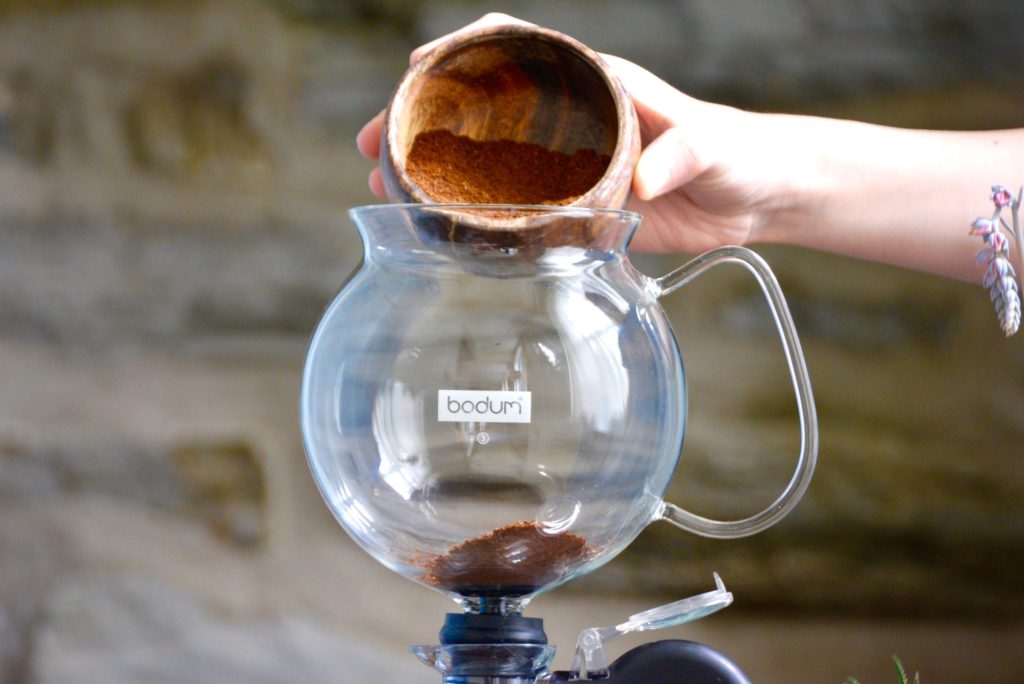
When the water is back in the upper chamber (this is its second trip to the upper chamber), add your measured coffee grounds to the upper chamber (where the water should be now). Stir using a wooden spoon, bamboo paddle, or the tool that came with your siphon brewer. For best stirring practices, move your paddle in the shape of the letter “N.” Move it up, down, up, left and then right.
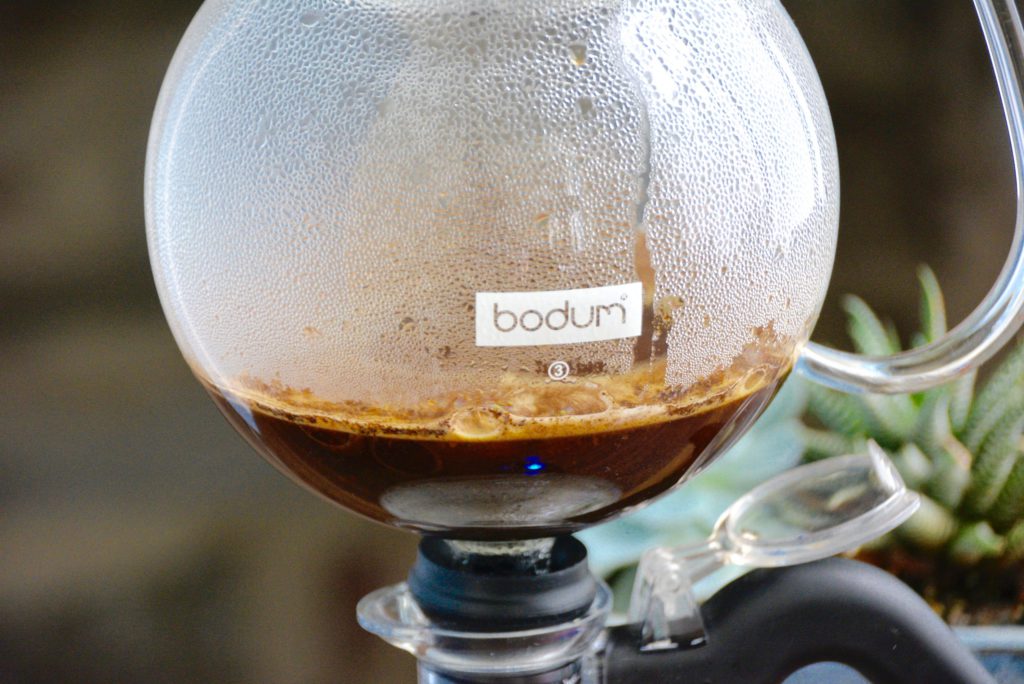
Allow the coffee to brew for about two to four minutes. The word “brew” in this case means that the coffee grounds will steep with the water inside of the upper chamber for a set amount of time. Electric siphon brewers will turn off automatically when finished steeping. The finished coffee (now filtered) will end up in the lower chamber. The upper chamber should have the spent grounds inside.
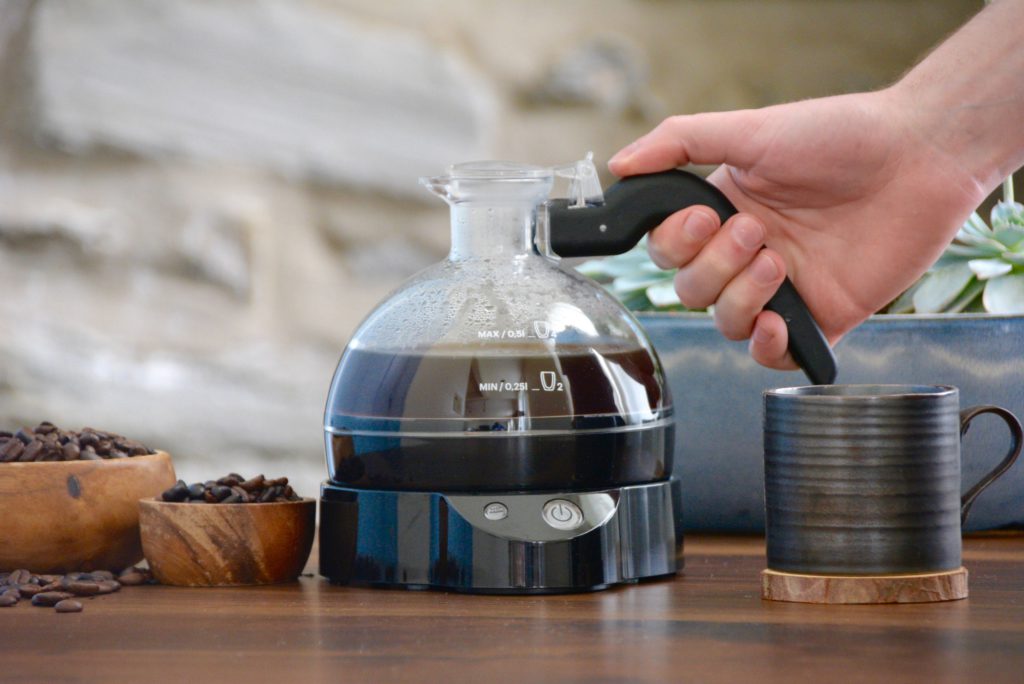
Remove the upper chamber, discard of the dried coffee grounds, and serve the coffee in the lower chamber. See notes below about cleaning your siphon brewer.
The Process For A Candle Burner Siphon
If using a butane burner or a candle burner as your heat source, place the heat source underneath your siphon brewer. Next, turn the heat up high and wait for the water to boil. Pressure will build in the lower chamber, pushing the water upwards through the funnel into the upper chamber.
Reduce the heat once most of the water is up top. Next, add your measured coffee grounds to the upper chamber. Start a timer, and stir the coffee grounds into the water using a wooden spoon or bamboo paddle. Move your paddle in the shape of the letter “N.” Move it up, down, up, left and then right.
This motion will ensure that the coffee grounds get completely submerged in the water. Wait about 45 seconds, and then stir it again in this same motion of the letter “N.” After about another 45 seconds, turn the heat off. Allow the coffee to flow to the lower chamber.
At this point, all that’s left to do is remove the upper chamber and serve your siphon coffee.
Other Helpful Info
Cleanup & Storage Tips
After you’ve finished brewing your siphon coffee, clean the upper chamber immediately if possible. This will prevent the grounds from drying out. If you wait too long, it can become extremely difficult to clean later on.
To remove the coffee grounds from the top, add water to the upper chamber, put the lid on, and carefully shake it to free up the coffee grounds on the bottom. Do this over the sink to prevent a big mess. Next, detach the filter (if you haven’t already), dump out the grounds, and rinse the upper chamber thoroughly with hot water until the water runs clear and is free of any grounds. Avoid using soap when cleaning your siphon brewer. Dry with a dish towel or paper towel. Hand wash the lower chamber as well by rinsing it out with hot water and drying it with a towel.
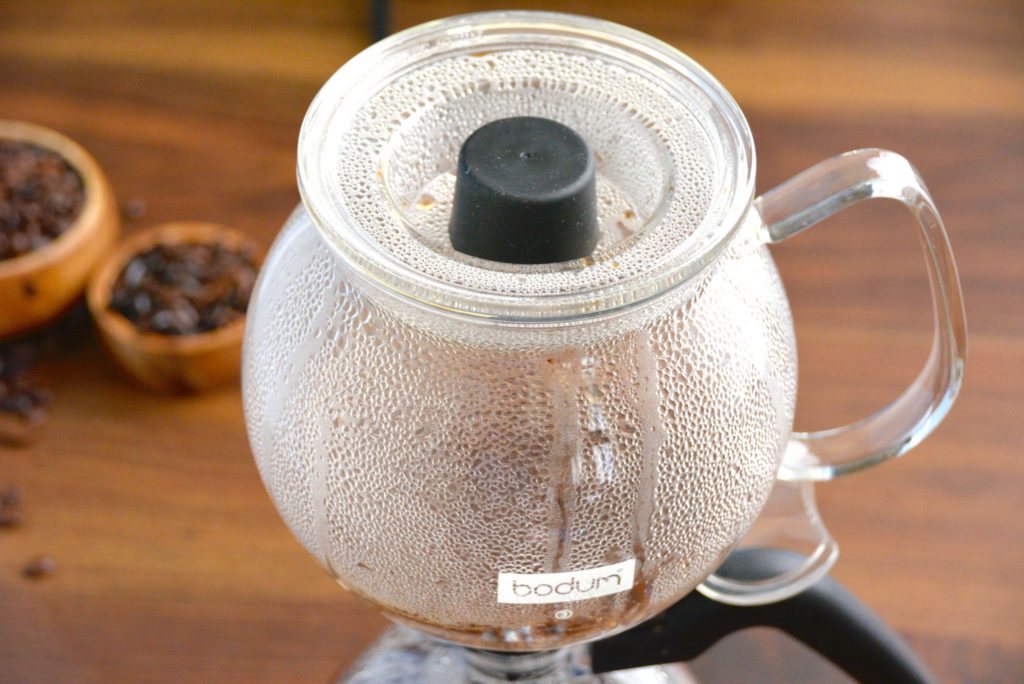
To care for the siphon filter, store it inside of a bowl of cold water in the refrigerator with a 1/4 teaspoon of a coffee cleaning detergent. It’s essential to prevent the filter from drying out, so that’s why you need to keep it stored in water. When you’re ready to use your filter again, run your siphon brewer through a cycle using just water. Then, you can use it as normal.
Time Commitment
Making siphon coffee does have that wow factor, but it is somewhat of a time commitment. This brew method requires proper grinding technique, precise measurements, very specific brewing instructions, and regular maintenance.
If you’re one for specialty coffee, siphon brewing is not a huge leap from brewing pour over coffee. But if you’re new to the third wave coffee realm, know that siphon brewing is a hobby that takes time to execute as well as perfect. It’s certainly attainable for anyone who wants to try it, but be patient with yourself and enjoy the learning process. That brings me to my next point of tracking your progress.
Write down everything to continually improve your siphon brew
There’s no doubt about it – siphon coffee brewing isn’t the easiest task. In the beginning, chances are you will make some mistakes, but don’t see this as a failure. Instead, choose to learn from your mistakes.
One way you can do this is by tracking your siphon brews. Write down every important variable from your siphon brewing endeavor including grind size, coffee dose, water weight, water temperature, etc. To make things easier, you can write all of these important brewing variables on my Coffee Brewing Review Sheets. In writing these details down, you can make small adjustments to your brew to continually refine and master the art of siphon brewing.
Sign up below to get your free Coffee Brew Review Sheets!
Grab this free Siphon Coffee Review Sheet!
Subscribe to my newsletter to grab this Coffee Brew Review Sheet to track & improve your siphon home brews.
Plus, be the first to grab bonus recipes and other awesome coffee freebies. Sign up below!

FAQ Section
Siphon coffee offers an incredible experience in taste and in aesthetic. Not only does a vacuum siphon coffee brewer have that wow factor, but it also offers clean coffee that’s bursting with flavor. It’s a coffee experience worth having if you appreciate speciality coffee.
Siphon brewing is a full-immersion coffee technique. A vacuum siphon coffee brewer is made of four main parts: an upper chamber, a lower chamber, a funnel, and a heat source. Vapor pressure forces boiling water upwards from the bottom chamber to the upper chamber through a funnel to mix with the coffee grounds that are located at the top of the siphon.
Once the heat is lowered, gravity pulls the coffee down through the funnel (also where the filter is located), and the coffee is ready to serve and is sediment-free.
The siphon method is a specialty coffee brewing technique that uses gravity and vapor pressure to transfer water from one chamber to another though a funnel. See question above for more details.
A coffee siphon ranges in price, and is much more approachable now more than ever. You can expect to spend anywhere between $50 and $200 for a vacuum siphon coffee maker. See resource section below for product recommendations with varying prices.
Siphon coffee is both full-bodied and clean in taste. This kind of coffee is rich, complex, and overall very flavorful. What’s also great about siphon coffee is that you don’t have to worry about any sediment sneaking into your coffee cup as with other brew methods.
VIEW MY AMAZON SHOPPING LIST FOR THIS BREW METHOD
Note: I may earn a small commission when you make a purchase through some of the below links. Read my disclosure policy to learn more.
Helpful Tools & Resources for Siphon Coffee
Automatic/Electric Siphons
Automatic KitchenAid Siphon Coffee Brewer
Bodum ePEBO 4-Cup 17oz Vacuum Coffee Maker
Traditional Siphons with Candle Burner
HARIO Siphon
Yama Siphon
Other useful tools
Fellow Gooseneck Kettle with Integrated Thermometer
Kitchen Stopwatch
Hario Bamboo Paddle
Hario Coffee Scale
Breville Smart Electric Burr Coffee Grinder
Mini Porlex Hand Grinder
Roasted to Order Light Coffee Bean Options
Blue Bottle Three Africas
Intelligentsia Rwanda Nyarusiza
Roasted to Order Medium Coffee Bean Options
Cognoscenti Guatemala Ceiba
Verve Coffee Roasters Guji Highland Natural
Vacuum Siphon Coffee Maker Recipe
First, attach the filter to the bottom of the upper chamber. To do so, there is a little metal chain attached to a clip (the filter) that you should see dangling out of the funnel. Pull the chain down far enough to get the clip to attach the bottom of the funnel. If you don’t do this part correctly, your coffee will be ruined. You can also reference your siphon coffee maker’s user guide for a diagram on how to do this. Set the upper chamber safely aside while you proceed to the next step.
Once the filter is properly attached, pour the water (preheated water is best) into the lower chamber. Place the upper chamber on top of the lower chamber. Loosely place the funnel inside of the bottom chamber just so that it sits at an angle.
Place your heat source underneath your siphon brewer. Next, turn the heat up high and wait for the water to boil. Pressure will build in the lower chamber, pushing the water upwards through the funnel into the upper chamber.
Reduce the heat once most of the water is up top. Next, add your measured coffee grounds to the upper chamber. Start a timer, and stir the coffee grounds into the water using a wooden spoon or bamboo paddle. Move your paddle in the shape of the letter “N.” Move it up, down, up, left and then right.
This motion will ensure that the coffee grounds get completely submerged in the water. Wait about 45 seconds, and then stir it again in this same motion of the letter “N.” After about another 45 seconds, turn the heat off. Allow the coffee to flow to the lower chamber.
At this point, all that's left to do is remove the upper chamber and serve your siphon coffee.
Ingredients
Directions
First, attach the filter to the bottom of the upper chamber. To do so, there is a little metal chain attached to a clip (the filter) that you should see dangling out of the funnel. Pull the chain down far enough to get the clip to attach the bottom of the funnel. If you don’t do this part correctly, your coffee will be ruined. You can also reference your siphon coffee maker’s user guide for a diagram on how to do this. Set the upper chamber safely aside while you proceed to the next step.
Once the filter is properly attached, pour the water (preheated water is best) into the lower chamber. Place the upper chamber on top of the lower chamber. Loosely place the funnel inside of the bottom chamber just so that it sits at an angle.
Place your heat source underneath your siphon brewer. Next, turn the heat up high and wait for the water to boil. Pressure will build in the lower chamber, pushing the water upwards through the funnel into the upper chamber.
Reduce the heat once most of the water is up top. Next, add your measured coffee grounds to the upper chamber. Start a timer, and stir the coffee grounds into the water using a wooden spoon or bamboo paddle. Move your paddle in the shape of the letter “N.” Move it up, down, up, left and then right.
This motion will ensure that the coffee grounds get completely submerged in the water. Wait about 45 seconds, and then stir it again in this same motion of the letter “N.” After about another 45 seconds, turn the heat off. Allow the coffee to flow to the lower chamber.
At this point, all that's left to do is remove the upper chamber and serve your siphon coffee.
Grab this free Siphon Coffee Review Sheet!
Subscribe to my newsletter to grab this Coffee Brew Review Sheet to track & improve your siphon home brews.
Plus, be the first to grab bonus recipes and other awesome coffee freebies. Sign up below!




Leave a Reply