Take your coffee tasting skills to a whole new level by learning to host a coffee cupping at home.
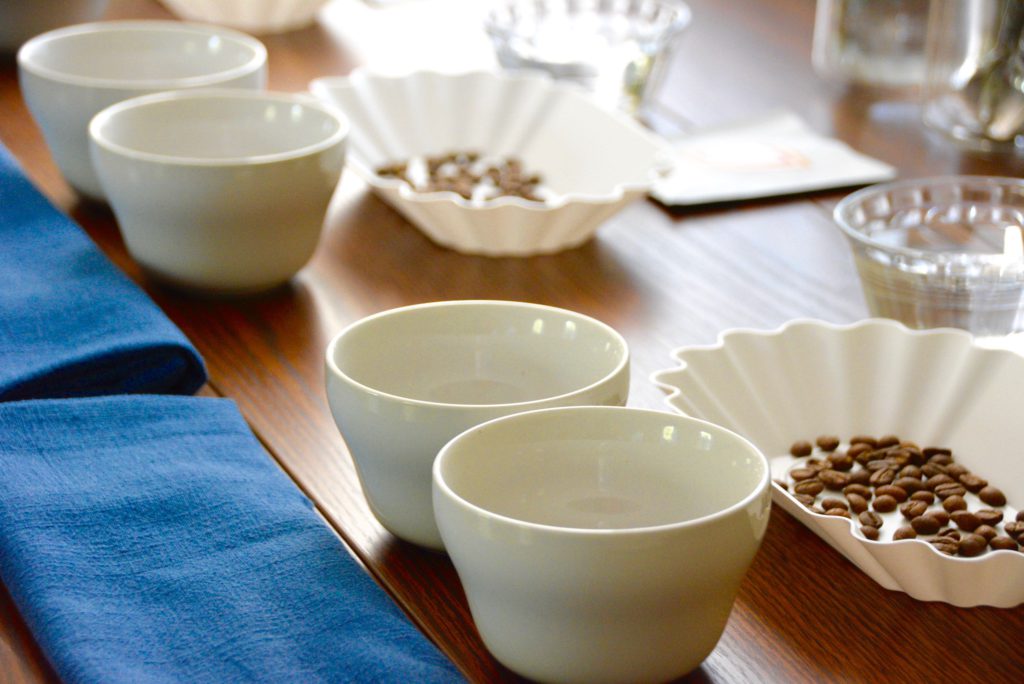
- Cupping coffee is the method of evaluating the aromas and flavors of a specific coffee.
- It’s important to be prepared prior to a cupping, so be sure to grab the coffees you’re trying, cups, spoons, water, and a number of other essentials you don’t want to forget.
- Grab my FREE coffee cupping tasting form & checklist at the very bottom of this page to write down all of the aroma and tasting notes of each coffee you try.
Coffee cupping may seem daunting at first, but it doesn’t have to be. While there is certainly a standardized procedure (which we describe in detail below), it’s ultimately supposed to be a fun experience so you can taste your coffee in a new setting.
To help you in your coffee cupping endeavors, we asked two coffee experts to share their best tips on hosting a coffee tasting at home. Here’s what they had to say.
Make sure to grab my free coffee cupping tasting form & checklist at the very bottom of this page. You’ll find specific entry forms to guide you through the entire cupping process allowing you to write down all of the important details during a coffee cupping.
Understanding Coffee Cupping
What is a coffee tasting or cupping, and what’s the point?
A coffee cupping is the practice of evaluating and observing the various tastes and aromas of a certain coffee. A standard cupping procedure involves the preparation of several coffees following a very specific set of techniques that allow the user to take in all of the aromas and flavors of a coffee.
It’s also the ideal way to test the acidity/sweetness of your coffee bean, according to Emily Hanson of Seven Districts Coffee, and it allows you to easily compare different roasts without the need to brew an actual cup every single time.
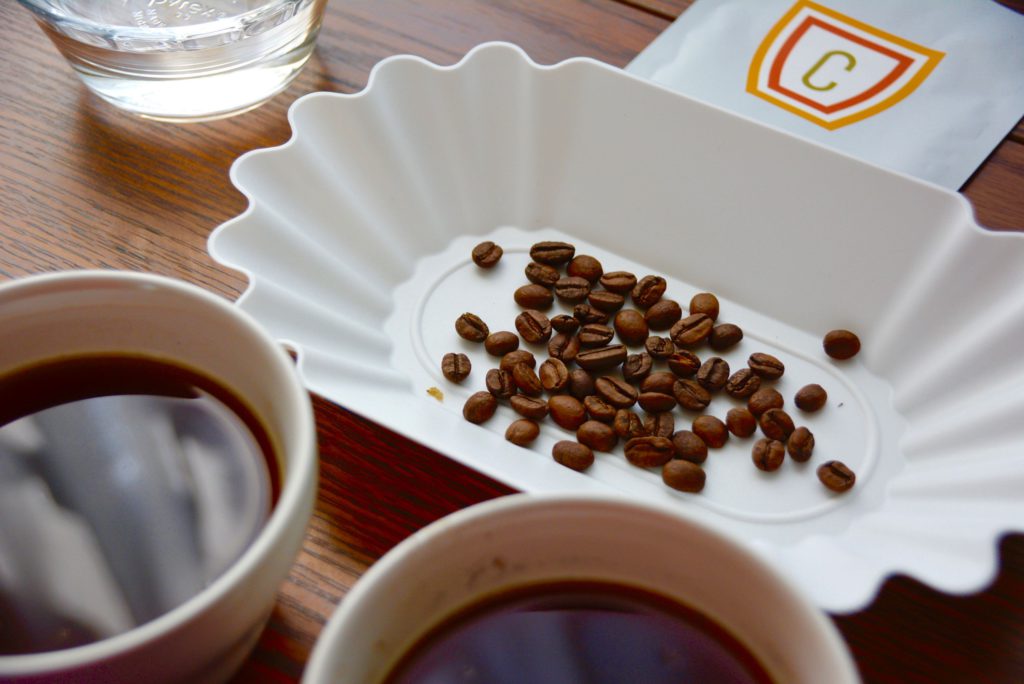
“Coffee cupping is a great way to taste the quality of your coffee in a standardized way, and without giving yourself caffeine overload, or overfilling your bladder,” Hanson said.
What are the essential items you need to host a cupping?
The logistics of a cupping can be daunting, so being prepared is step one, according to Kyle Rosa, owner and roaster of Breakers Coffee + Wine, and farmer of Bluetail Coffee Grove.
“The last thing you want is to be scrambling around in the middle of the cupping trying to heat up more water, or find another spoon,” Rosa explained.
For a 6-person coffee cupping, here is a list of all of the essential items you will need:
- Table large enough to accommodate guests
- Timer or stopwatch
- Kettle with thermometer
- 3 Different types of coffee beans
- Tasting trays
- Burr grinder
- Coffee scale
- 6 Identical coffee cups (ceramic or tempered glass)
- 6 Rinse cups for each guest filled with drinking water
- 6 Dump cups for spitting coffee out
- 1 Disinfectant cup for dirty spoons
- 1 to 2 dump cups/bowls for coffee grounds and remains
- Napkins for each coffee type setting
- 12 coffee tasting spoons (2 for each setting)
- Coffee cupping tasting forms (find at the bottom of this page)
You can also get a printer-friendly version of this checklist and my coffee cupping forms at the bottom of this page. There are quite a few items that you don’t want to forget, so get yours today by grabbing your free cupping checklist and forms here.
What are the things you shouldn’t do in a coffee cupping?
Beginners beware. There are a few things you’ll want to avoid so as not to alter the results of your tasting. For instance, during a cupping, you should not pick up the coffee cups to smell the aroma, according to Rosa. When you pick up the cup, you are also smelling your hand which can produce false notes, he explained.
Another thing you’ll want to consider is whether or not to swallow the coffee during your cupping. If the coffees you’re tasting are widely varietal in flavor, then don’t swallow, Hanson said. The flavor is likely to linger at the back of your throat, making it harder to differentiate between different beans, she explained.
“We’d also suggest not going too quickly, but also not letting your coffee get cold,” Hanson said. “Going too quickly will give you less chance to mull over the flavor differences, but if you leave too much time between sips the brews may well get cold, which affects the flavor profile of the drink.”
Where can you find coffee and/or coffee sampler kits for an at-home coffee tasting?
When it comes to picking the coffee for a cupping, there are several ways to go about it.
Companies such as Bean Box or Matinee Coffee offer starter kits with sample size portions of several different coffee varieties to provide you with a well-rounded coffee-tasting experience. Bean Box currently offers a Coffee Tasting Subscription featuring four expertly-curated coffees.
Matinee Coffee is particularly wonderful for coffee cupping beginners (we used them for our tasting in the photos!). Each kit includes four mystery coffee bags from a Minnesota roaster (that’s where they’re based) labeled as A, B, C, and D. And to add to the experience, there is a live stream in which you can join a coffee expert who will walk you through the entire tasting experience.
If you feel more adventurous, you can also seek out the coffees on your own. When first starting out, Rosa suggests looking for geographically diverse coffees.
“I recommend picking coffees from different countries to start, for example an Ethiopian and a Columbian. Do this until you’ve covered the coffee map,” Rosa told Baked, Brewed, Beautiful.
After you’ve gone through these, then start cupping coffees together from the same country, but from different regions, Rosa said. Next, try coffees from the same region, and you can branch off from there. This method will familiarize yourself with the similarities countries and regions can have, but also surprise you on the differences, he explained.
Any other tips before jumping in?
You don’t have to be a roaster to do a cupping, according to Rosa, because there are no prerequisites for trying new things. That’s all a cupping is, trying new coffees and talking about them with your friends or peers, he explained.
“The cupping process may be mired in tradition and technique, but that is purely for consistency’s sake,” Rosa said. “First timers should come to a cupping with an open mind, eager to try whatever is put in front of them, and simply put that experience into words for others to hear.”
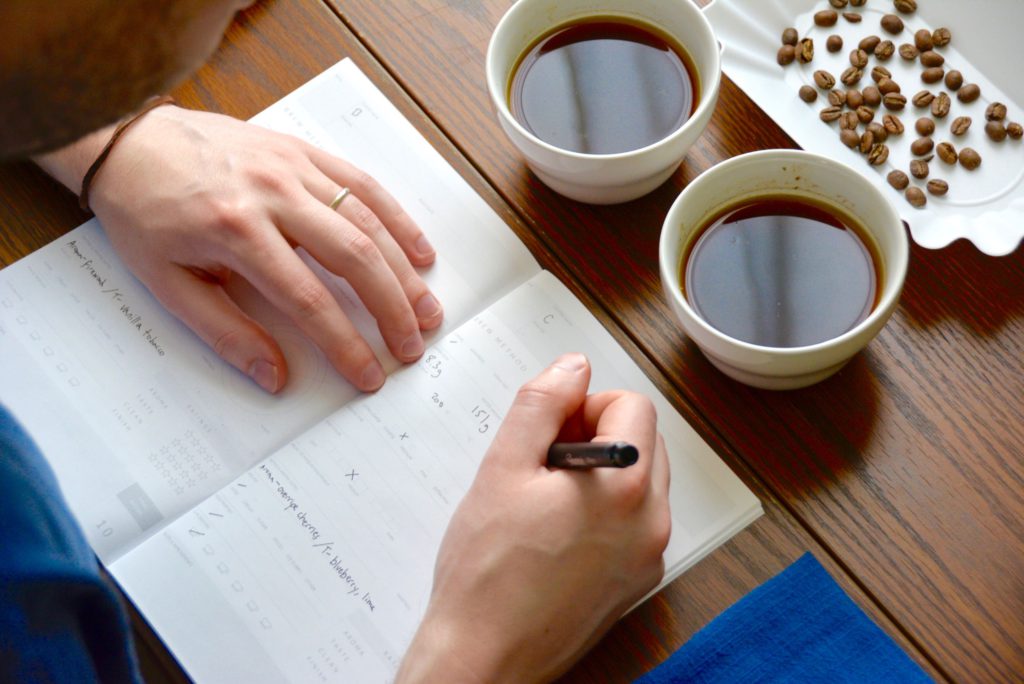
Lastly, don’t take yourself too seriously, Hanson said. It’s supposed to be a fun experience!
“You’re giving cupping a go to develop your palette, sure, but also to have fun,” Hanson told Baked, Brewed, Beautiful. “So write down whatever flavors you experience, even if they seem really out there, and above all enjoy yourself.”
Now on to the step-by-step tutorial! Be sure to have everything on hand prior to starting to save yourself some stress. Grab the checklist here.
Cupping Step-by-step Tutorial
Note: These measurements are in accordance with the Specialty Coffee Association’s Coffee Standards.
1. Heat 900ml of water to 200 degrees Fahrenheit.
It works best to use a kettle with an integrated thermometer to measure the temperature of the water. You want to get as close as possible to 200 degrees Fahrenheit for best cupping results.
2. Prime the grinder.
While the water is heating, prime the coffee grinder. To do this, measure out 2 grams of one of the coffees and grind it to a medium-coarse setting. Discard these grounds. This will remove any grounds from previous coffee beans you used in the grinder, allowing for the most pure coffee tasting.
3. Measure out 8.25 grams of coffee beans using a coffee scale.
Using the same coffee you just ground in step 2, measure out 8.25 grams of coffee and proceed to grind it to a medium-coarse grind size.
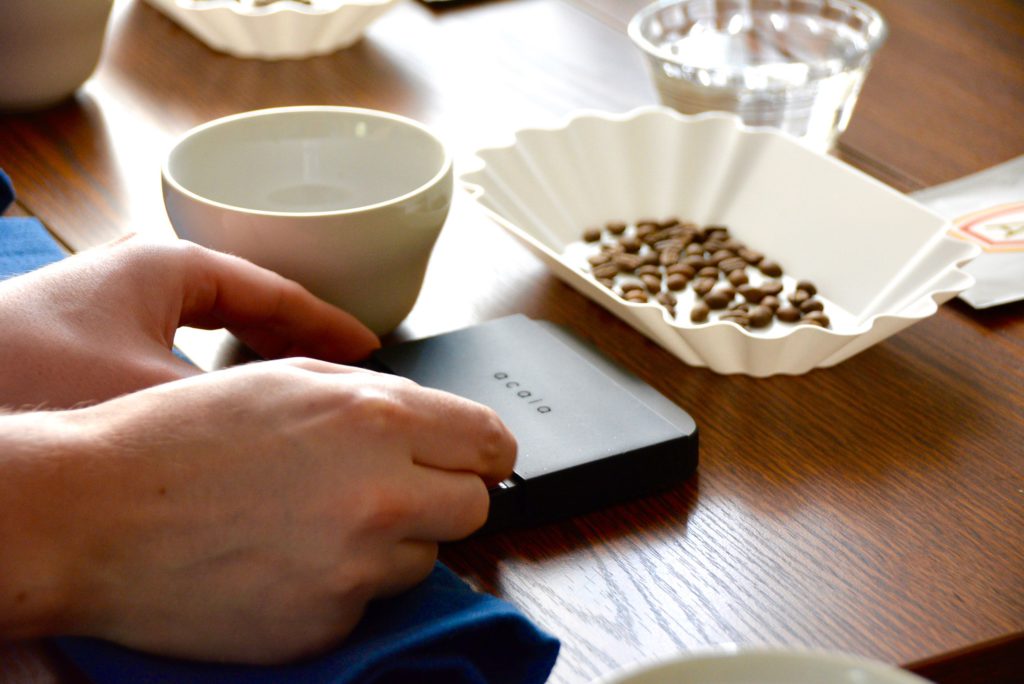
4. Place the grounds into a tasting cup, and then grind another 8.25 grams of beans and grind them the same way.
You will grind an additional 8.25 grams of coffee beans and place them in another tasting cup as you did above. This will leave you with two tasting cups filled with same coffee.
In a cupping, it’s important to have two cups dedicated to each variety of coffee you’re tasting. This will help to eliminate errors in case a defect sneaks into one of the cups.
5. Repeat steps 2-4 with the the rest of the coffee beans for the tasting.
As you place the cups on the table, be sure to group them together and label them so you know which cups are dedicated to which beans. You can also use coffee tasting trays and place the beans directly behind the cups to help with this differentiation.
6. Smell the coffee and write down any noticeable aromas on your cupping form.
Does it smell nutty, sweet, or do any specific fruits come to mind? Write it down at this stage, and be sure to indicate in some way that these are the aromas of the dry grounds.
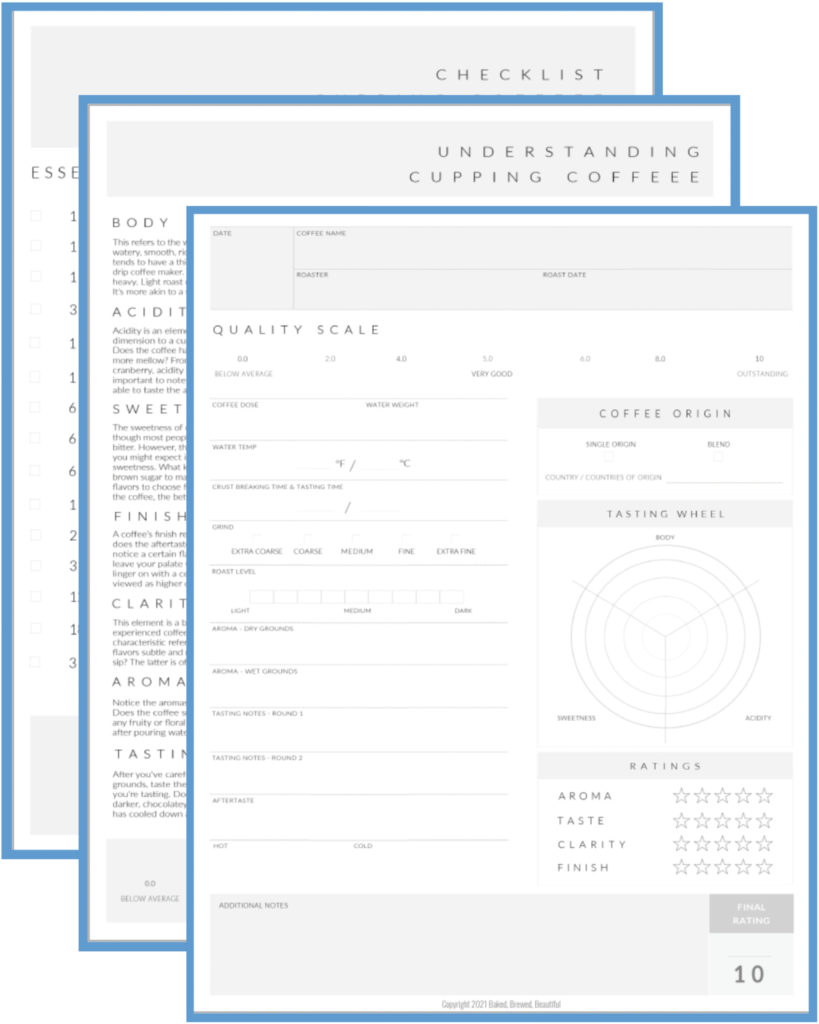
My cupping form, which you can find here, provides entry forms for all of the important tasting and aroma note categories of a cupping along with detailed descriptions of each category (i.e. acidity, sweetness, clarity, etc.) to walk you through the tasting process.
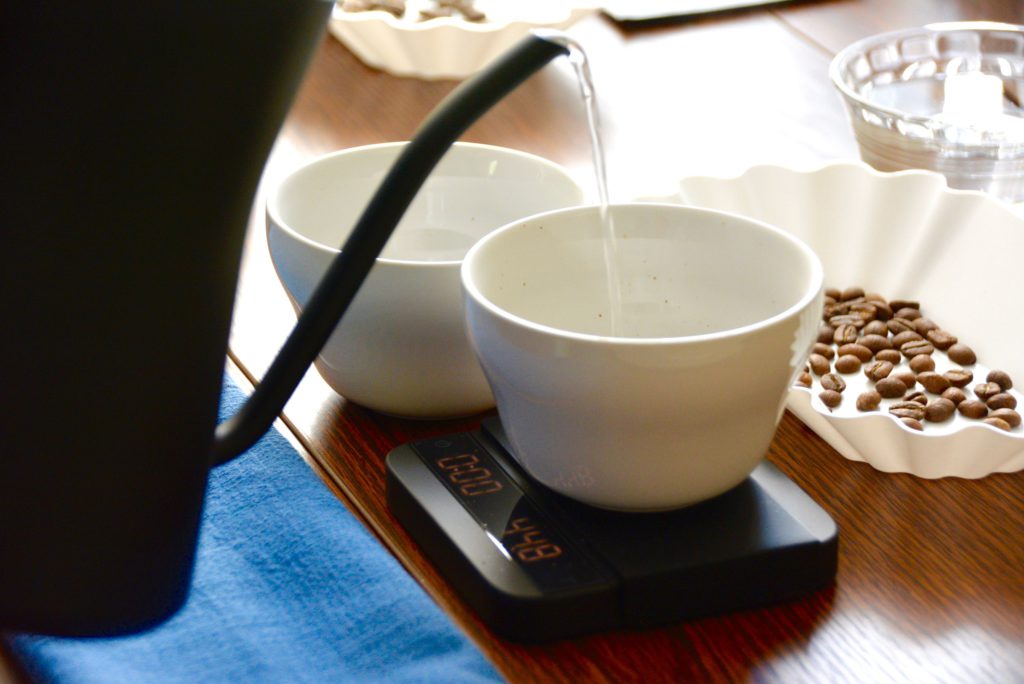
7. Pour 150ml water into each coffee cup.
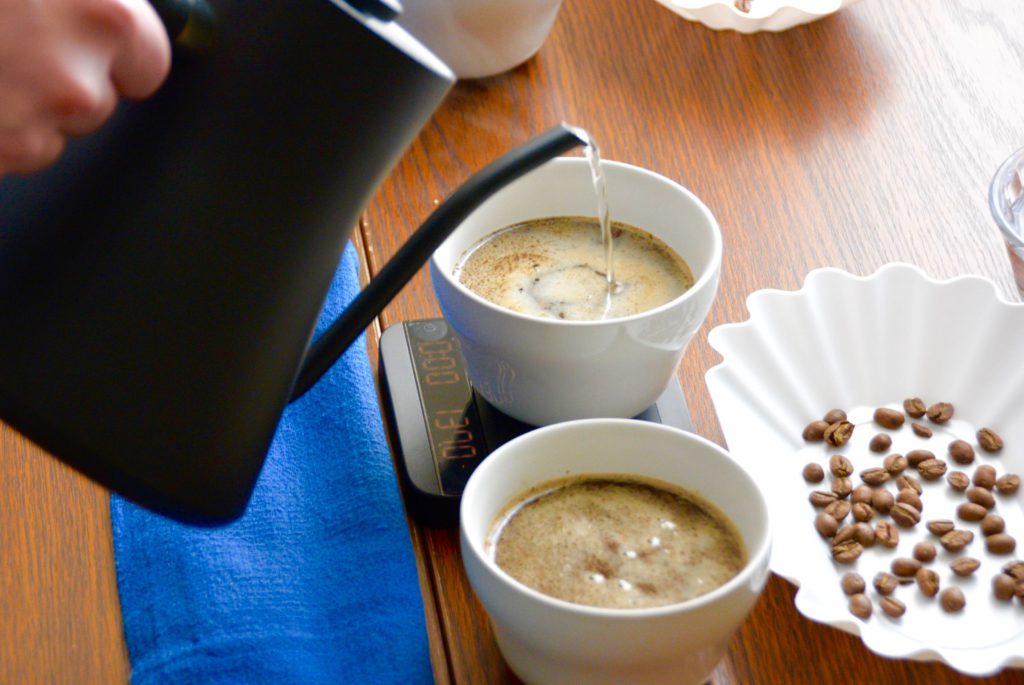
After you’ve weighed out all of the grounds and placed them in the tasting cups, it’s time to add the water you’ve been heating. Fill each cup with 150ml of water from the kettle. Ensure that each cup looks to have the same filled volume.
8. Smell the wet aroma of the coffee now.
Go ahead and smell the coffee again, this time as wet grounds. Write down any differences in aroma now that the grounds have been wetted.
9. Allow the coffee and grounds to sit together untouched for 4 minutes — set a timer.
At this time, the coffee will need to steep for 4 minutes, so set a timer after you pour the water into the cups. Note that you haven’t tasted any of the coffee yet, and you won’t do any tasting until Step 11.
While you wait for the 4 minutes to go by, talk amongst your friends. But avoid talking about the coffee you’ve gone through to avoid biasing anyone’s initial thoughts!
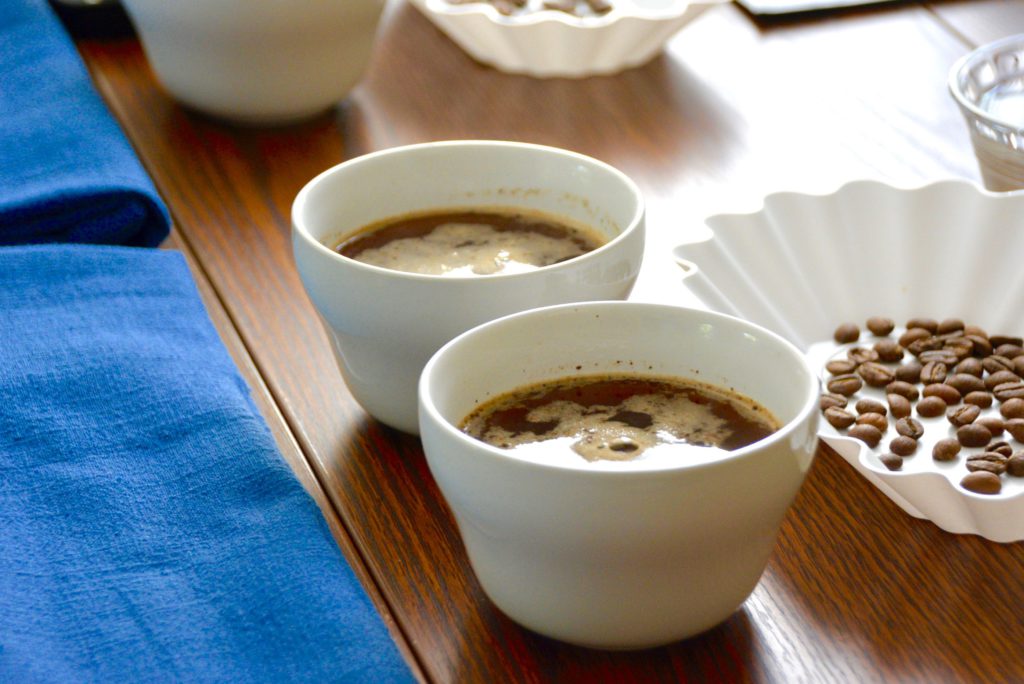
10. Break the crust.
Using the tasting spoons, push the grounds to the back of the cup. This step is called breaking the crust. Then, proceed to remove the coffee grounds and foam from the top of each cup. Discard the grounds into the disposal cup or bowl on the table. You may need to use two spoons for this step.
11. Let the coffee cool for about 13 to 15 minutes.
Take another break with your coffee tasting crew, as you allow the coffee to cool for about 15 minutes. Again, set a timer to be precise. You don’t want the coffee to get too cold.
12. Begin tasting the coffee using a clean tasting spoon.
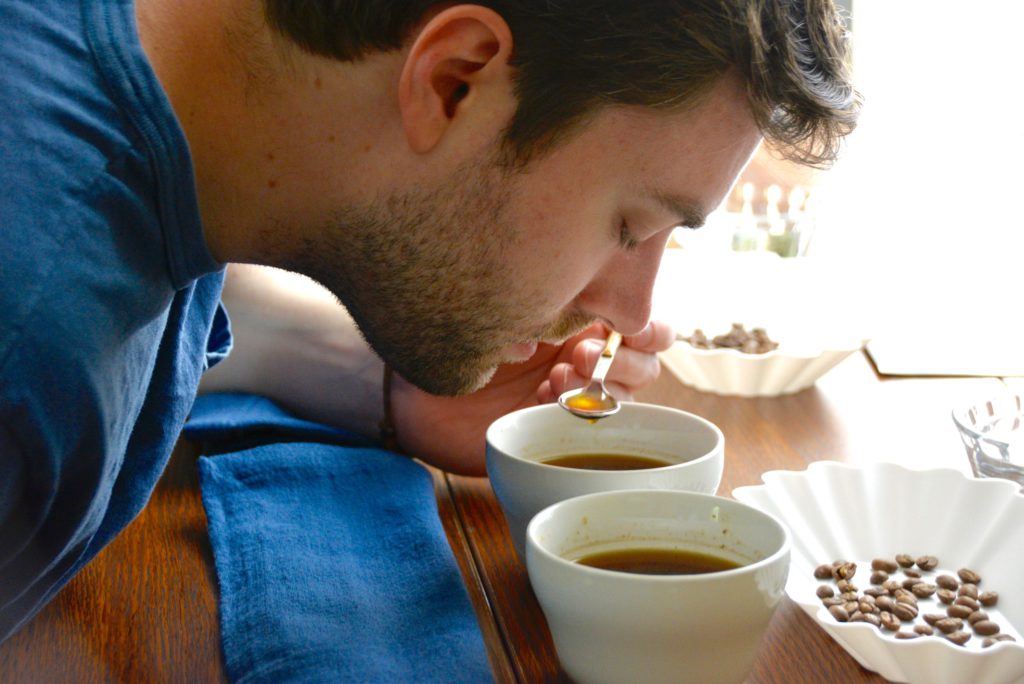
The moment you’ve all been waiting for has come, go ahead and taste the coffee. Using a clean spoon, take a spoonful of coffee and bring it to your mouth (avoid letting it drip over the coffee so as to not spread germs).
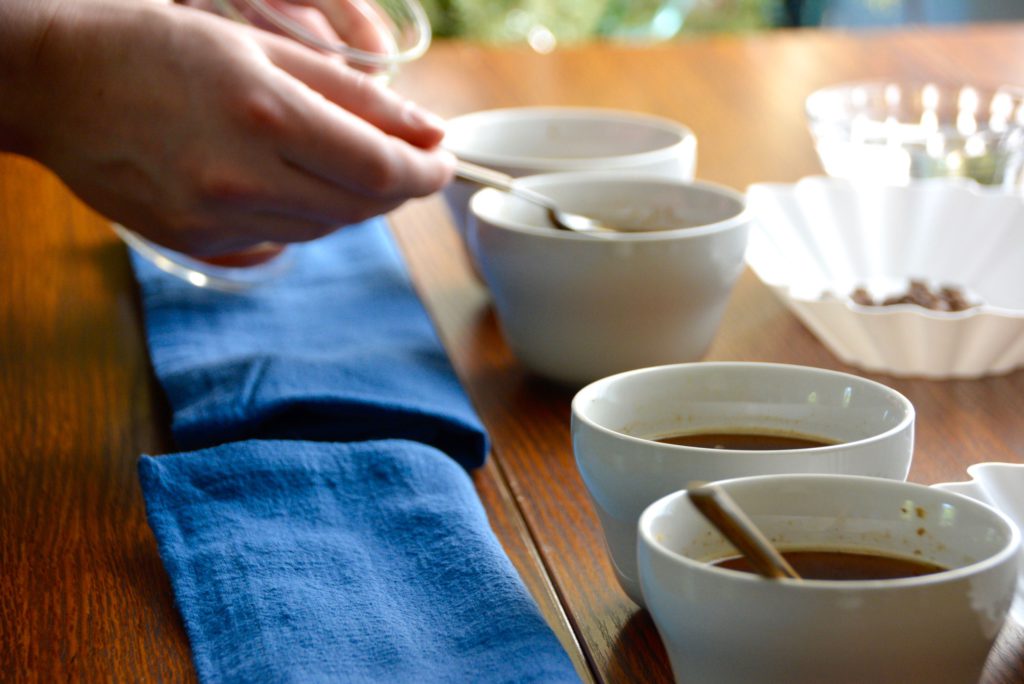
13. Slurp the coffee from the spoon, and allow your tongue to fully absorb all of the flavors.
It’s okay to slurp in a coffee tasting. In fact, it’s the ideal method because slurping the coffee lets you spread the coffee all along your tongue. This allows you to taste the most flavors from each coffee.
14. Rinse your spoon in the designated cups in between tastings.
This not only prevents germ spread, but also the cross-contamination of flavors. You can also spit out each mouthful of coffee out into your disposal cup, so you don’t overdo the caffeine. Disposal cups should be provided to each guest for this purpose.
15. Write down your thoughts for each cup.
As you move from cup to cup, be sure to write down your initial thoughts for each coffee including as much detail as you can (you probably will forget which coffee is which as you go along, so the more detail the better).
To write down all of the tasting and aroma notes during a coffee cupping, grab my free signature coffee cupping form right below. This form also comes with a detailed tasting guide to help you better define what flavors you’re tasting and smelling throughout the cupping. You’ll find a set of definitions of the most important coffee categories including acidity, finish, sweetness, and more to transform your coffee scribbles into coffee expertise. Grab the free cupping forms and tasting guide here.
16. Go through all of the cups at least twice.
After you’ve tasted coffee from every cup (all 6), go through and taste them all again at least one more time, and write down anything new you may notice.
You can now pat yourself on the back for completing a coffee cupping at home! It’s a lot of work, but well worth it to try your coffee in a whole new setting.
Grab this FREE Coffee Cupping Form, Checklist & Tasting Guide to Taste Your Coffee Like An Expert
Subscribe to my weekly emails to receive exclusive access to my FREE resource library & grab this Coffee Cupping Packet which includes a checklist, cupping forms, and tasting advice & definitions to help walk you through the cupping process!
Plus, be the first to get additional coffee freebies. Sign up below!


I need your help, please. I cannot find a way to download the Coffee Cupping Form, Checklist & Tasting Guide.
Please advise? My wife and I have a small coffee roasting house in Costa Rica, and we want to host monthly cupping events for our friends and neighbors.
Gracias!
Hi! I just sent you an email with the forms so let me know if you don’t receive it. But you can also access them by heading over to the resource library https://bakedbrewedbeautiful.com/library/ and entering the password: coffee. Then search for the cupping forms on the list – it should be #15.
Thanks for checking out the site!
Cheyenne