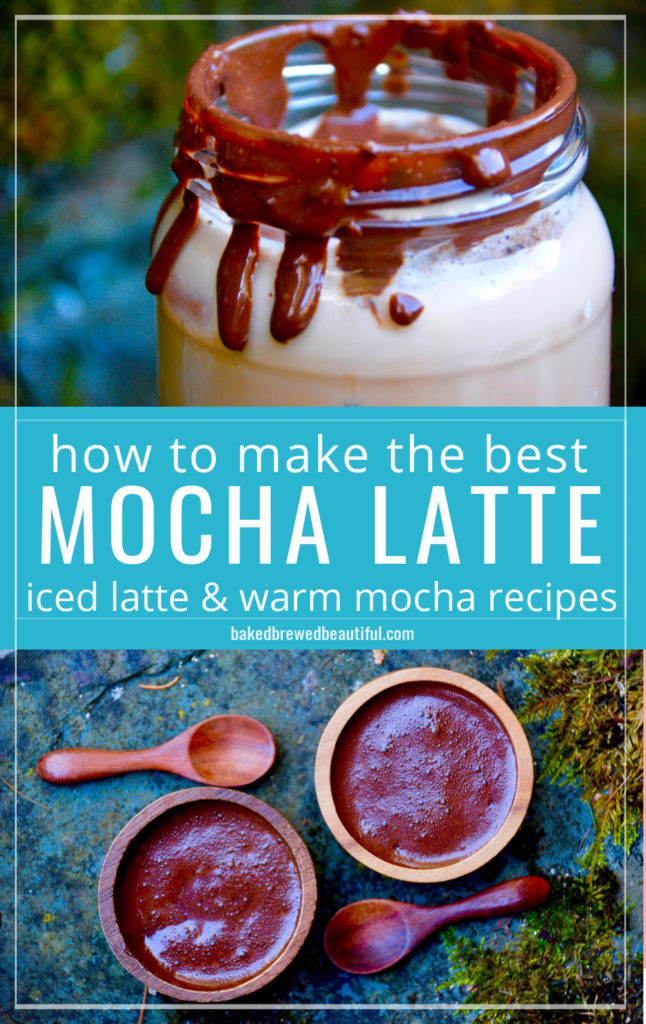
Looking to add some chocolate to your daily coffee routine? Make this delicious & easy mocha with gourmet homemade chocolate ganache.

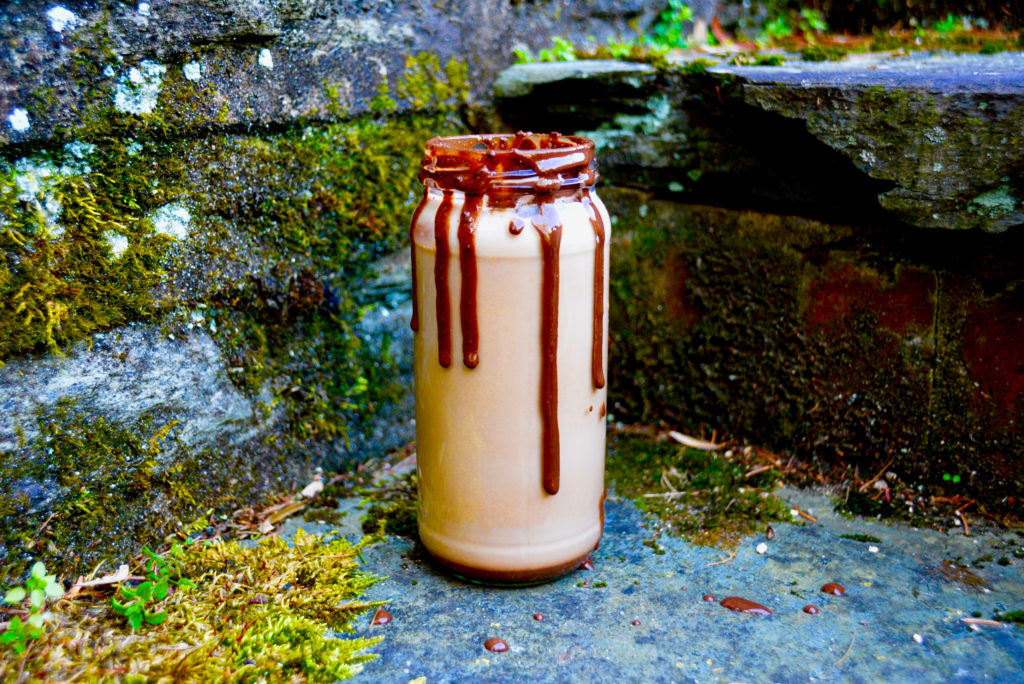
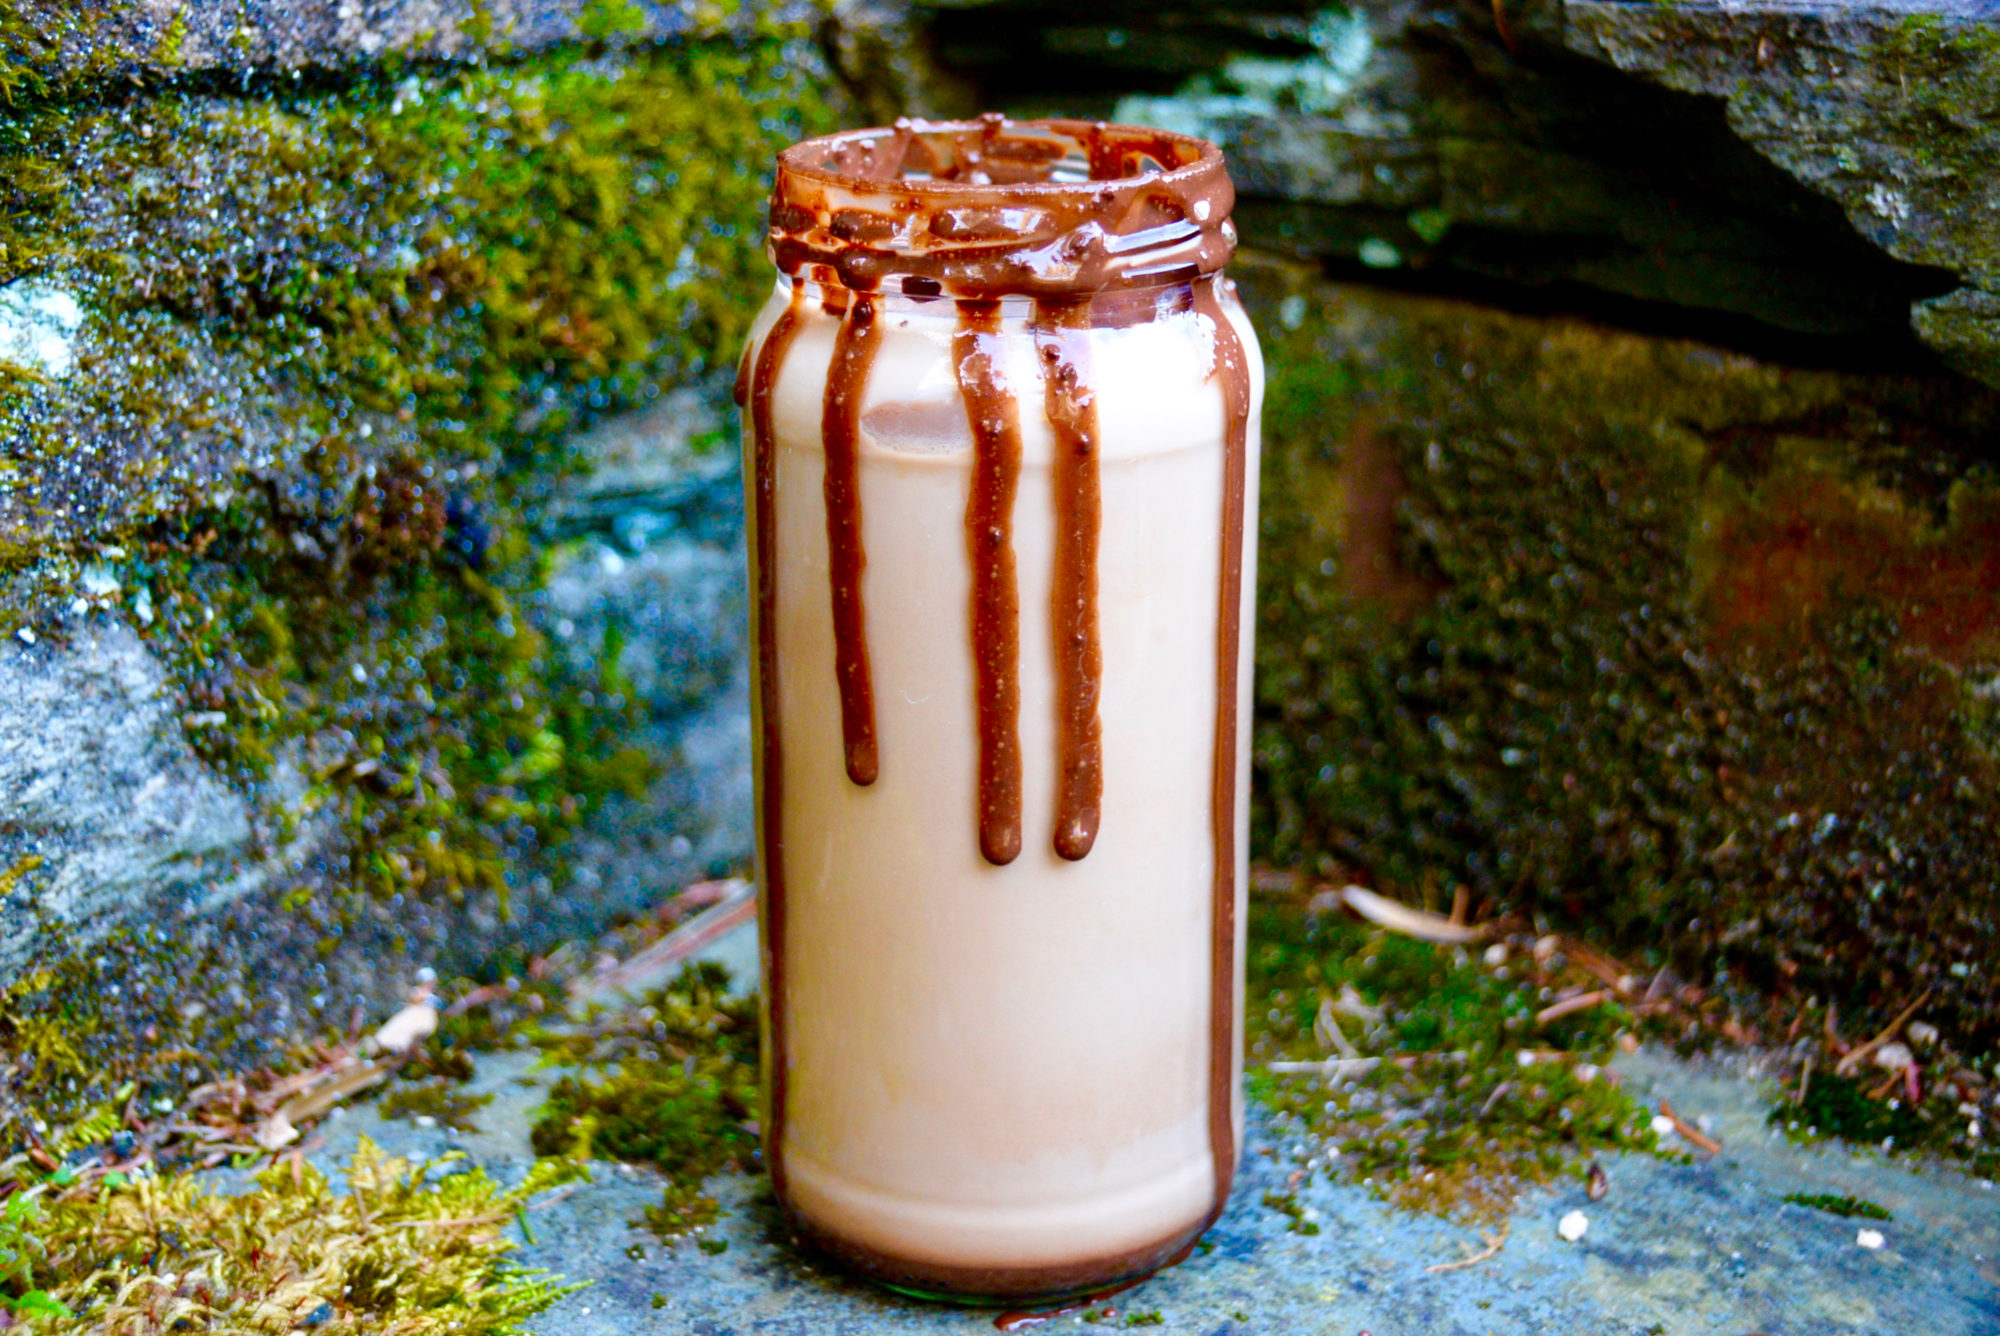
- Add some chocolate to your daily coffee routine with this delicious & easy iced mocha (or enjoy it warm!).
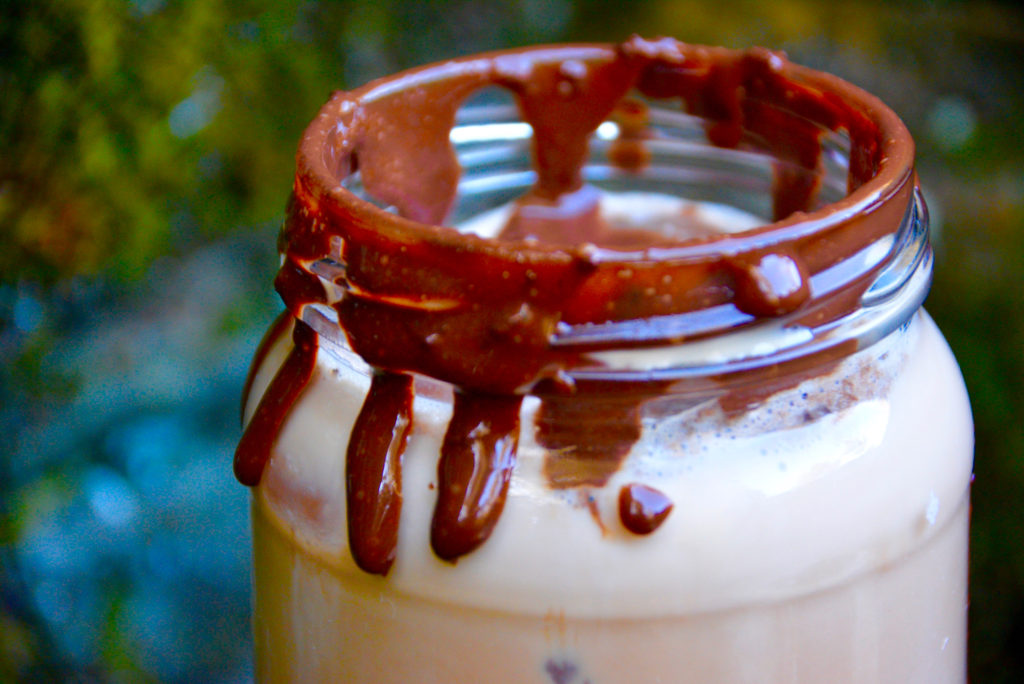
- Homemade chocolate ganache is the trick to turning this iced latte from good to gourmet.
- Make this iced mocha into a hot mocha by substituting the ice cubes for steamy, foamed milk.
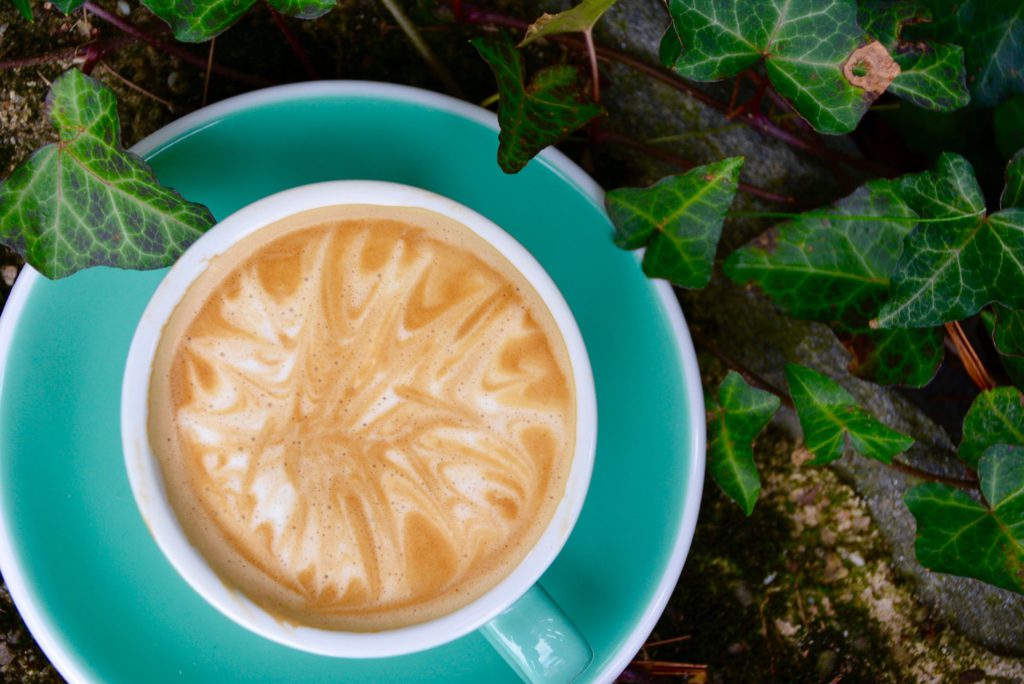
If you’re a fan of chocolate and a lover of coffee, then you need to add mochas to your coffee bucket list. A mocha marries these two incredible flavors in a velvety smooth and slightly sweet coffee drink. The beloved mocha is also known as a caffè mocha, which is espresso and hot, steamed milk with the addition of sweet, chocolatey flavors (it’s basically a latte with chocolate). An iced mocha is obviously similar but uses cold milk and ice cubes. This recipe delves into the details on how to make both: the perfect iced mocha and the perfect warm mocha.
But adding just any type of chocolate to your coffee simply won’t do. There are a few tricks I have discovered through recipe testing that will totally transform a mocha from good to gourmet. Read on to find out exactly what items you’ll need and what you need to do to make a gourmet mocha — hot or iced.
Note: I may earn a small commission when you make a purchase through some of the below links. Read my disclosure policy to learn more.
Make the chocolate ganache yourself (only takes a few minutes!).
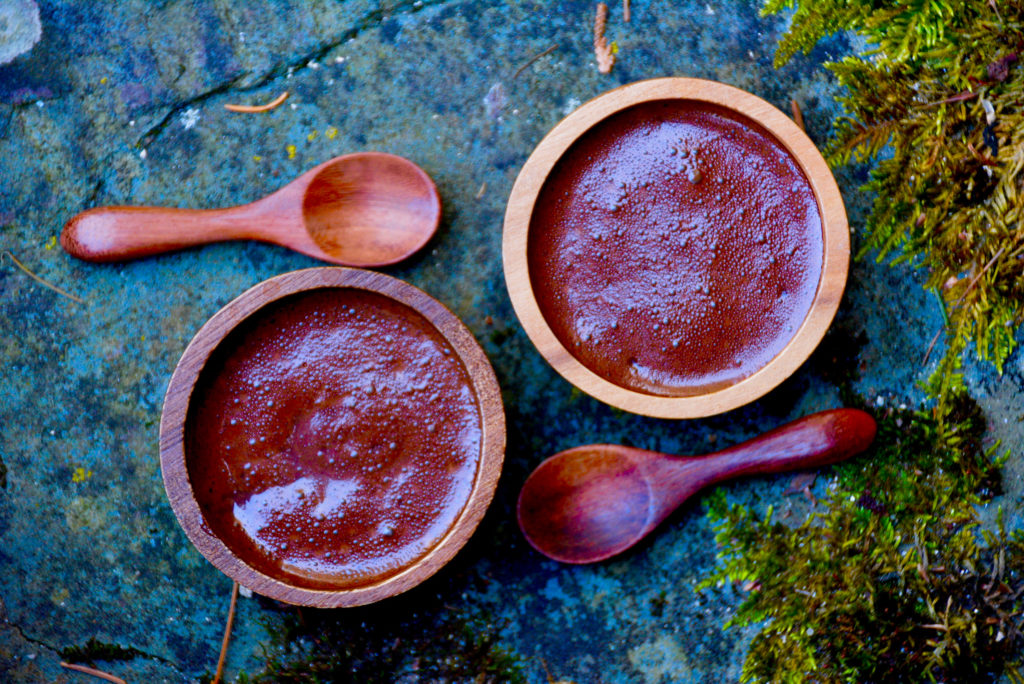
The way to make this mocha into something gourmet is by making your own homemade chocolate ganache. The ganache recipe I’ve provided below is actually super easy to make and only takes about 5 to 10 minutes. You will need a saucepan and a whisk for this recipe.
The ingredients you’ll need include cocoa powder, heavy cream, sugar (brown or white), brewed coffee, salt, and vanilla extract.
Use high-quality, organic cocoa powder and heavy cream.
As a means to help the environment and as a way to improve the overall quality of your mocha, it’s best to opt for organic ingredients for this recipe. Ideally, all of the ingredients you use for your mocha should be certified organic. But if that’s not an option for you, at least purchase high-quality organic cocoa powder and organic heavy whipping cream.
Since these two items are the predominant ingredients in the recipe, this will improve the overall flavors of your chocolate ganache. I personally use the 365 by Whole Foods Market, Organic Cocoa Powder. It works beautifully and tastes amazing. While you’re at Whole Foods, you can also purchase organic heavy whipping cream as they have a wealth of organic options.
Make the ganache right before you make your mocha.
When you’ve gathered the ingredients for your mocha, it’s important to time it just right. I would advise making the ganache right before you intend to make your mocha because the ganache dissolves quicker when it is warm.
You want the chocolate ganache to dissolve completely in the espresso you’ll pull in a few steps down before adding the milk. Otherwise, you’ll end up with chunks of ganache at the bottom of your glass or server.
Note: If you’re making a warm mocha, the timing of the chocolate ganache doesn’t matter as much since the warm milk will help to dissolve the ganache.
Do not let the milk boil or you’ll have to start all over.
The first step in the ganache recipe is heating the cream in a small saucepan over medium-low heat. Be sure to continually stir the cream and watch it carefully. You don’t want the cream to boil or it’ll be ruined.
Once it’s steaming, immediately remove it from the stove. Then you’ll stir in the rest of the ingredients (see full recipe below).
Also, I mention adding strong coffee to the ganache. This just helps to bring out the chocolatey flavors, it won’t make the ganache taste like coffee. I happened to have Jot Coffee on hand, which is SUPER concentrated liquid coffee. You’re supposed to mix the concentrate with water or milk to make instant coffee (that won’t taste disgusting). I used about 1 teaspoon for the ganache recipe, and it worked beautifully.
This ganache recipe is more like a dark chocolate ganache, so you’ll want to add sugar to taste.
In regards to the sugar content of the ganache, I leaned on the lighter side because I like the taste of dark chocolate. So this ganache recipe is ultimately more akin to a dark chocolate ganache.
If you’re someone who doesn’t like the bitterness of dark chocolate, I would suggest starting with the 1/4 cup of suggested brown sugar and then adding more by the tablespoon to taste.
Don’t skip the salt!
Last thing I want to note about the ingredients is the salt. Don’t skip it. It’s another one of my secrets that makes a good mocha into a gourmet mocha! Seriously, it makes all of the difference. I would suggest starting with just a dash, which is equivalent to 1/8 teaspoon. You can always add more if you’d like.
For a great mocha, use great beans to make your espresso.
For this mocha, you should use good coffee beans. By good, I mean beans that aren’t too dark (over-roasted) nor expired. If the beans are not properly roasted or they are sold way too long after their original roast date, then your mocha is doomed.
Buy your beans from vetted coffee companies that offer roast-to-order coffee beans. I’ve compiled a list below of coffee beans that I think are well worth purchasing. I have tried every single brand on this list, so they have my personal stamp of approval.
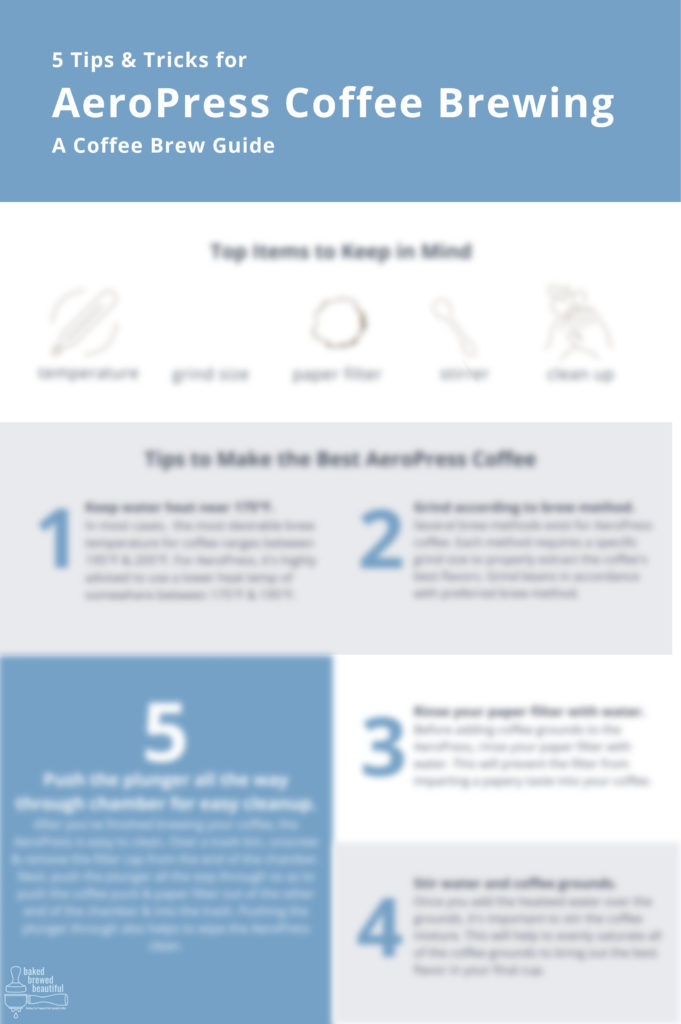
If you don’t have an espresso machine to pull a perfect espresso, I would highly recommend using an AeroPress. This is an inexpensive alternative to using a fancy espresso machine, and it’s one the cleanest-tasting brews out there. It will work just fine for this mocha recipe. Download my AeroPress Brewing Guide below if you want expert tips on how to make the best AeroPress espresso!
Download My FREE AeroPress Brew Guide for BONUS Brew Tips
Subscribe to my newsletter (free!) & get instant access to my FREE resource library to grab my AeroPress brew guide!
PLUS find bonus coffee tutorials, recipes & brew guides that don’t get posted here on the blog!
Combine the espresso with the chocolate ganache first and stir until totally dissolved before proceeding.
As mentioned earlier, it’s essential to combine the warm ganache with the freshly pulled espresso first and foremost (especially if you’re making an iced mocha). The hot espresso will help to fully dissolve the chocolate as you stir. Make sure the chocolate is all dissolved before proceeding to the the next step.
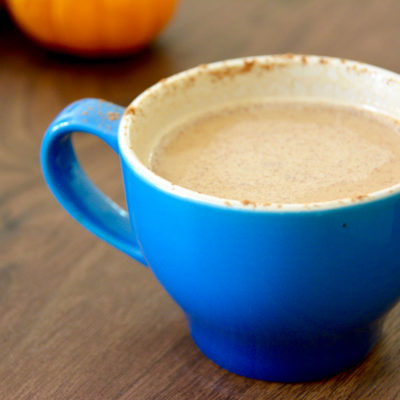
For a warm mocha, steam your milk and pour over the espresso & chocolate mixture.
If you prefer a warm and cozy mocha, you will need to steam your milk prior to pulling your espresso. To do this, you can use a steam wand, an electric milk frother, or you can use a microwave and a mason jar. See post here for details on how to foam milk without fancy equipment.
Once you have your foamed milk, pour it over your espresso and ganache mixture and stir gently. That’s it for the warm mocha!
Add oat milk for a different take on an iced mocha.
For a slightly different take on a mocha, I like to use oat milk as my milk of choice (but not in the ganache — you need to use real whipping cream for that part). My favorite is Califia’s Barista Blend Oat Milk, and I use it almost daily for making iced lattes such as this one.
Since it’s slightly sweet, it complements the sweet flavors of this mocha. It also tastes a little lighter and is gentler on your digestive system.
Top your iced or warm mocha with a dollop of homemade whipped cream.
Lastly, to elevate this mocha even further, you can whip up some homemade whipped cream by whisking together some sugar and heavy cream (you already have the cream, so why not!?).
Add a dollop of whipped cream to the top of your mocha and dust a little bit of cocoa powder over the top to finish it off.
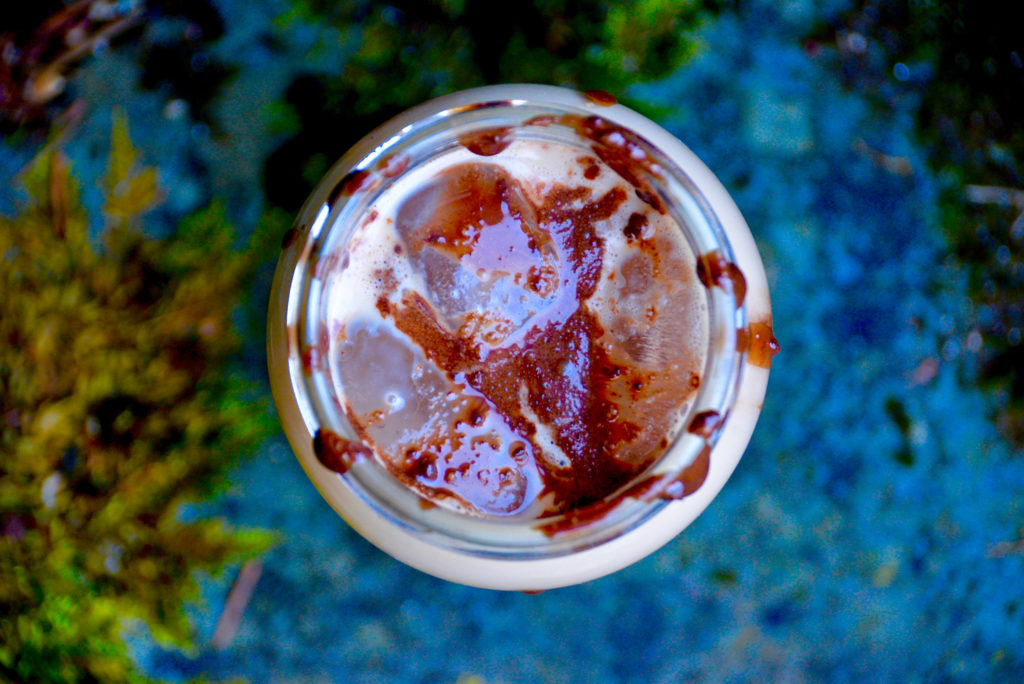
You can also dip your glass or server in the chocolate ganache prior to adding all of your ingredients like I have done in the photos to make it look extra fancy.
Share your brewtiful brews with me on Instagram.
After you’ve finished brewing your mocha, take a snapshot and let me know how your drink turned out!
Tag me on Instagram @bakedbrewedbeautiful or use the hashtag #bakedbrewedbeautiful, so I can see your beautiful creations — happy brewing!
Best Iced Mocha Recipe
Add the cream to a small saucepan and set to a medium-low heat. Stir frequently until the cream starts to steam (do not let it boil). Remove from heat.
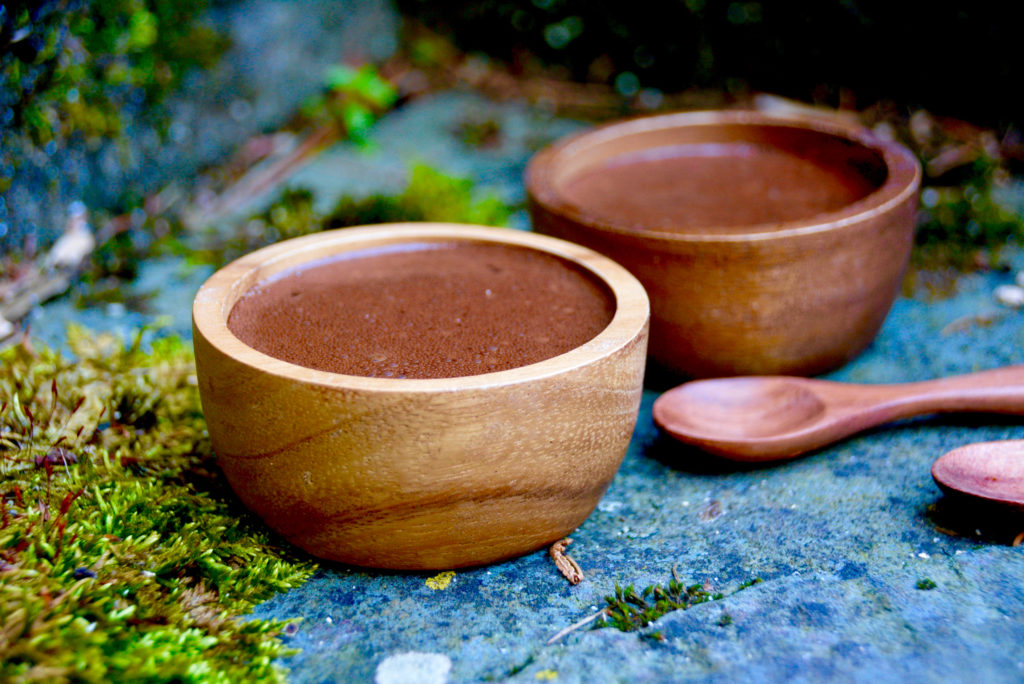
Add the cocoa powder, sugar, and coffee into the cream until smooth. Add the vanilla extract last. Allow the mixture to cool to desired consistency. Ideally, it should be spreadable.
For a warm mocha latte, steam milk first and have it set aside until ready to use.
Prepare the espresso and pour into your server or mug immediately. Add the chocolate ganache to the espresso and stir vigorously until the chocolate is totally dissolved.
If making an iced mocha latte, pour desired milk over the espresso and chocolate mixture and stir. Follow it up with a couple of ice cubes and whipped cream as a topper.
For a warm mocha, pour the steamed milk over the chocolate and espresso mixture and stir gently. Add whipped cream and a cocoa powder dusting over the top for garnish.
Ingredients
Directions
Add the cream to a small saucepan and set to a medium-low heat. Stir frequently until the cream starts to steam (do not let it boil). Remove from heat.
Add the cocoa powder, sugar, and coffee into the cream until smooth. Add the vanilla extract last. Allow the mixture to cool to desired consistency. Ideally, it should be spreadable.
For a warm mocha latte, steam milk first and have it set aside until ready to use.
Prepare the espresso and pour into your server or mug immediately. Add the chocolate ganache to the espresso and stir vigorously until the chocolate is totally dissolved.
If making an iced mocha latte, pour desired milk over the espresso and chocolate mixture and stir. Follow it up with a couple of ice cubes and whipped cream as a topper.
For a warm mocha, pour the steamed milk over the chocolate and espresso mixture and stir gently. Add whipped cream and a cocoa powder dusting over the top for garnish.
Want to brew barista-level coffee at home?
Join my newsletter to receive my free home-brewing guide. PLUS, you’ll get instant access to ALL freebies in my resource library including bonus recipes, pairing ideas, and more brew guides!


Leave a Reply