Learn to make delicious coffee and espresso in any size moka pot following these simple step-by-step instructions.
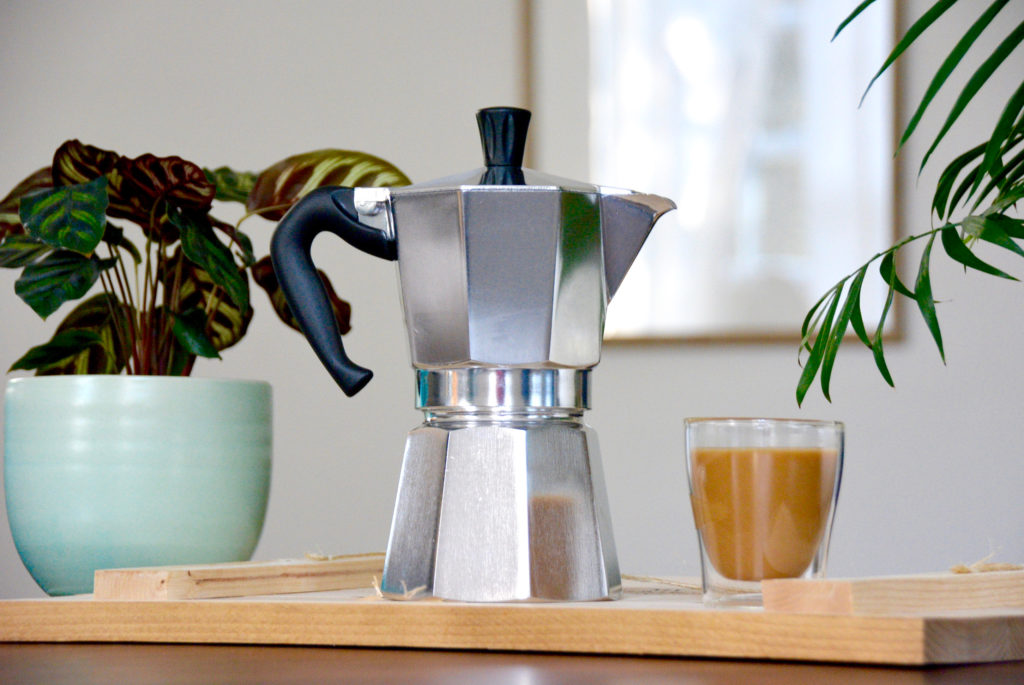
- The moka pot is an eight-sided coffee brewing instrument, invented by Alfonso Bialetti.
- Despite its alternative name (the stovetop espresso maker), the moka pot doesn’t make real espresso, but an expresso-like concentrate.
- Only the moka pot itself and a heat source are required for this very classic brew method.
- The concentrate made with a moka pot is versatile in that it can be used to make coffee and espresso drinks.
Whether you know it as a stovetop espresso maker or as the bialetti, the moka pot is a classic brewing method that has recently been experiencing a resurgence. This unique eight-sided kitchen item was invented by Alfonso Bialetti in 1933. Quickly, it was adopted into many Italian homes during that time and swept through the rest of Europe.
Perhaps the reason it was so beloved then is the same as why it is gaining in popularity now — it makes espresso-like coffee without the need for any fancy equipment. All it requires is the moka pot itself and access to a heat source. Read on to learn how to use a moka pot for espresso, coffee, and beyond.
If you’re just looking for moka pot troubleshooting, click here to go straight to the moka pot FAQ section below.
Download my FREE Moka Pot Brew Guide
Join my email list to get instant access to my FREE resource library and grab my free Moka Pot Brew Guide.
PLUS be the first to find out about my other awesome coffee freebies including more brew guides like this. Sign up below!

Note: I may earn a small commission when you make a purchase through some of the below links. Read my disclosure policy to learn more.
The moka pot process is simple, but magical.
To understand how the moka pot works, water boils in the bottom chamber which eventually builds up enough steam to push itself through a pipe and the middle chamber. It continues to push up through another pipe and is finally released into the top chamber.
While there is still debate as to whether or not the moka pot’s reputation can stand in the world of specialty coffee, there is something magical about the process. Watching the coffee rise and gurgle into the top chamber is not only mesmerizing, but this brew method is useful for those not yet willing to commit to buying a fancy espresso machine.

The moka pot has the ability to help users create mock (yes mock — not moka) espresso drinks at a reasonable price. Assuming you have a way to foam milk to make lattes and cappuccinos (see FAQ below for recipes), the moka pot introduces those who are used to basic drip coffee to a new way of enjoying their java.
For a 3-cup yield, measure out about 13 grams of coffee.
In general, the rule of thumb for a moka pot is to use a 1:12 coffee to water ratio. This will yield a strong espresso-like concentrate of about 6.5 ounces. A good place to start is with 13 grams of coffee and 170 grams of water.
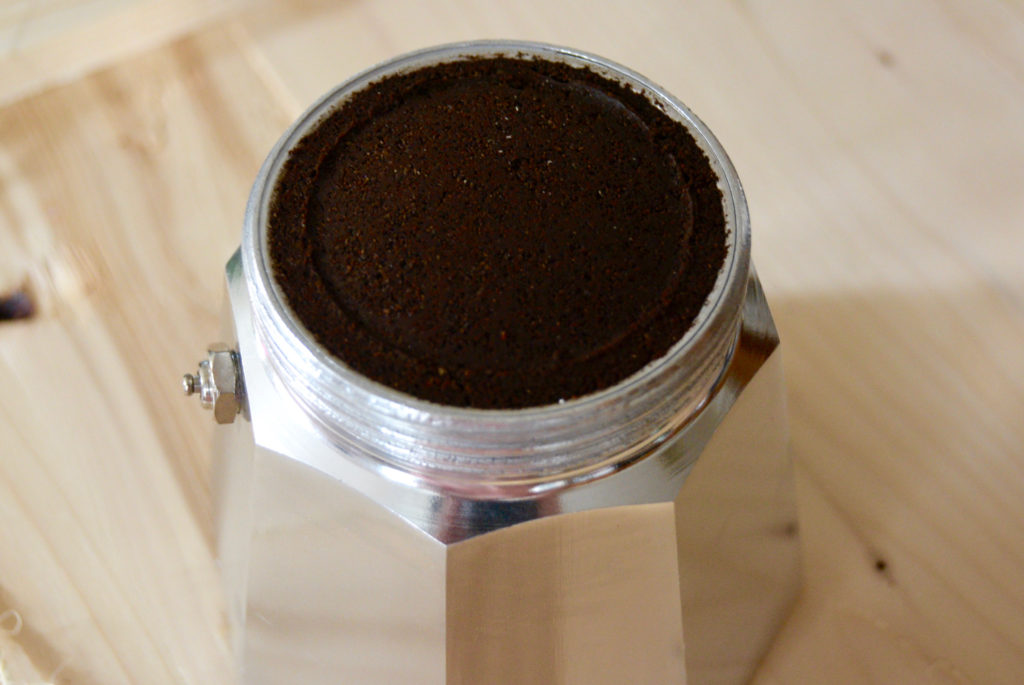
For those looking to brew a specialty cup of coffee (not espresso), use a ratio of 1:15. This will highlight the coffee’s flavors and characteristics more so than in the 1:12 ratio.
With that said, if you are going for a specialty cup of coffee, it’s also important to use freshly roasted coffee beans. This means no pre-ground coffee, expired grounds or whole beans, or basically any coffee that you’d buy from a grocery store. Look for coffee beans that have been recently roasted within the last week.
Note to those who want to make espresso: Don’t worry — the measurements are the same for coffee and espresso up until the end of the brewing process. See last point on water dilution below.
Preheat 175 grams of water in a kettle.
While you’re measuring your beans, get your water boiling by heating it in a stovetop or an electric kettle. Once it’s boiling, fill the bottom half of your moka pot with 170 grams of hot water.
The reason for doing this is to keep from cooking the grounds while the moka pot warms on the stove. This, in turn, would ruin the flavor of your coffee grounds and produce a very bitter cup.
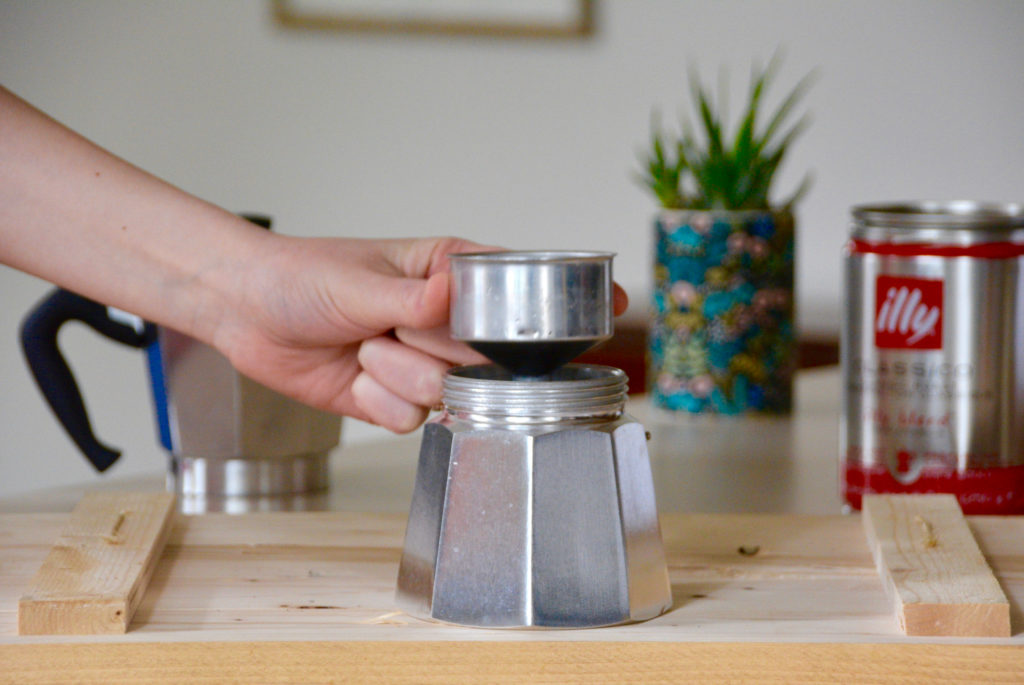
At this point, you can place the filter inside of the bottom half of the moka pot (see photo above). The filter has a pipe attached to it. The pipe side goes down into the bottom chamber.
Grind your coffee beans to a medium-fine to fine grind.
Once you’ve measure out your beans, it’s time to grind them. It’s important to get the grind size just right to extract the most flavor and prevent any grounds from seeping into your coffee if too fine.
For a moka pot, you should use a medium-fine grind. The coffee grinds should look something akin to sand grains. If the grind is too fine (like in grinding beans for true espresso), some grounds may slip through the filter and into your final brew.
If you don’t have a grinder yet and would like to buy coffee grounds that are just the right size, illy sells coffee grounds specifically for moka pots. They aren’t too fine nor are they too coarse. As Goldilocks would say, they’re just right! You can grab them here.
Level the grounds, but don’t press them down.
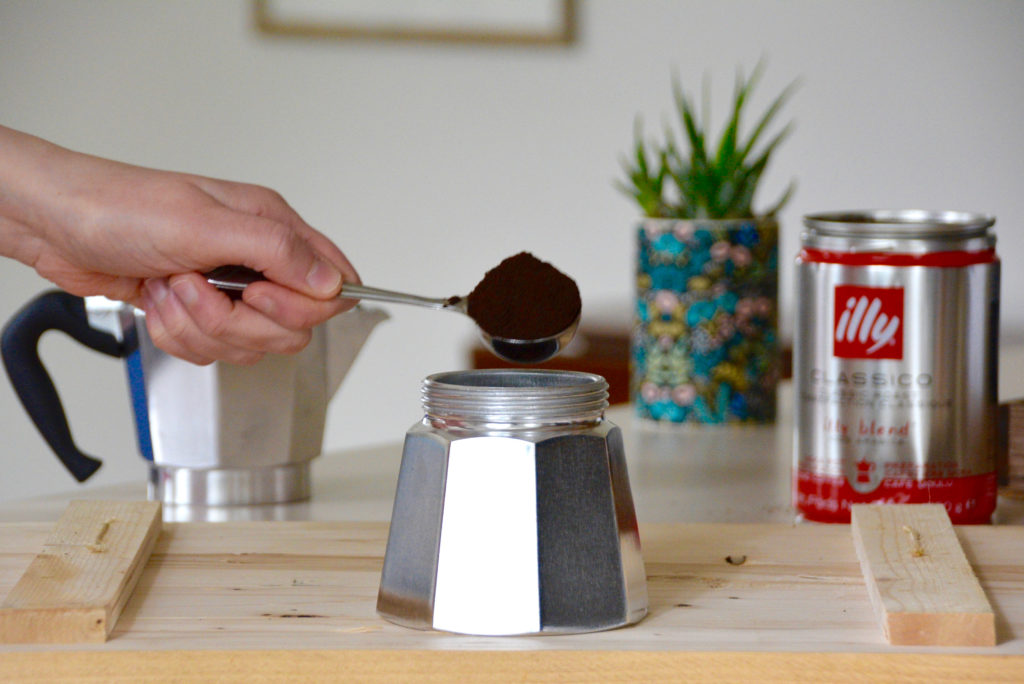
Add the coffee grounds into the filter (the filter should already be placed in the bottom part of pot now). Level the grounds by tapping the side of the pot, but be sure not to press the grounds down.
Attach the top part of the moka pot and place on the stove.
Now that the bottom brewer has the grounds and water, attach the top part of the moka pot to the bottom piece. It should screw on pretty tight. Once it’s attached, place the entire unit on the stove.
Turn the heat up to a medium heat. Be sure that the flame or heating element does not reach the handle to prevent it from becoming too hot to touch.
New to moka pot brewing? Grab my FREE brew guide now!
Sign up for my newsletter to get instant access to my FREE resource library to download my Moka Pot Brew Guide.
PLUS be the first to grab more free brew guides and other awesome coffee freebies. Sign up below!

Leave the lid open to watch the magic ensue.
This is the best part — watching the coffee bubble into the upper chamber. As it heats up, coffee will begin to flow into the top chamber. It’s more entertaining to leave the lid open during this process, but you can also keep the lid closed. This will keep the heat inside and speed up the brewing process just slightly.
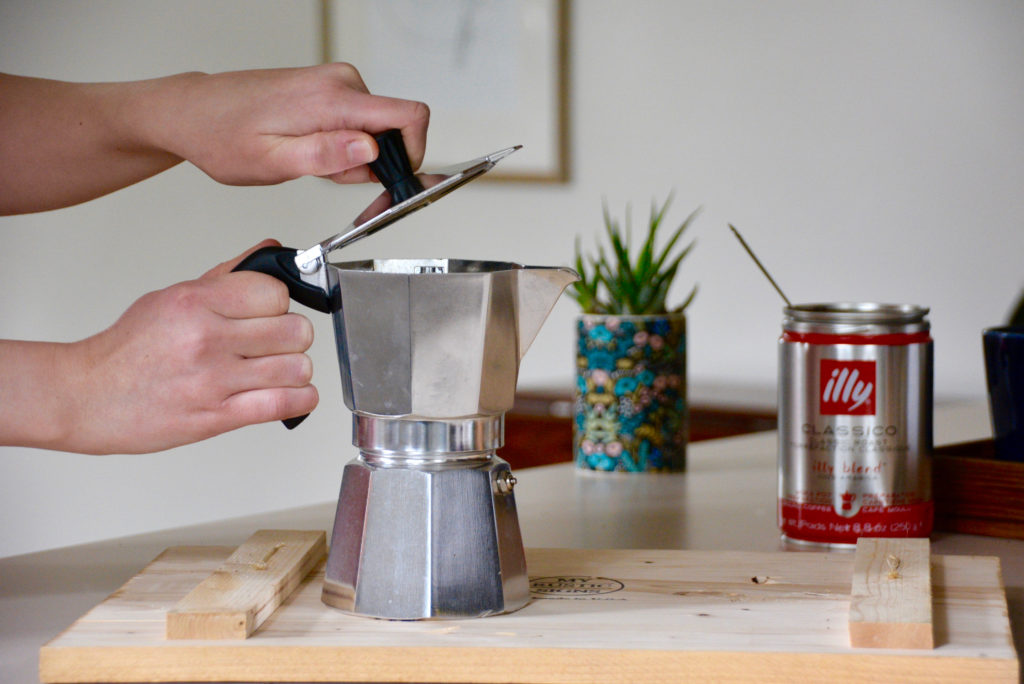
To determine whether it’s done, listen to your coffee. When you hear bubbling and hissing, you’ll know that it’s finished its cycle and can be removed from heat.
Pour your coffee immediately, and decide whether you’d like to enjoy as “espresso” or coffee.
Immediately after the brewing cycle has finished, pour your coffee into your desired server. Be sure to hold onto the lid when pouring.
If you’d like to drink it as espresso, you’ll leave it as is or proceed to add foamed milk for an espresso-beverage (see FAQ below for recipes). For a regular cup of coffee, pour about 80 to 100 grams of hot water into the concentrate to dilute it. For a specialty cup, dilute with about 50 grams (or to taste) of hot water.
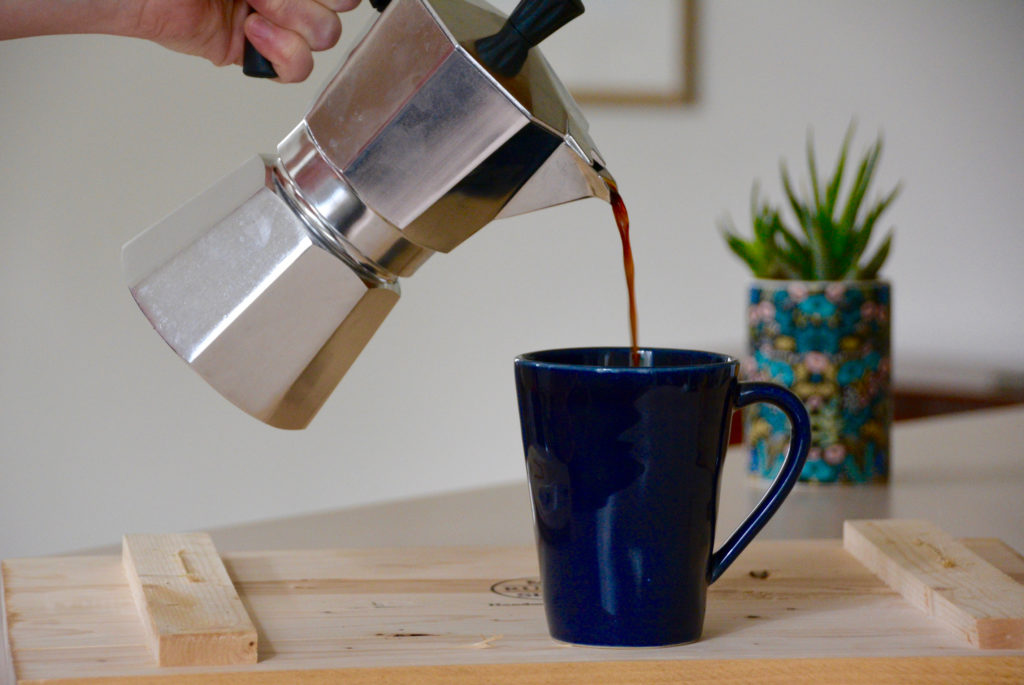
Note: A moka pot yields an espresso-like concentrate. This is typically sufficient for making decent cappuccinos and latte. To make a latte or cappuccino, see FAQ below.
Let it cool, and then clean it.
Because this unit is made of metal, it’s going to be too hot to clean right after usage. Let it cool down until it’s comfortable to touch. Then, you’ll need to take all of the components apart to give it a good rinsing.
Begin by dumping out the grounds from the filter and then proceed to clean get rid of all the leftover grinds. Then, rinse the rest of the moka pot pieces with just hot water. Avoid using soap and other chemicals and please, don’t put any of the parts in the dishwasher.
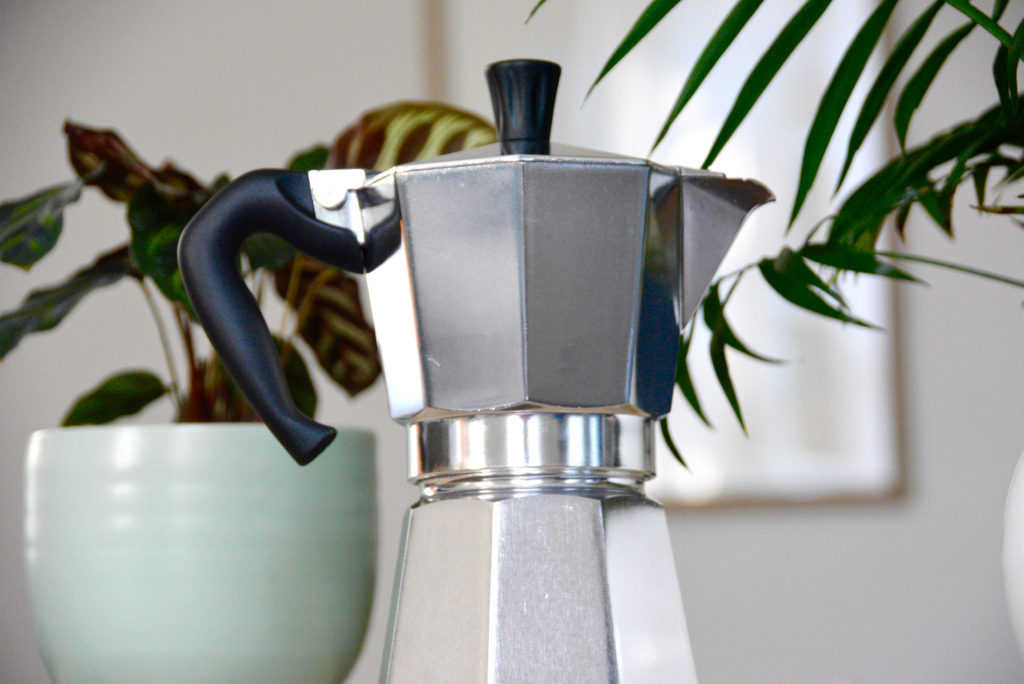
Occasionally, it’s a good idea to descale it with equal parts water and distilled vinegar to prevent scale buildup.
Write it down, and keep trying.
Finally, write down your results. What kind of brew did you end up with? Was it too bitter? Was it too weak? What kind of grind size did you use and what kind of beans?
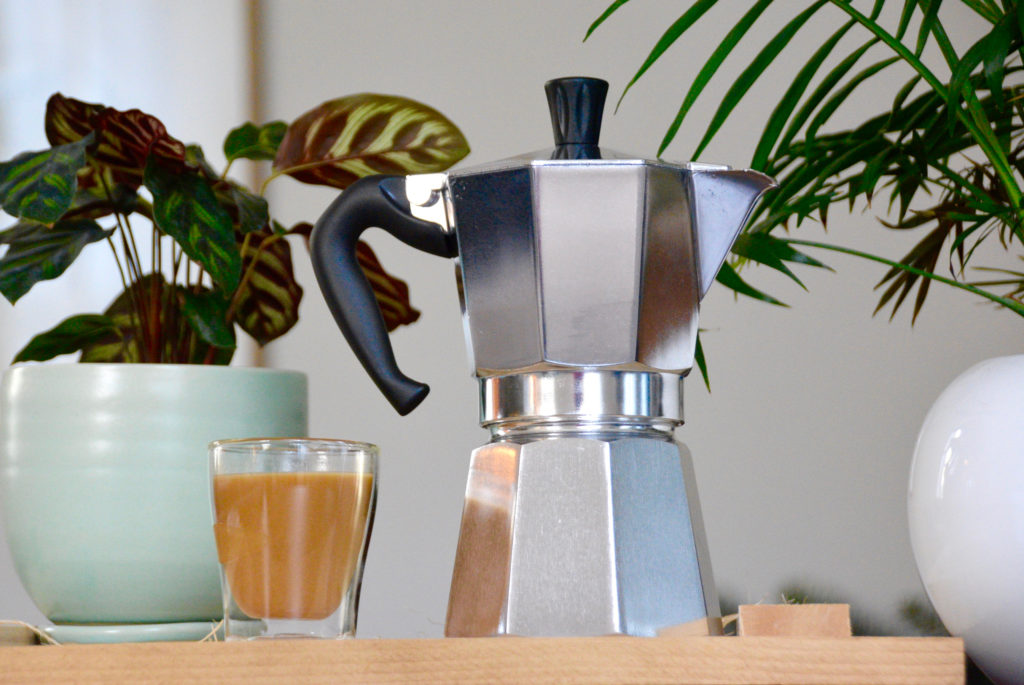
Writing all of this information down in a coffee log in your phone or in an old-fashioned notebook can be very helpful. In tracking your ratios, grind size, coffee type, and results, you’ll be able to continually refine your brew. For instance, if one brew ends up tasting too strong, you can look back at your ratio/measurements to see how you can adjust your ratio for the next time.
>
Moka Pot FAQ Section:
Should I leave the lid open?
If you want to watch your coffee's progress, it doesn't hurt to leave the moka pot lid open. It's also fun to watch and listen to the coffee gurgle through the pipe in the top chamber.
How high should I turn up the heat?
Use a medium heat whether using an electric or gas stove.
How do I use a moka pot on a gas stove?
The process for heating a moka pot on a gas stove and an electric stove stays the same. The only precaution for both methods is to ensure that the moka pot handle is not directly over the burner or the flame.
How fine should the grind be?
The grind size should be medium-fine. You really don't want it any finer (like in grinding for true espresso), as the grounds could seep through the filter.
When is my coffee done?
You'll know the coffee is done when you hear a hissing sound from your moka pot.
How do I make a cappuccino and/or a latte with a moka pot?
To make a cappuccino with your moka pot espresso-concentrate, simply froth about 1 cup of milk and pour it over your "espresso." The same goes for a latte. The difference between the two is that the latte has less foam. It's a matter of preparing the milk differently.
How do I make a regular cup of coffee with my moka pot?
Add about 80-100 grams of hot water to the final espresso. It's all about personal preference, so add the water slowly and taste it as you go to ensure that you don't make the coffee to watery.
Did you grab my FREE Moka Pot Brew Guide yet?
Join my email list to receive exclusive access to my FREE resource library to grab my free Moka Pot Brew Guide.
PLUS, be the first to grab more free brew guides and other awesome coffee freebies. Sign up below!






Leave a Reply