Cold drip coffee is the new kid on the craft coffee block, and it could win over the hearts of many cold brew fans.
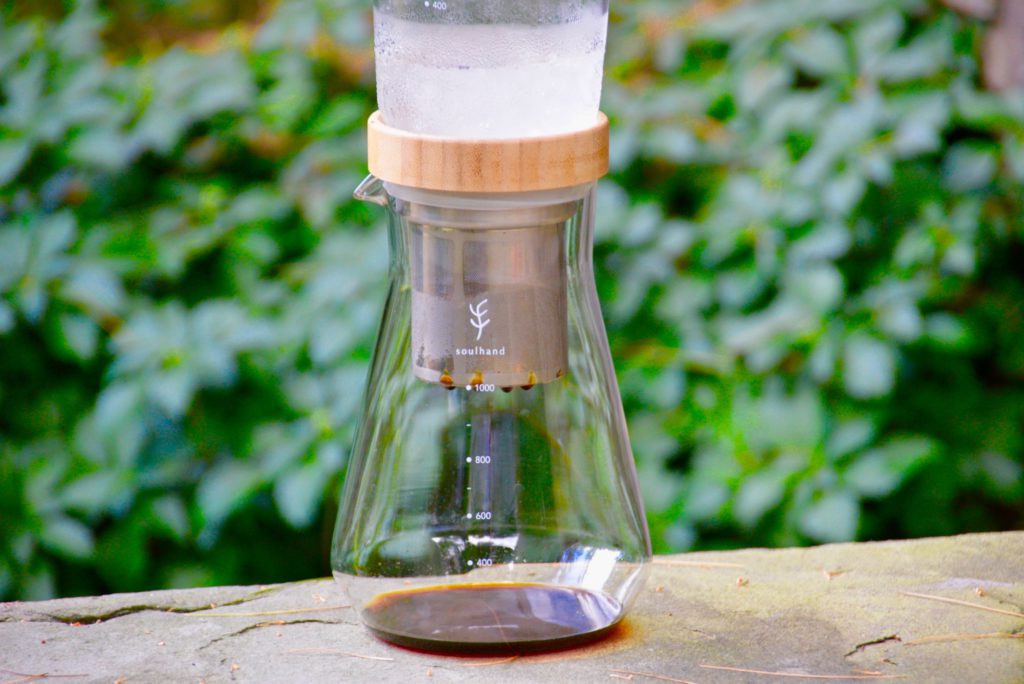
- Ice drip brewing, as opposed to immersion cold brewing, is another technique for making cold brew.
- Slow drip cold brew differs in brewing technique, taste, and cost in comparison to immersion cold brew.
- Learn to make cold drip coffee by following the below step-by-step tutorial.
- Grab the FREE Cold Drip Brew Guide for further reference when making this addicting ice drip brew.
Cold brew coffee is often a summer-time favorite. It’s smooth in body, chocolatey in flavor, and usually served over ice, offering that perfect refreshment for those hot days when you need a shot of caffeine. But there’s a new kid on the craft coffee block known as cold drip coffee that may win over cold brew fans.
If you haven’t heard of cold drip coffee (aka ice drip coffee aka slow drip cold brew), you’re missing out on a novel specialty coffee brewing experience. This kind of cold brew takes about a quarter of the time to make and offers incredibly vibrant, bright flavors that you wouldn’t get from immersion cold brew (aka the cold brew you’re probably most familiar with). And that’s just the start.
This article will break down the rest of the differences between cold drip coffee and immersion cold brew to help you decide which is right for you. You’ll also find a step-by-step tutorial on how to make cold drip coffee if you want to give it a try yourself!
Chapter 2. How to Make Cold Drip Brew Coffee
Chapter 3. Cold Drip Brew Infographic (PDF)
Chapter 4. Equipment & Ingredient Checklist
Chapter 5. Commonly Asked Questions
Cold Drip Coffee Vs Immersion Cold Brew Coffee
Note: Immersion cold brew (description below) is how we’ll refer to classic cold brew moving forward throughout this piece.
Immersion brewing takes 12 to 18 hours whereas ice drip coffee can take as little as 3 hours.
First off, it takes considerably less time to make cold drip brew compared to immersion cold brew.
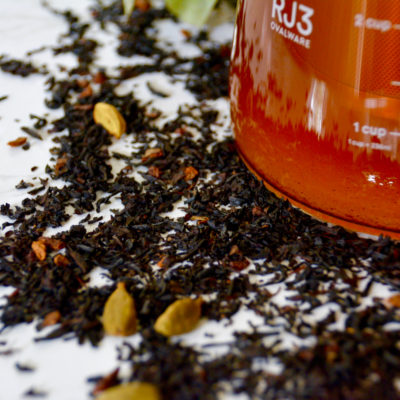
The process for making immersion cold brew involves placing coffee grounds and water in some sort of a vessel — with or without a filter — and allowing it to sit for 12 to 18 hours. After it has steeped, the grounds are filtered out and the cold brew is ready to serve, thus creating a smooth and velvety cold brew coffee concentrate. Examples of the immersion process can be found in the Toddy, Ovalware’s RJ3 Cold Brew Maker, and even the cheesecloth and mason jar method.
On the other hand, making cold drip brew can take as little as 3 hours. Over the course of 3 to 5 hours, the ice water makes its way through the fancy ice coffee drip tower (more on that below) and eventually filters into the coffee server below it.
Cold drip brew sustains the flavors of the original coffee beans.
Have you ever noticed that most cold brew tastes the same no matter where you go? Immersion cold brew is typically velvety smooth with delicious chocolatey flavors. But how is it that most cold brew tastes the same across the board? This is due to much of the beans’ original flavor being lost through the long steeping process of immersion brewing. This can mute the flavors of the original beans, and produces that familiar chocolatey flavor. So no matter what kind of beans you use for the immersion method, you’ll end up with very similar tasting cold brew.
With ice drip brewing, there is more opportunity to taste the flavors of the original coffee beans. Drip cold brew coffee tends towards a brighter tasting profile and lighter body compared to immersion cold brew, as it sustains fruity and floral tasting notes due to the way the coffee is extracted (via a shorter brewing period). Therefore, it’s definitely worth being more adventurous and using high-quality light roast specialty coffee beans for this cold brew method. You’ll actually be able to taste some incredible flavor profiles you’d otherwise miss out on with immersion cold brew. See coffee bean recommendations below!
Making cold drip brew is more involved & unforgiving.
With that being said, getting that floral and fruity cup of ice drip coffee takes some work. The technique for making ice drip coffee (or Kyoto ice drip or Dutch ice drip) is much more involved than the immersion method. Instead of combining the coffee grounds and water together in the same vessel as with classic cold brew, this method requires the use of a glass cold brew tower.
You may have seen these cold brew drip towers at an uber hip coffee shop. These instruments almost look like hour glasses with a top chamber to hold the ice water, a vessel beneath to hold the coffee grounds, and beneath that, there is a server or lower chamber to catch the cold drip coffee. The ice water in the top chamber is slowly released one drop at a time over the bed of coffee grounds.
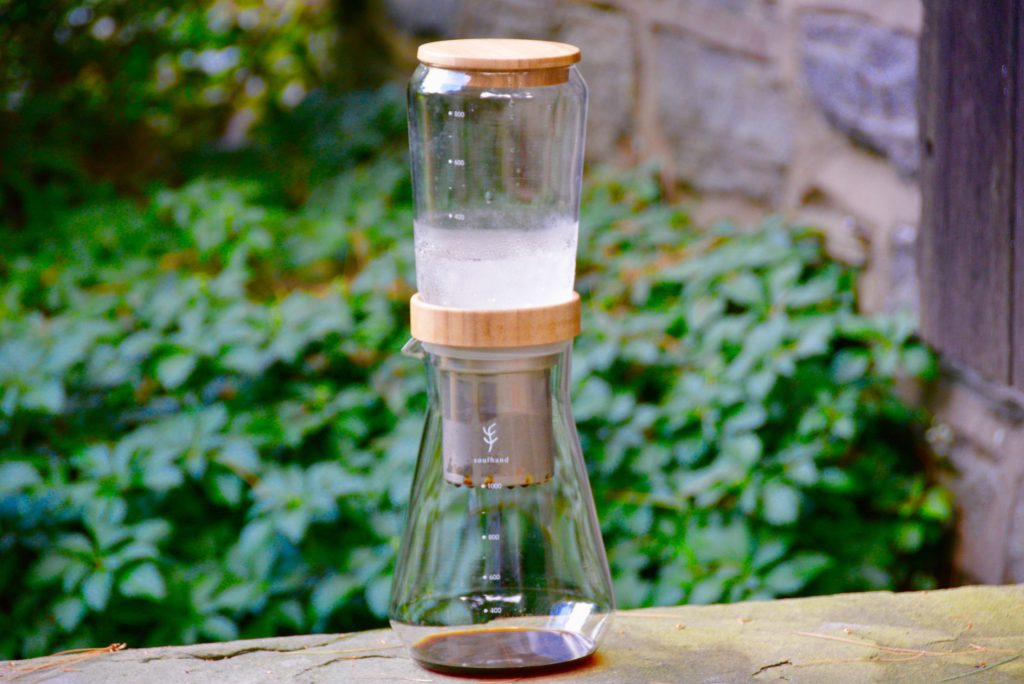
It sounds simple in theory, but there’s unfortunately a great chance of error. It’s difficult to achieve the right drip rate as well as the right coffee to ice water ratio. The user may need to adjust the dripper during the process and expect to make a few bad batches before getting their cold drip brew just right.
Cold brew on the other hand is much more forgiving. Immersion cold brewing is rather hands-off compared to the ice drip brewing method. The only technical aspects that you need to get right is the coffee to water ratio (which is 1:4 by the way) and the grind size (use a coarse grind). If you get that right, you should end up with some classically delicious cold brew coffee (after it’s steeped the appropriate amount of time of course).
There’s a significant cost difference between the two cold brewing methods.
Besides differing in brewing technique, time, and taste, the equipment also varies for each method and plays a role in the overall cost. Making cold brew via the immersion method is actually one of the most inexpensive (and most eco-friendly!) ways to brew coffee.
This method doesn’t involve a heat source for warming the water, therefore reducing on electricity costs. And all that’s required are coffee grounds, filtered water, a vessel to hold the two, and a strainer of sorts. You can even use something as simple as a mason jar and a cheesecloth to make cold brew this way.
If you are interested in making cold brew without any fancy equipment (i.e. the cheesecloth and mason jar method), check out this step-by-step cold brewing tutorial.
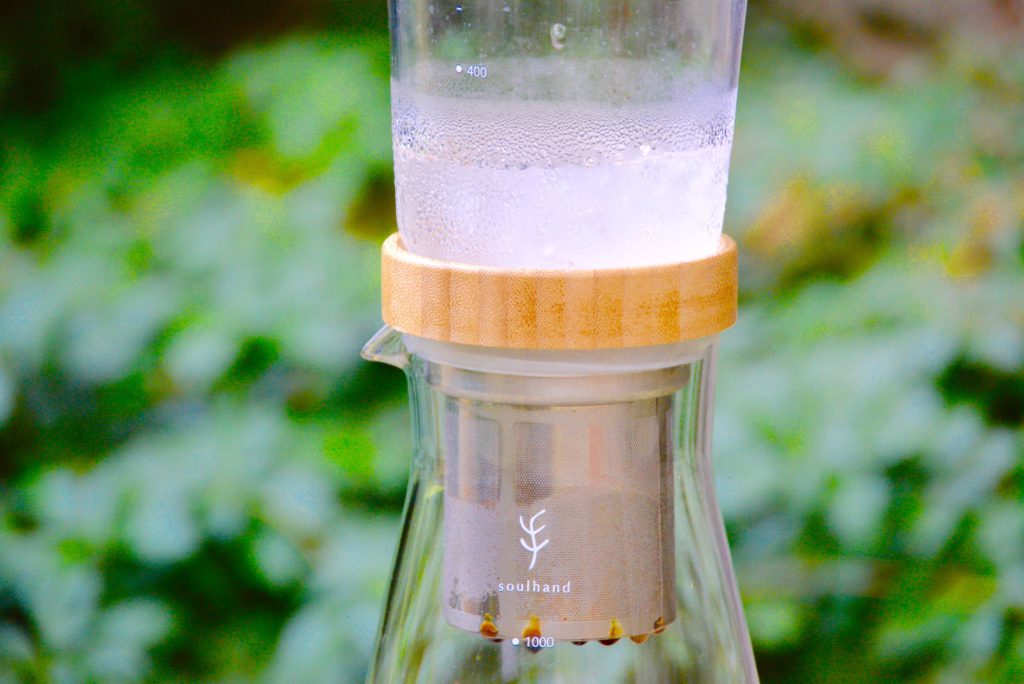
As for slow drip cold brew, there is more of an investment. Cold brew drip towers — the glass towers used for this brewing technique — are more costly than cold brew immersion brewers. An average ice drip coffee tower typically ranges from around $50 to $150. Besides being less accessible cost-wise, these types of cold brewers are also incredibly delicate as they are made of glass. It’s important you have a dedicated space in your home for the glass tower that is tucked away or safely-located.
How to Make Cold Drip Coffee
If you would like to try your hand at cold drip brew, here are the step-by-step instructions for brewing an amazing batch.
Note: In the photos within this post, we used the Soulhand Cold Dripper Coffee Brewer.
• 70 grams Ice Cubes or Ice Nuggets
• 70 grams Filtered Water
• 60 grams Light Roast Specialty Coffee Beans (See Recs Below)
• 1 Rounded Paper Filter
Weigh out the coffee beans and ice water.
Begin by weighing out your coffee beans and ice water. To do this, we recommend a coffee to water ratio of 1:6. To create the ice water, we used equal parts ice to equal parts water.
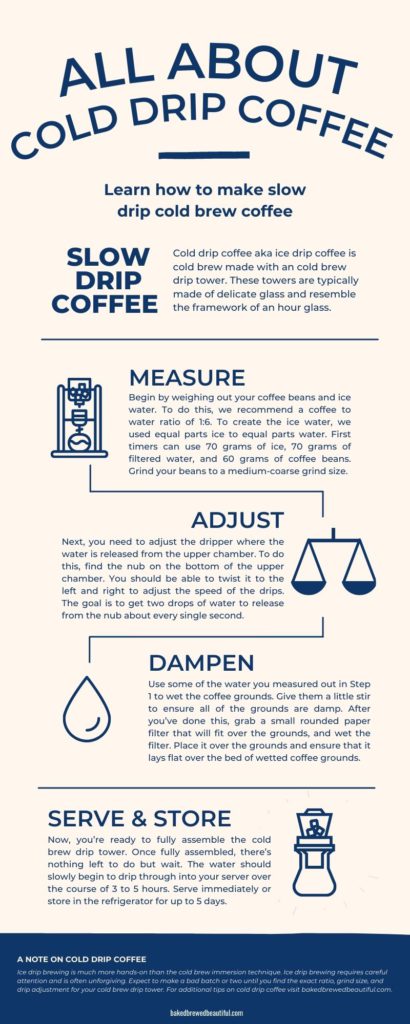
For the Soulhand Cold Dripper Coffee Brewer (pictured), we used 70 grams of ice, 70 grams of filtered water, and 60 grams of coffee beans to achieve this 1:6 ratio. We played around with it some to get this perfect ratio.
Note: This ratio produces a fairly concentrated cold drip coffee batch, so feel free to dilute it later on after it’s brewed.
Adjust the dripper and assemble the ice drip tower
Next, you need to adjust the valve or nub (to adjust the drip rate) where the water is released from the upper chamber. When you do this step, ensure that you’re doing this over the sink. Also, ensure that you don’t use the ice water that you pre-measured above.
To begin this process, grab the upper chamber and locate the valve or nub on the chamber’s bottom. This is where the water is released. You should be able to twist the nub left and right or there may be a lever that moves up and down. Whichever you have, it will be very sensitive and you’ll have to make very tiny adjustments to get your ideal drip rate.
The goal is to get one drip of water to release three seconds. You’ll have to play around with it to get it just right. It’s okay if it’s not perfect, as you can adjust it during the brew process.
If you want the handy infographic pictured above, you can grab the PDF here!

Download the Cold Drip Coffee Infographic (PDF)
If you want the condensed version of the above slow drip cold brew coffee tutorial, sign up below to receive access to the BBB resource library.
You’ll be able to download this very infographic & additional coffee references for your home brewing needs. Sign up for the BBB newsletter to get immediate access!
Grind the coffee beans and add to the filter basket.
Once you’ve measured everything out and adjusted your dripper, grind your coffee beans to a medium-coarse grind size. The grinds should be akin to coarse or rough sand. Add the grounds to your brew basket and place and attach this piece properly within your ice drip tower. Hold off on attaching the upper chamber, as you will need to still have access to the bed of coffee grounds.
Wet the grounds and place a paper filter overtop.
Next, you’re going to use some of the water you measured out in Step 1 and wet the coffee grounds. Give them a little stir to ensure all of the grounds are slightly damp. After you’ve done this, grab a small rounded paper filter that will fit over the grounds (we used an AeroPress filter — it fit perfectly), and wet the filter over the sink. Then, place the wet filter over the grounds and ensure that it lays flat over the bed of coffee grounds.
Assemble the cold brew drip tower.
Now, you’re ready to fully assemble the cold brew drip tower. These are all different, but have the same general mechanics. For the Soulhand, what was left was to simply place the upper chamber directly on top of the filter basket. The filter basket was already resting on top of the lower chamber (or the server).
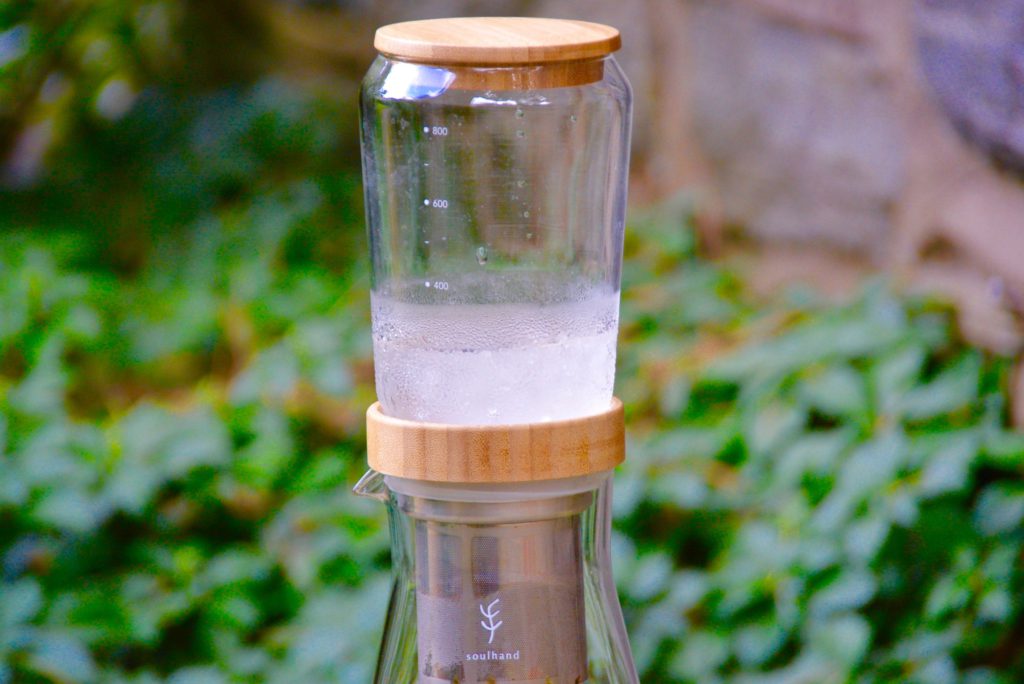
Once it’s assembled, there’s nothing left to do but wait. The water should slowly begin to drip through into the server over the course of 3 to 5 hours.
Adjust if needed.
First timers beware, there is a great chance of error. If no coffee is being filtered into the server after 20 minutes, go ahead and remove the upper chamber to loosen the dripper just barely and replace it back onto the tower. Should this not fix the problem, it’s possible your grounds are too fine and you’ll need to start over.
If the coffee is filtering into the server way too fast (and by fast we mean it’s dripping down quicker than one drop per second), remove the upper chamber and tighten the dripper to the right immediately. Should this not fix the problem, it’s possible your grounds are too coarse and you’ll have to start over. Don’t worry though — it’s a learning process — you’ll get there!
Enjoy your flavorful cold drip brew!
After all of the coffee has filtered into the server and it has stopped dripping, go ahead and dump the spent grounds from the filter basket and remove the upper chamber. You are now ready to serve your cold drip brew.
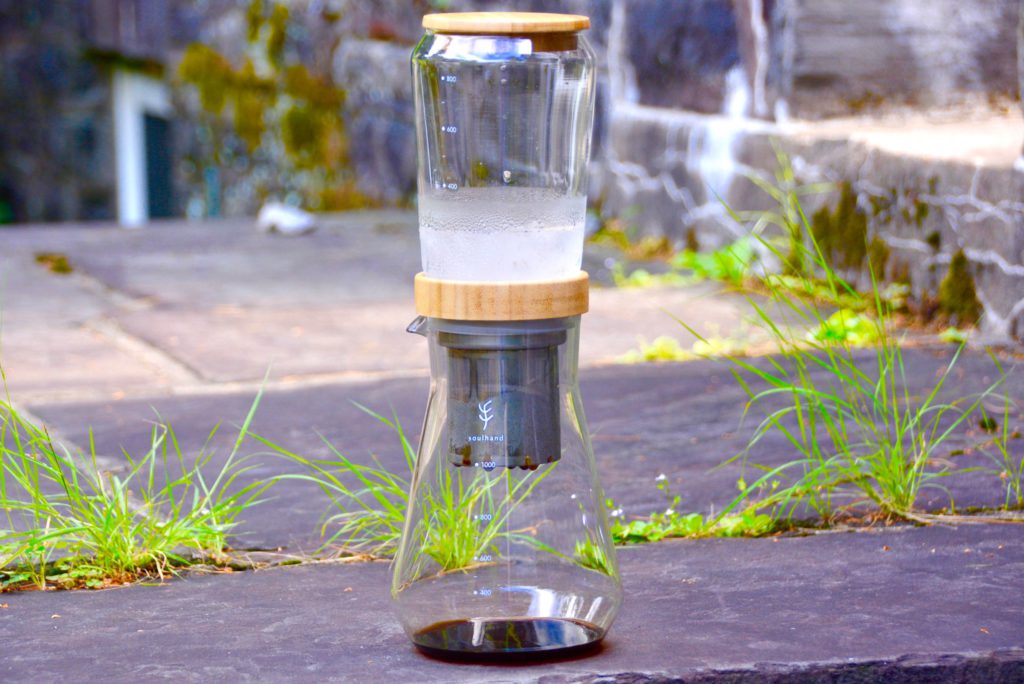
Feel free to dilute it with water or milk or drink as is. Refrigerate the remaining cold drip brew for up to 5 days.
Note: I may earn a small commission when you make a purchase through some of the below links. Read my disclosure policy to learn more.
View my Amazon shopping list for making cold drip brew
Round Paper Filters: AeroPress Paper Filters
High-Quality Specialty Coffee Beans: Progeny Coffee – Milagro (Medium-Light Roast) One Village Coffee – Ethiopia Worka (Light Roast)
Coffee Scale: Hario V60 Drip Coffee Scale
Additional Equipment: Mini Ice Nugget Molds Coffee Grounds Stirrer Brondell Countertop Water Filter System
FAQ Section
What is cold drip coffee?
Cold drip coffee is cold brew made with an ice drip tower or a cold brew drip tower. These towers are typically made of delicate glass and resemble the framework of an hourglass.
How do you make cold drip coffee?
To make cold drip coffee, you need to use a cold brew drip tower. Making cold drip coffee with this brewing tool involves ice water being released one droplet at a time from the upper chamber through a bed of coffee grounds and into a server. This entire process generally takes 3 to 5 hours to complete.
Is cold drip coffee better for you?
Due to its rich and bright flavors, cold drip coffee is best enjoyed black without any extra additions. Therefore, cold drip coffee served black could be considered better for you as compared to coffee that may require the addition of milk and other additives to make it more palatable.
How does cold drip coffee work?
Water is released one droplet at a time from the upper chamber through a bed of coffee grounds held in a filter basket and then into a server. This entire process generally takes 3 to 5 hours to complete.
How long does cold drip last?
Cold drip coffee typically lasts up to 5 days in the refrigerator after it’s been prepared.
Does cold drip have more caffeine?
Compared to regular drip coffee, cold drip coffee has more caffeine. This is due to the lower coffee to water ratio of 1:6 as compared to filter coffee or pour over which both have a ratio of about 1:15.

Download the Cold Drip Coffee Infographic (PDF)
If you want the condensed version of the above slow drip cold brew coffee tutorial, sign up below to receive access to the BBB resource library.
You’ll be able to download this very infographic & additional coffee references for your home brewing needs. Sign up for the BBB newsletter to get immediate access!

Leave a Reply