
You can make good homemade cold brew coffee at home without any special tools or fancy equipment.

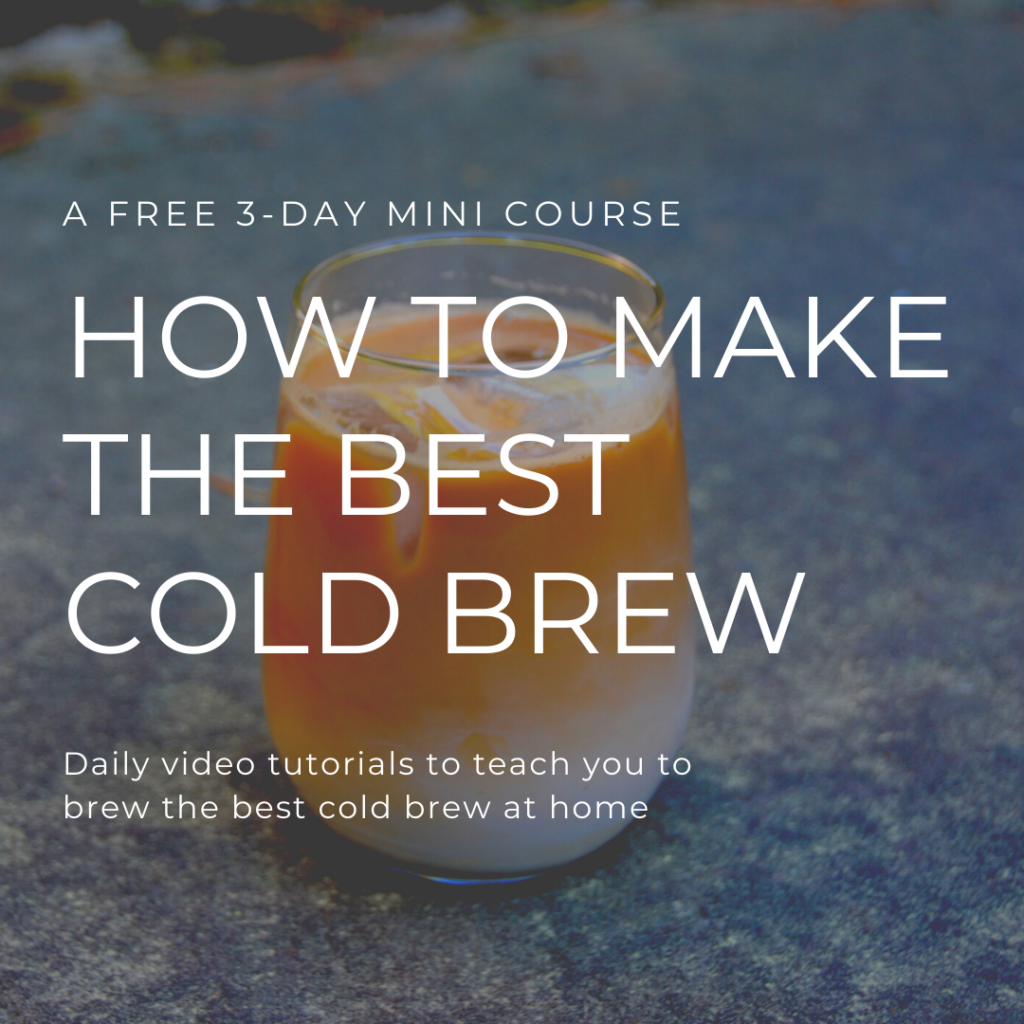
- Learn to make delicious homemade cold brew coffee without any fancy equipment by following this recipe.
- Grab a mason jar, some coffee grounds, water, and a cheesecloth to get started.
- Take notice of your water quality, grind size, and steeping time to make the best-tasting cold brew at home.
- Download the FREE Cold Brew Coffee Brew Guide for a few helpful cold brew brewing tips.
- Check out our cold brew FAQ section to get solutions to any of your cold brew problems.
Making your own cold brew isn’t hard, but it does require some attention to detail. Don’t worry, this post will teach you which things you must pay attention to when making cold brew at home.
Read on to learn how to make the best-tasting homemade cold brew coffee.
View the cold brew video tutorial here:
What you need:
To make cold brew, you will need the following items:
- 1 large mouth mason jar or a pitcher — something that has a wide opening and can hold about 500 grams of liquid
- 1 heavy-duty rubber band that fits around your pitcher’s/jar’s mouth — two small rubber bands also work as long they will fit around the mouth of your mason jar or pitcher
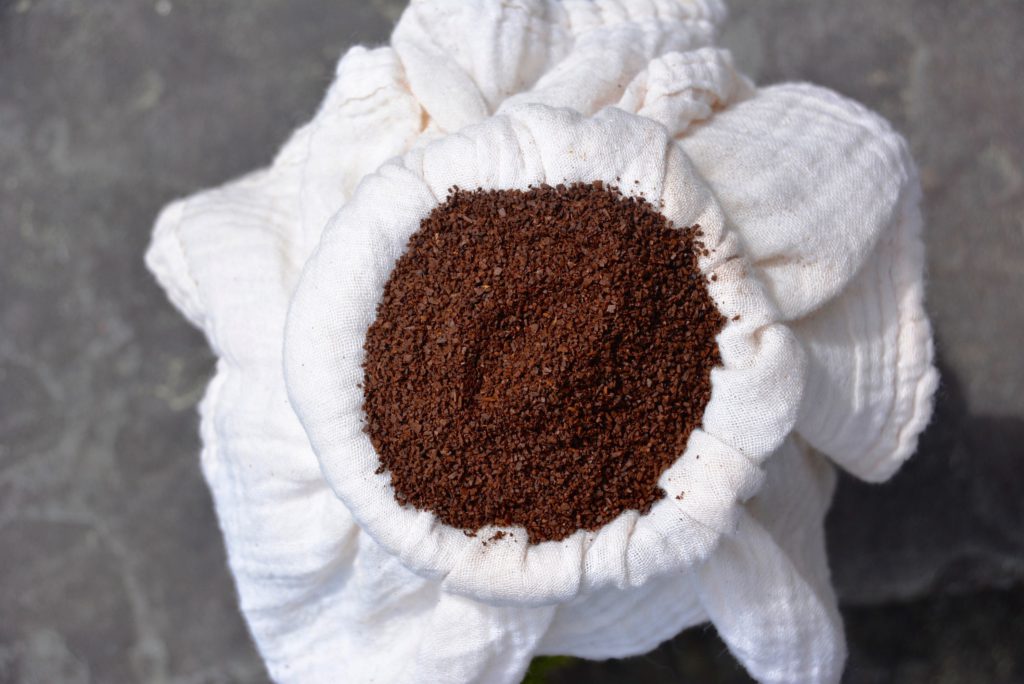
- 170 grams of coarse ground coffee (texture should look like sea salt – see image below in post) — opt for a dark roast coffee to get that chocolatey, smooth taste cold brew is known for
- 760 grams of filtered water — use water that you like the taste of in and of itself
- 1 cheesecloth — this will be used to filter the coffee grounds
- 1 lid for the jar or a covering for the pitcher — this will prevent surrounding smells from penetrating your brew while steeping
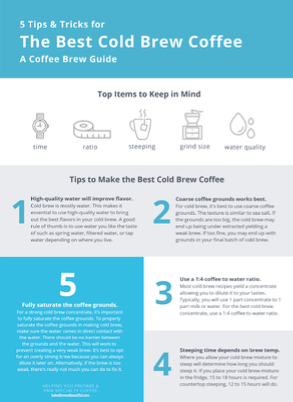
- Cold Brew Coffee Brew Guide — before diving into the brewing details, I thought it would be helpful for you to have this guide as a handy reference point. You can grab the Cold Brew Coffee Brew Guide by clicking here.
Coarse coffee grounds work best for making cold brew coffee.
For cold brew, it’s best to use coarse coffee grounds. The texture is similar to that of sea salt. The grind size largely contributes to the flavor of your resulting cold brew. If the coffee grounds are too big, the cold brew may be under-extracted yielding a weak brew. But if the coffee grounds are too fine, you may end up with coffee grounds that have seeped into your final batch of cold brew. So it’s really important to get the grind size just right.
You have several options when it comes to getting coarse ground coffee. One option is to just buy a bag of coarse pre-ground coffee. You can also buy whole beans and have your local coffee shop grind the beans to a coarse grind size for you. Another option is to grind the beans yourself at home if you have access to a grinder. If you need help on coffee grinding, take a look at my post here for further discussion on the topic of the proper grinding technique.
High-quality water will improve the flavor of your cold brew.
Cold brew consists mainly of water, which means water quality plays an important role in this recipe. If the water tastes bad, your cold brew will likely taste bad too. If your water tastes good, you have a better chance of yielding a good brew.
With that said, it’s essential to use high-quality water in order to bring out the best flavors of your cold brew. A good rule of thumb is to use water you like the taste of such as spring water, filtered water, or tap water depending on where you live.
If you want to go one step above this, there are some filter systems that are used specifically for making coffee. You can adjust your tap water using the filter settings to produce the perfect water for your coffee.
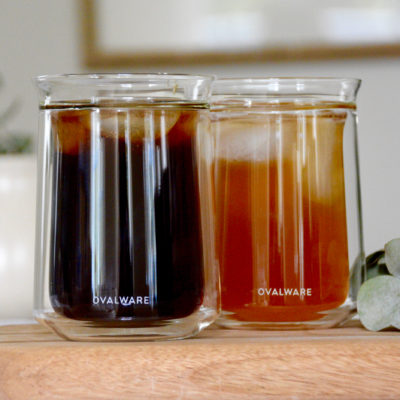
This recipe uses the recommended 1:4 coffee to water ratio (this will yield a cold brew coffee concentrate).
Most cold brew recipes yield a cold brew concentrate, allowing you to dilute it to your taste preferences. Typically, when you’re ready to serve a cold brew concentrate, you will use 1 part concentrate to 1 part milk or to 1 part water. Making a concentrate is also convenient for storage purposes. Less water means you can use a smaller server or mason jar, therefore saving from fridge space.
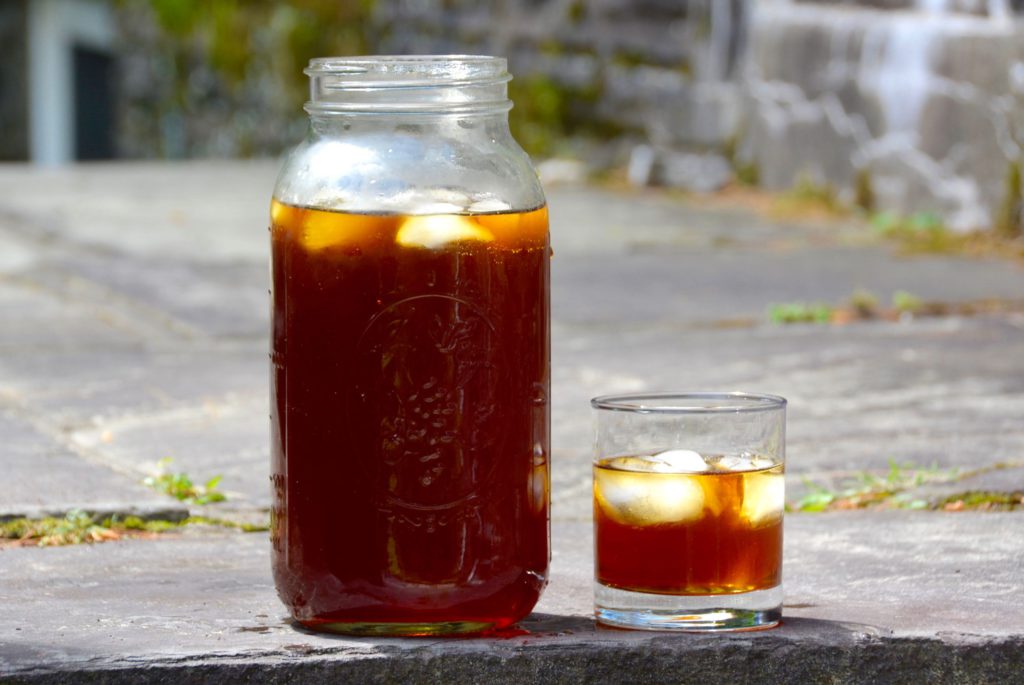
For a strong cold brew concentrate, a 1:4 coffee to water ratio is highly recommended. In the realm of cold brew — the stronger, the better. It’s best to opt for an overly strong brew because you can always dilute it later on. Alternatively, if the cold brew is too weak, there’s really not much you can do to fix it.
If you need help remembering this cold brew ratio and some of the other tips on this post, grab my FREE Cold Brew Coffee Guide at the bottom of this post. It has all of this info in a condensed PDF version. Click here to jump right to it.
Fully saturate the coffee grounds for a stronger potency.
To produce a strong cold brew concentrate, it’s important to properly saturate the coffee grounds. Saturating the grounds just refers to the step of pouring the water over your grounds. It’s an especially important step in making cold brew because if you fail to fully saturate the coffee grounds, you may end up with a weak batch of cold brew.
In order to properly saturate the grounds, make sure the water comes in direct contact with the water. There should be no barrier between the grounds and the water. This will work to prevent creating a very weak brew. If you follow the recipe found at the bottom of the page, you will be using the proper technique to saturate your coffee grounds.
Steeping time depends on where you steep your cold brew mixture.
Where you let your cold brew mixture steep will determine how long you should steep it. There are essentially two places you can steep your cold brew — one is on the countertop at room temperature and the other option is in the refrigerator.
If you place your cold brew mixture in the fridge, a longer steeping of 15 to 18 hours is required. For countertop cold brew steeping, about 12 to 15 hours will do.
Common Questions
What is the best ratio for cold brew coffee?
The recommended coffee to water ratio for cold brew is 1:4. This will produce a cold brew coffee concentrate, which not only lasts longer in the fridge but also allows you to dilute it to your liking.
Can you use regular ground coffee for cold brew?
You can absolutely use regular ground coffee for cold brew. In fact, it’s highly-recommended you use older beans, darker beans, and/or pre-ground coffee for making cold brew. This is because the cold brew making process actually produces a fairly consistent taste (smooth & chocolatey) amongst all beans.
How do you make cold brew without a machine?
You don’t need any fancy equipment to make cold brew, and you likely already have all of the tools you need in your pantry. To make cold brew without a machine, follow the instructions below or watch our cold brew video tutorial. Just grab a mason jar or a server of some sort, a cheesecloth, a rubber band, coffee, and water. See recipe below for full details on how to make cold brew without a machine.
Does homemade cold brew coffee go bad?
Homemade cold brew coffee will go bad after about 2 weeks in the fridge. If you choose to dilute your cold brew coffee with water and put it in the fridge, it will go bad about 1 week sooner. So it’s best to leave it as a concentrate.
Note: The recipe below produces a cold brew concentrate.
Why does my cold brew taste bad?
If your cold brew tastes bad, it’s mostly like due to the water you used and/or the coffee to water ratio you used. To figure out what the problem was, try opting for a higher-quality water when you make your next batch of cold brew. Also, make sure you’re using a coffee to water ratio of 1:4 or 1:5.
Need more help? Sign up for the free mini course!
In my free mini cold brew coffee course, you will learn how to brew the best-tasting batch of cold brew as well as how to avoid some of the most common brewing mistakes.
You also get access to our coffee community where you can ask any questions you have about your cold brew coffee as you take the course (and afterwards too!). I’m always checking the group for questions and posts, so I’ll be able to personally help you through that community Facebook group.
Sign up below!
Learn to Make The Best-Tasting Cold Brew At Home!
Making cold brew coffee doesn’t have to be difficult nor expensive, which is why we’re offering you this free course. You will learn how to brew the best-tasting batch of cold brew as well as how to avoid some of the most common brewing mistakes.
Sign up to start the cold brew course today!
Homemade Cold Brew Coffee Recipe
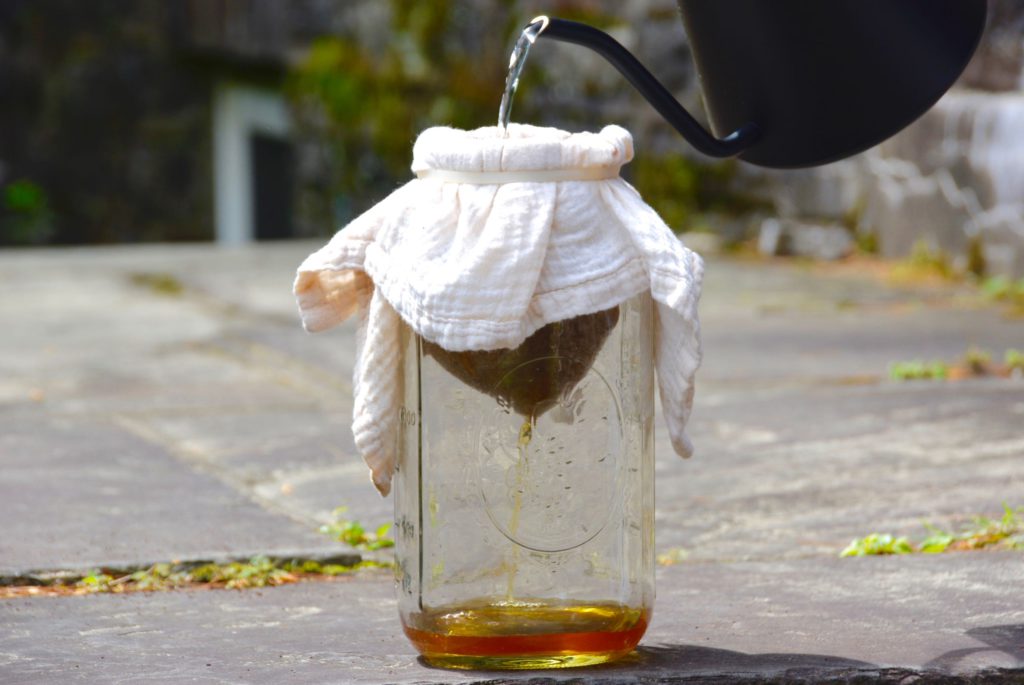
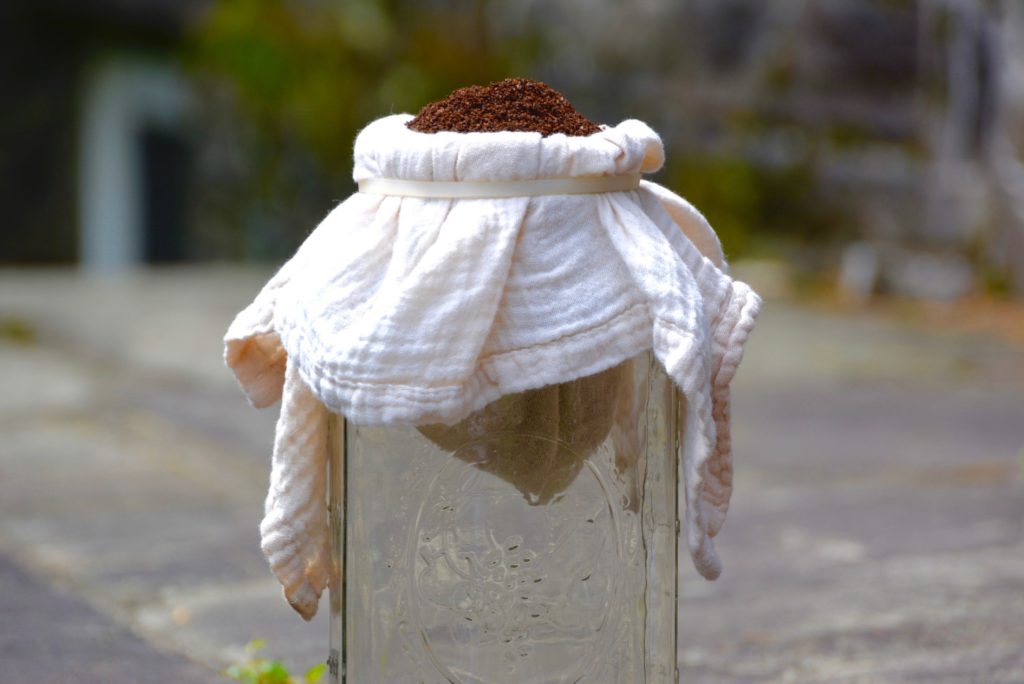
Place the cheesecloth over the lip of the mason jar or server, and gently push the middle of the cheesecloth through the jar's mouth. Create a sort of "basket" that goes down into the jar about 5 inches deep (meaning the cheesecloth extends into the jar). Attach the rubber band over the lip of your server and over the cheesecloth to keep the cheesecloth firmly in place as well as the basket. See photos in post for further demonstration.
Next, add your 170 grams of coffee grounds to the basket. Level out the ground by gently tapping the side of your jar as you add more grounds, so it doesn't overflow.
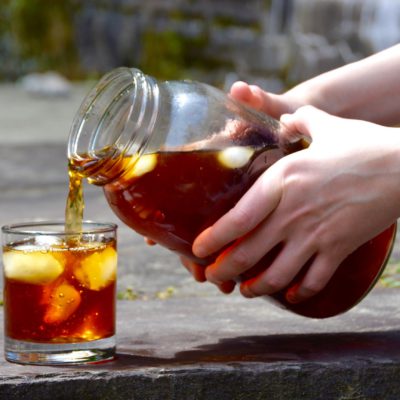
Slowly, pour the water directly over the coffee grounds (that are sitting in the basket) in about 1 cup increments until you've added all of the water. You will notice the water seeping into your jar by now, and should look like the color of tea. Cover the top of the cheesecloth basket either with a lid, beeswax wrap, or plastic wrap to protect it from absorbing any smells from the surrounding area.
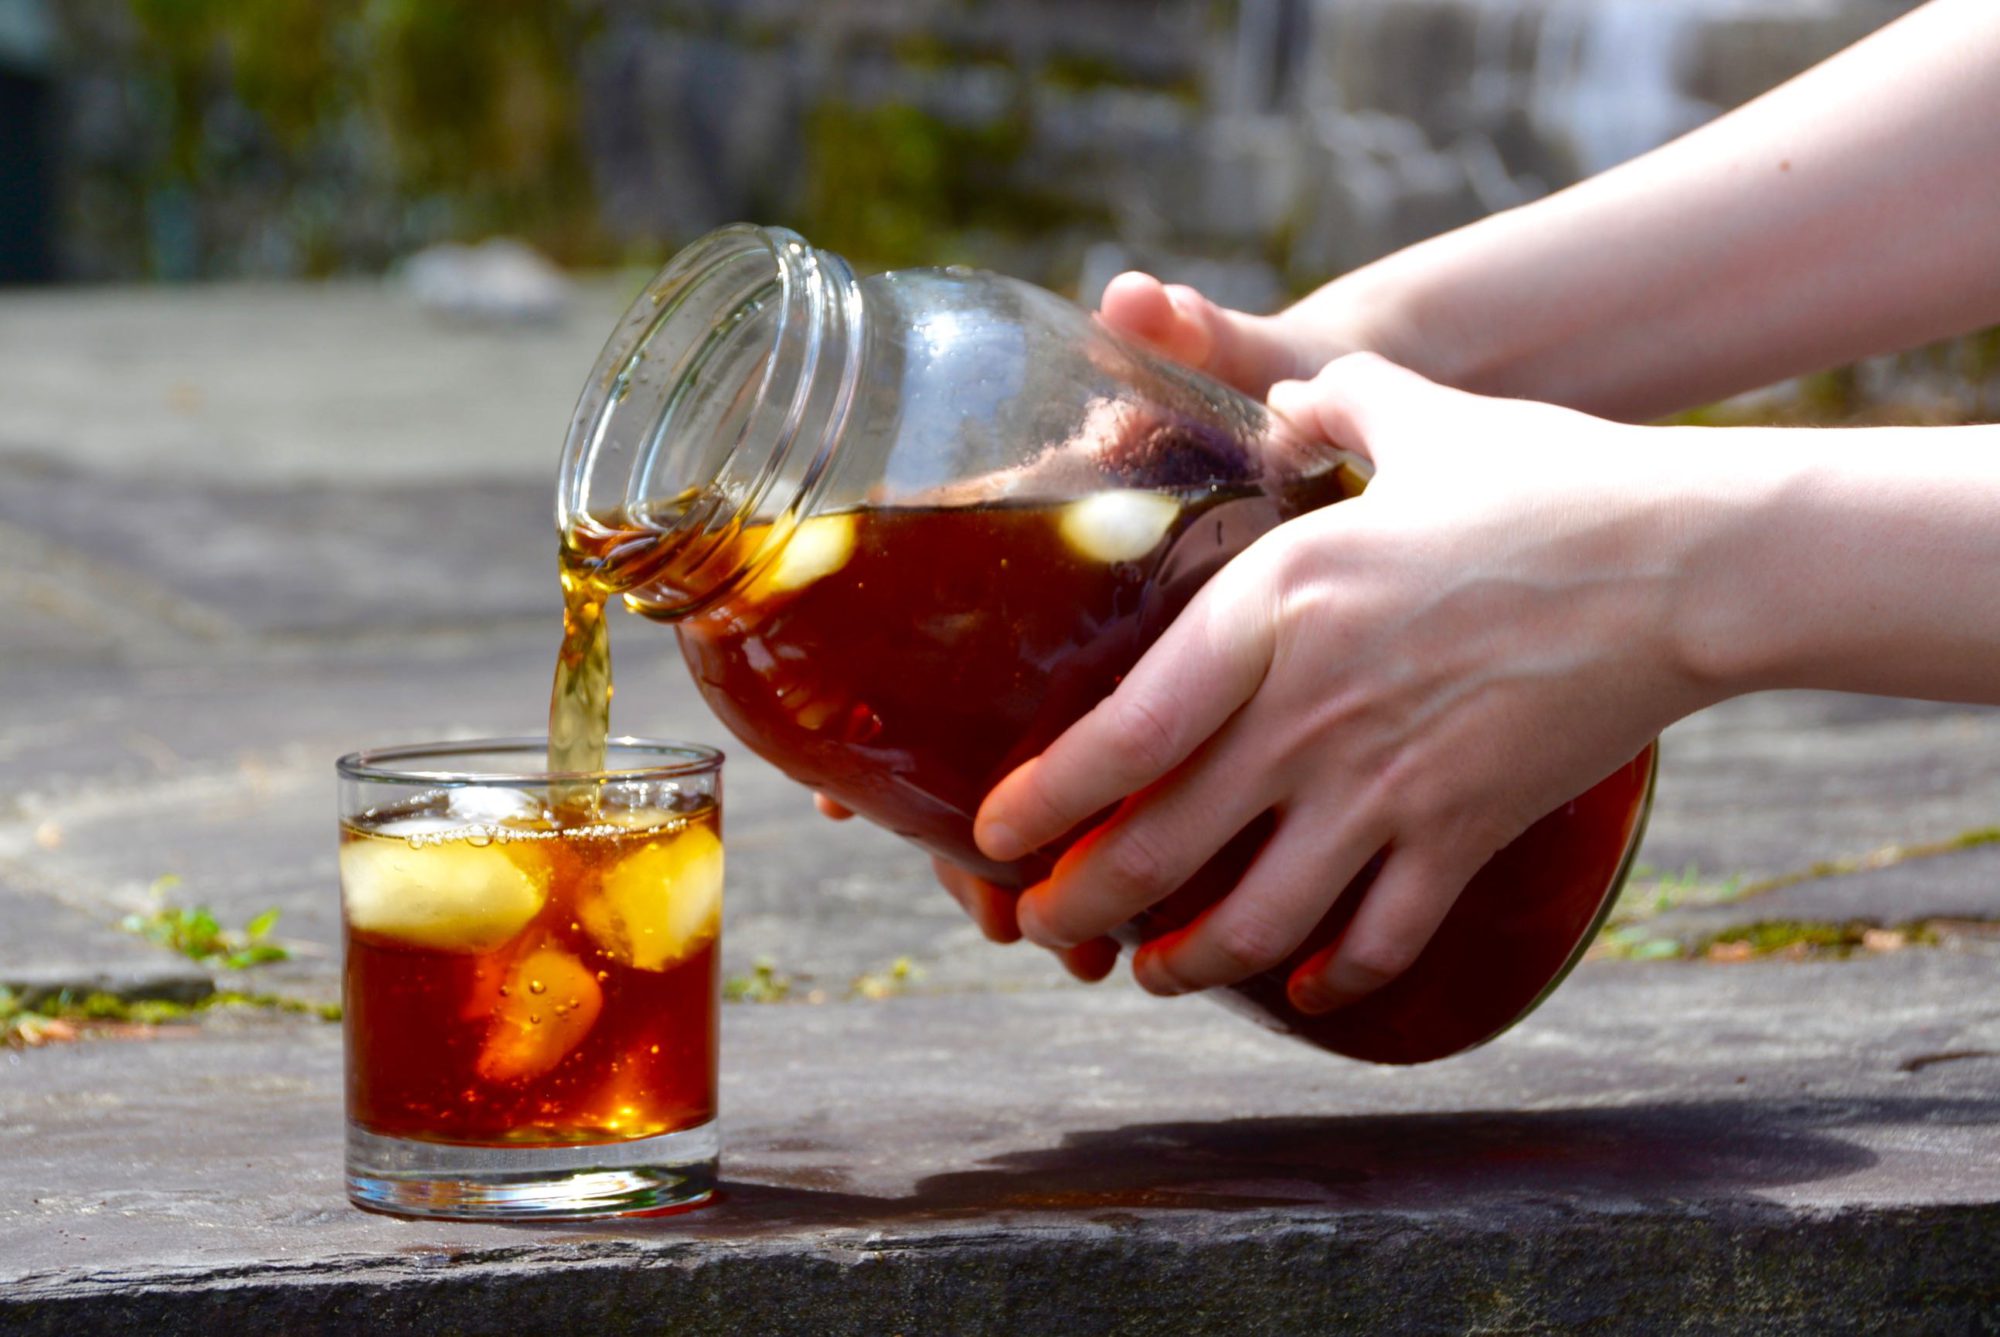
Let it steep on the countertop for 12 to 15 hours or in the refrigerator for 15 to 18 hours. After it has finished steeping, serve. Make sure to use 1 part cold brew concentrate to 1 part milk or water to balance out the strength of the brew.
For the video tutorial of this recipe, sign up for the mini cold brew coffee course below!
Ingredients
Directions
Place the cheesecloth over the lip of the mason jar or server, and gently push the middle of the cheesecloth through the jar's mouth. Create a sort of "basket" that goes down into the jar about 5 inches deep (meaning the cheesecloth extends into the jar). Attach the rubber band over the lip of your server and over the cheesecloth to keep the cheesecloth firmly in place as well as the basket. See photos in post for further demonstration.
Next, add your 170 grams of coffee grounds to the basket. Level out the ground by gently tapping the side of your jar as you add more grounds, so it doesn't overflow.
Slowly, pour the water directly over the coffee grounds (that are sitting in the basket) in about 1 cup increments until you've added all of the water. You will notice the water seeping into your jar by now, and should look like the color of tea. Cover the top of the cheesecloth basket either with a lid, beeswax wrap, or plastic wrap to protect it from absorbing any smells from the surrounding area.
Let it steep on the countertop for 12 to 15 hours or in the refrigerator for 15 to 18 hours. After it has finished steeping, serve. Make sure to use 1 part cold brew concentrate to 1 part milk or water to balance out the strength of the brew.
For the video tutorial of this recipe, sign up for the mini cold brew coffee course below!
Download My Free Cold Brew Coffee Guide
Subscribe to my newsletter to get instant access to my FREE resource library, which includes this free cold brew coffee guide & the PDF version of my updated cold brew coffee recipe! Plus, you’ll be the first to receive other coffee freebies! Sign up below.


I have been looking for a recipe for ice coffee Hope I can find the stuff. Thanks
That’s wonderful! Let me know if you have any more questions about the recipe, happy to help 🙂
I love ice coffee