Minor coffee brewing mistakes can completely ruin a final brew. Avoid 16 of the most common mistakes by reading on below.
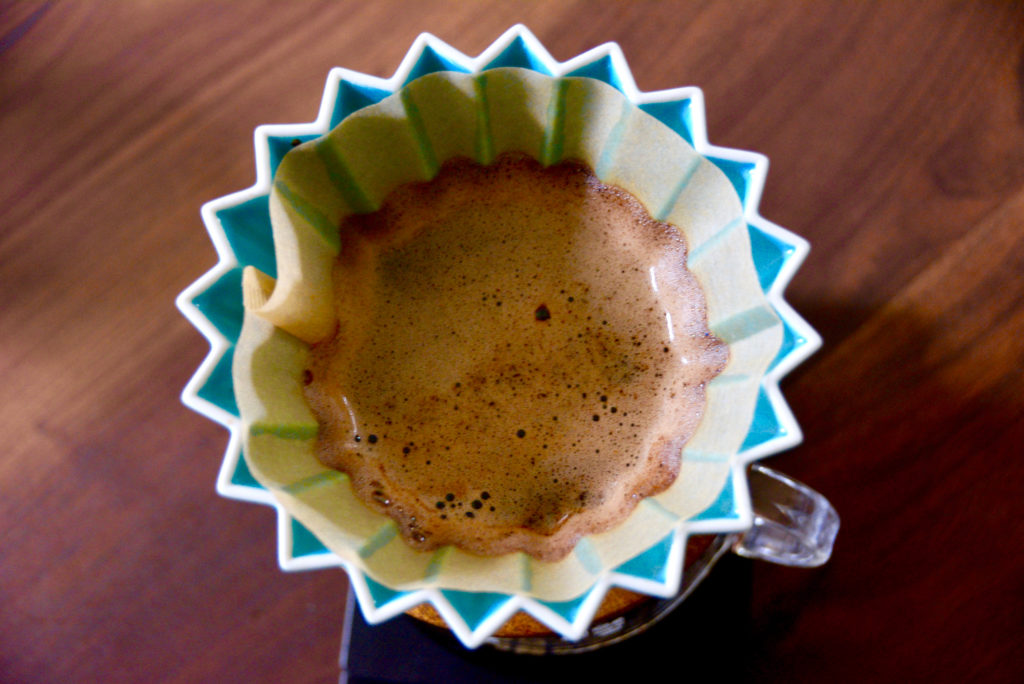
- It’s easy to make a bad batch of coffee by making one of many common coffee brewing mistakes.
- Buying coffee grounds instead of whole beans is a mistake that too many make.
- Bad water quality is also a variable that can completely ruin your brew.
Brewing coffee is a process that must be learned. Though it may seem simple, it takes time and requires attention to detail. But if you avoid the following most common coffee brewing mistakes, you’ll be on your way to mastering the craft.
From bad beans and water to a lack of precision and cleanliness, these are just a few of the ways you can go wrong when coffee brewing. Here are 16 of the most common coffee brewing mistakes to absolutely avoid.
Note: I may earn a small commission when you make a purchase through some of the below links. Read my disclosure policy to learn more.
You’re buying coffee grounds instead of whole beans.
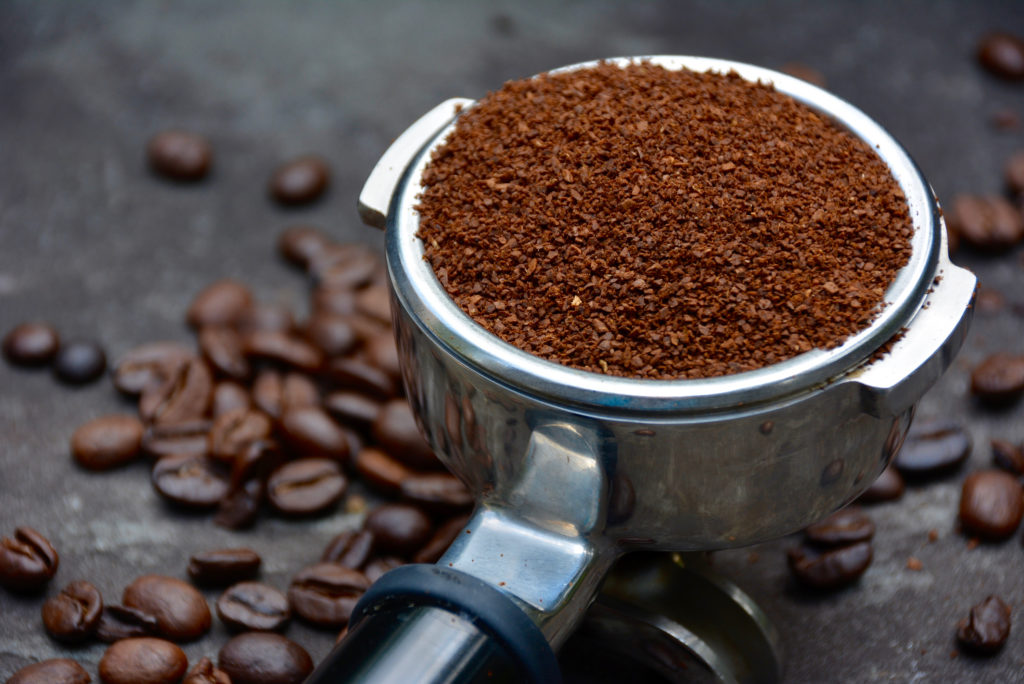
For starters, you’re buying coffee grounds instead of whole beans. This is a mistake because there is a considerable difference in shelf life between whole beans and ground coffee when left exposed to oxygen. Coffee grounds begin to get stale as soon as 24 hours after grinding them. Whole beans on the other hand degrade 10 to 14 days after roasting.
You’re buying old or over-roasted whole beans.
Now that you’ve learned to stop buying coffee grounds, it’s as equally important to not just buy any kind of whole coffee beans you can find. If the beans are not properly roasted or they are sold way too long after their original roast date, then you’re not really in a better position than when buying coffee grounds.
One solution is to buy only from vetted coffee companies that offer roast-to-order coffee beans. This list I’ve compiled below is of coffee beans that I think are well worth purchasing. I have tried every single brand on this list, so they have my personal stamp of approval.
You’re not storing your beans properly.
There are many ways you can ruin your coffee in improperly storing your beans. Some common storage mistakes are storing beans in glass containers, canisters that are not airtight, or storing beans near heat, moisture, or odor. For proper coffee bean storage, it’s best to buy a container specifically meant for coffee bean storage. These kinds of canisters are designed to provide your coffee beans with the right protective environment.
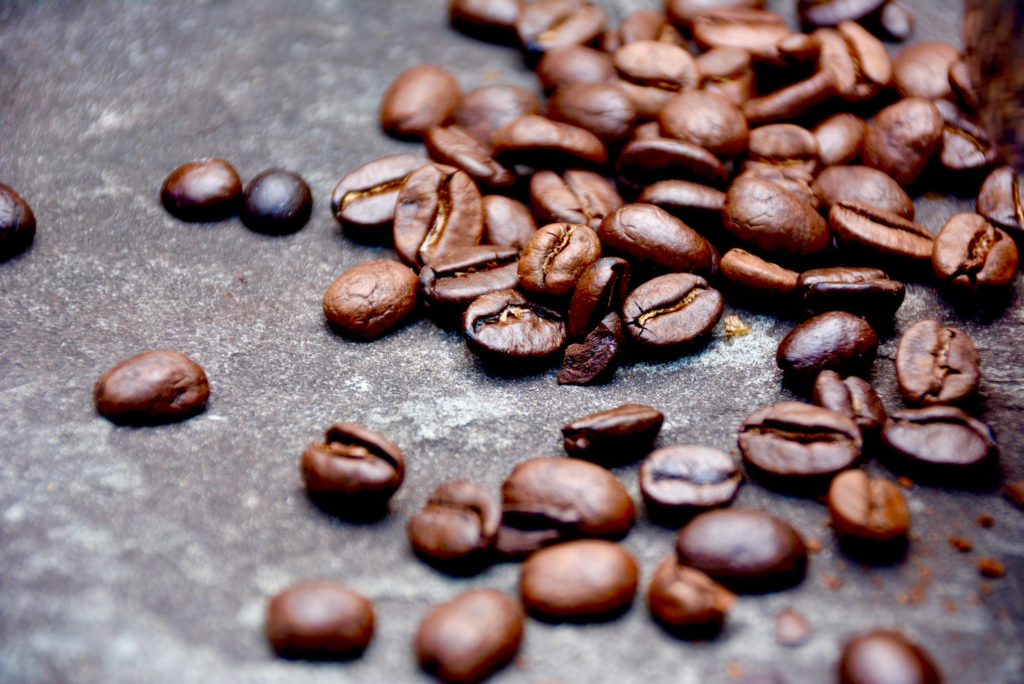
If you’re not yet ready to splurge on a coffee storage container, store your beans at room temperature inside of an airtight, opaque container away from the oven, windows, and far away from your fridge or freezer.
Your brew method is giving you bad coffee.
The next thing to do to achieve better coffee at home is to choose the right brewing method. There are a number of brewing methods to choose from, but only a handful offer quality results.
My top recommendations are pour over, AeroPress, or brewing via an espresso machine. Each of these methods will help you to achieve the perfect morning cuppa, assuming you know what you’re doing. Coffee brewing methods you should stay away from include brewing from a basic coffee machine, a French press, or using instant coffee.
Pour over is arguably the most highly-recommended brewing method by coffee industry experts. Some may be familiar with the pour over method, while others may be new to the term. If you’re totally unfamiliar, start my free pour over mini course and learn to brew pour over coffee at home. Quick step-by-step video brewing tutorials are sent straight to your inbox for 7 days straight. Start the course today by signing up below.
7 Days To Better Coffee At Home
To help you improve your home brew, we made a series of quick coffee brewing video tutorials that we’ll share over the course of 7 days.
In just 1 week, you could be sipping on one cup of incredible pour over coffee that you made yourself!

You’re just eyeballing it.
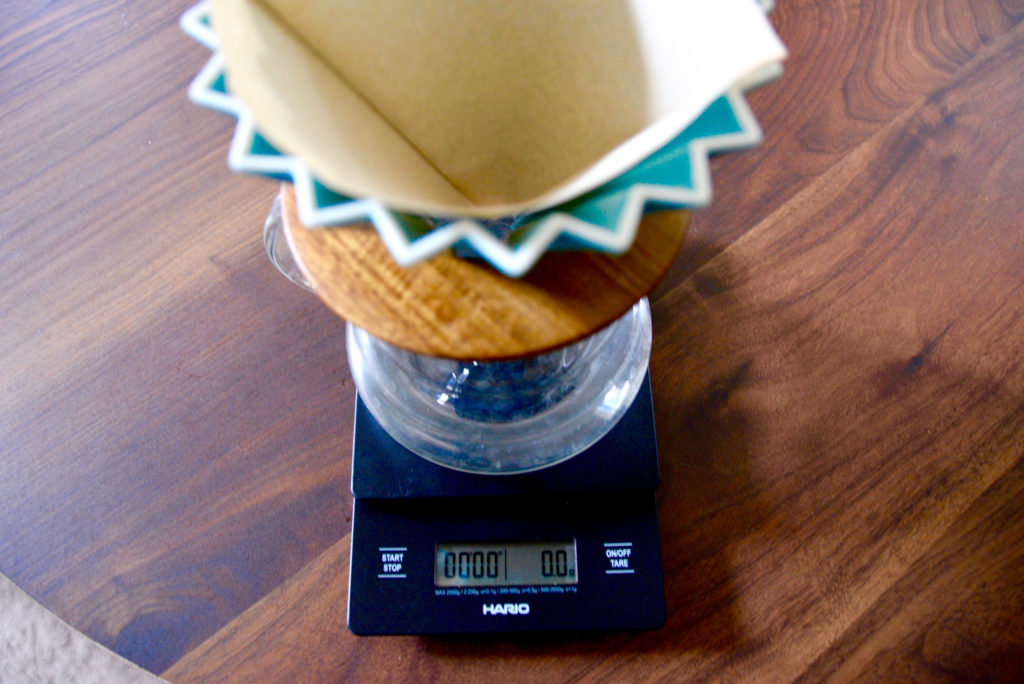
If you’re merely using a spoon scoop and intuition to measure, this could very well be the cause of your bad coffee. A very necessary component to the previous brewing methods mentioned are measurements. For a good brew, it’s essential to know exactly how much water you need as well as how many grams of coffee grounds you need which brings me to my next point.
You’re using the wrong tools or don’t have any altogether.
Like other hobbies brewing good, specialty coffee is an investment of both time and resources. You wouldn’t sign up for a knitting class without first buying needles and yarn. In the same vein, there are certain necessary instruments that you need to brew quality coffee.
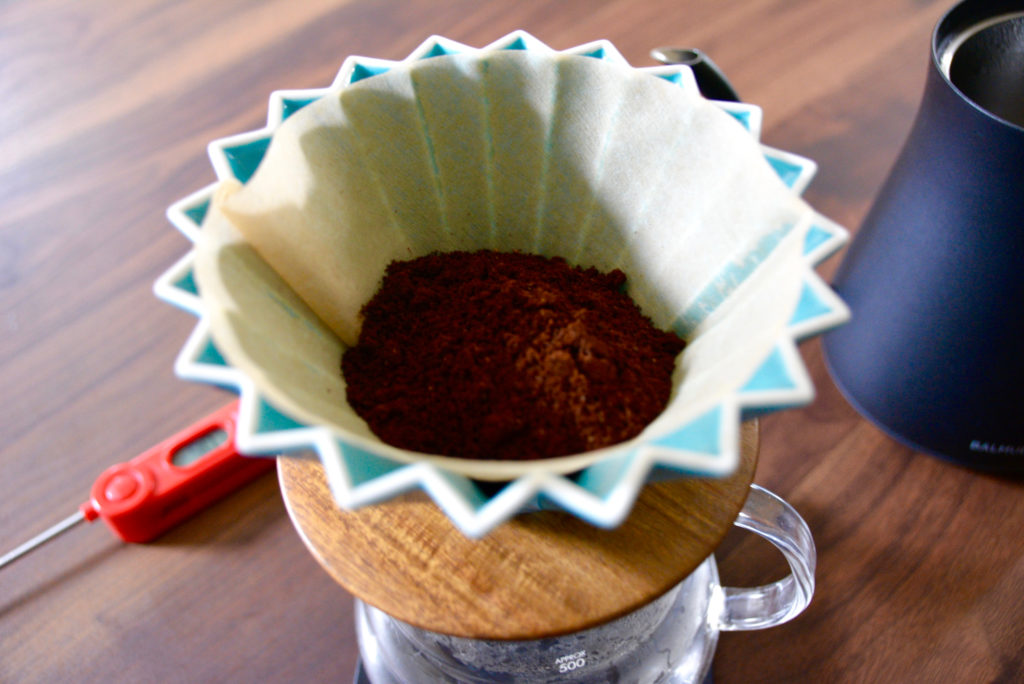
To set yourself up for success, it’s important to get the proper tools for brewing craft coffee. The most basic coffee tools include a burr grinder, a scale, a thermometer, a gooseneck kettle, and your choice of a brewing instrument. Each brew method I’ve listed previously in this article requires each of these items except the espresso machine.
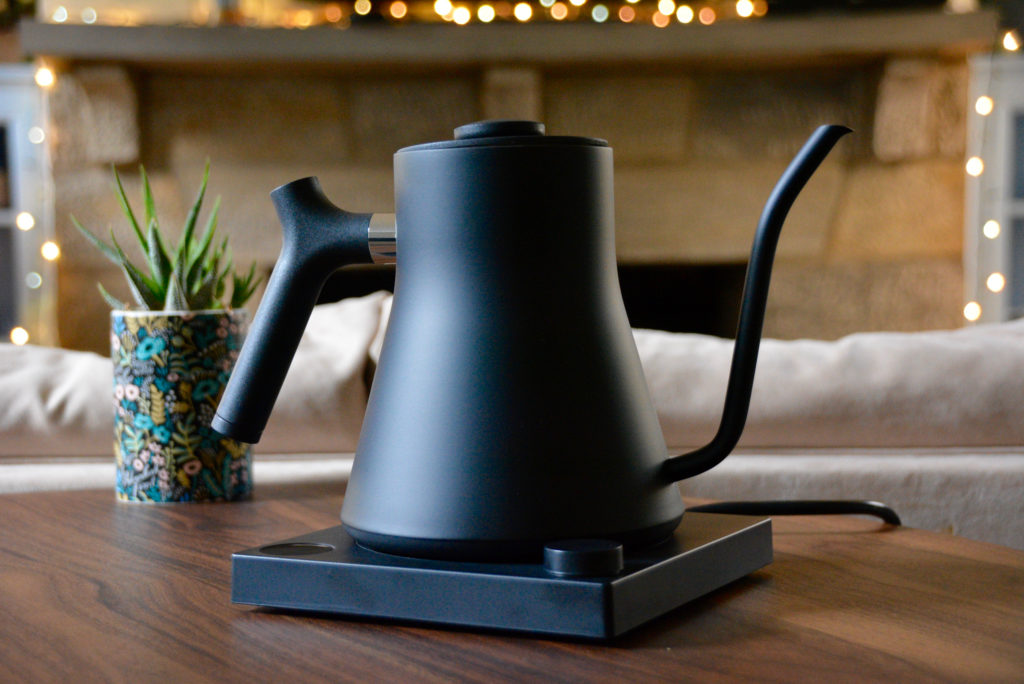
Note: If brewing with an espresso machine, these listed items are not necessary. You’ll need only an espresso machine for this brew method. See my article on espresso-making for a step-by-step tutorial on how to pull an espresso shot.
You’re using tap water.
Since coffee is 98 percent water, the type of water you use will have a significant impact on the final brewed result. So if you aren’t a huge fan of your home’s tap water, go out and get yourself some fresh spring water if it’s available. Or find another source of water that you do enjoy.
You’re grinding more beans than you are planning to use.
Another mistake is grinding more beans than you need for your brewing session. You should only grind the exact amount of coffee that you need for your brew (this is where the scale comes in handy, so you can precisely measure the amount of beans you need before grinding). The reason for doing this is that ground coffee starts to get stale a lot quicker than whole beans as previously mentioned.

If you grind more than you are going to use in your preferred brewing method, you’ll be left with extra grounds that will quickly get stale (as soon as 24 hours after grinding!).
Your water to coffee ratio is off base.
With that said, you need some sort of guide to help you figure out that perfect exact amount of grounds (and water) for your brewing session. A good rule of thumb is a 1:12 coffee to water ratio. It’s easiest to think of this in terms of grams. If you use 100 grams of coffee, you would need 1200 grams of water. Ultimately, this ratio can change based on personal preference.
If you’re just learning to brew craft coffee at home, this 1:12 ratio is definitely a good starting point.
You’re not grinding according to your brew method.
Each brew method requires a specific grind size to properly extract the coffee’s best flavors. Therefore, you need to grind your beans in accordance with your preferred brew method.
In general, pour over requires a medium-coarse grind. Espresso requires a very fine grind. AeroPress calls for varying grind sizes depending on the AeroPress brew method you choose. See AeroPress post here for which grind size to use.
Download My FREE AeroPress Brew Guide for BONUS Brew Tips
Subscribe to my newsletter (free!) & get instant access to my FREE resource library to grab my AeroPress brew guide!
PLUS find bonus coffee tutorials, recipes & brew guides that don’t get posted here on the blog!

You’re forgetting to rinse your paper coffee filter.
Another common mistake is forgetting to rinse your paper filter before starting the brewing process. Whether using AeroPress, Chemex, or another form of pour over, before adding coffee grounds to your coffee filter, always rinse the paper filter with water. This will prevent the filter from imparting a papery taste into your coffee.
You’re not stirring.
As a general rule, it’s important to stir your coffee grounds once combined with your heated water. This will help to evenly saturate all of the coffee grounds and bring the best and most flavor out of your coffee beans.
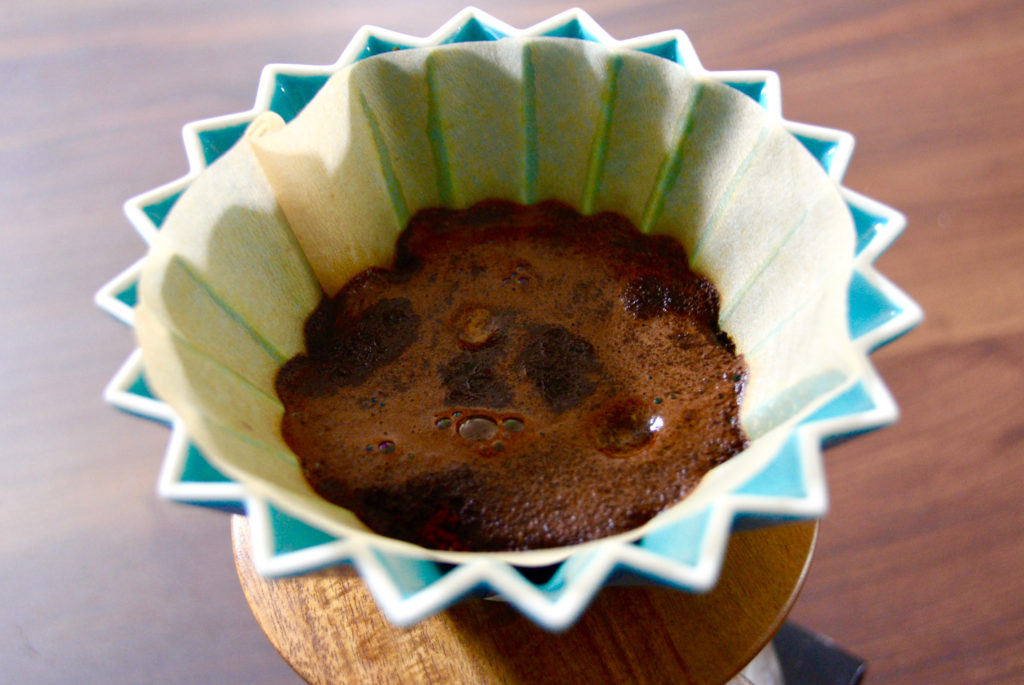
This stirring typically happens after the first pouring of heated water.
You’re using the wrong temperature.
Another variable that you need to be very precise with is temperature. If you have a kitchen thermometer, it’s a good idea to use one in whichever brewing method you choose to get the best results.
The most desirable brew temperature ranges between 195°F and 205°F. If your water reaches over 205°F, you could very well burn your coffee. This could have a great effect on the flavor of your resulting coffee.
You’re using the wrong kind of cup.
As silly as it sounds, the wrong mug can negatively impact how your coffee tastes. If you drink your java out of a tumbler or a thermos, it’s likely made of stainless steel. This can impart a metallic taste on your coffee, which no one wants.
Ideally, you want to use a ceramic mug, as it’s the most neutral material and won’t leave any icky flavors on your drink.
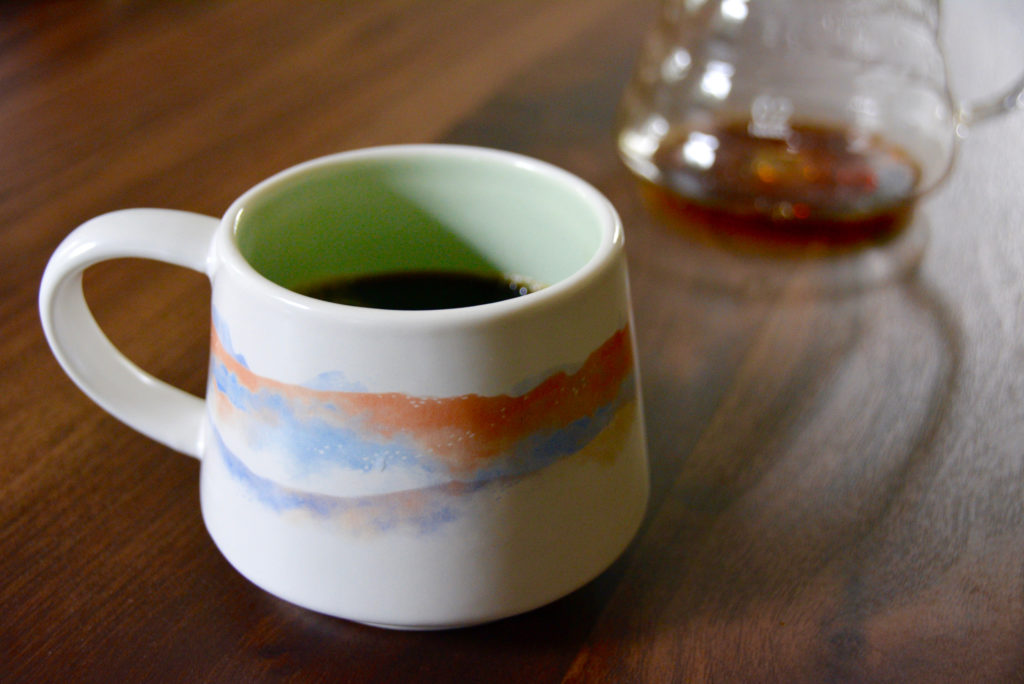
If you want to splurge on a mug, I love using my Ember Mug. It keeps your cup of Joe warm for up to an hour and a half, as it has a built-in battery to heat your drink. My favorite aspect of the mug is that it has a ceramic coating, so no metal taste. It’s definitely a big purchase, but worth it if you love to keep your coffee hot throughout the morning. See my full review of the Ember Mug on The Spruce.
You’re not cleaning your coffee brewing instrument and accessories.
Another mistake many people make is failing to thoroughly clean their coffee brewing instrument and/or accessories. Keeping your coffee tools clean not only maintains them for long-term usage, but also prevents old coffee buildup (or even bacteria) from sneaking into your coffee.
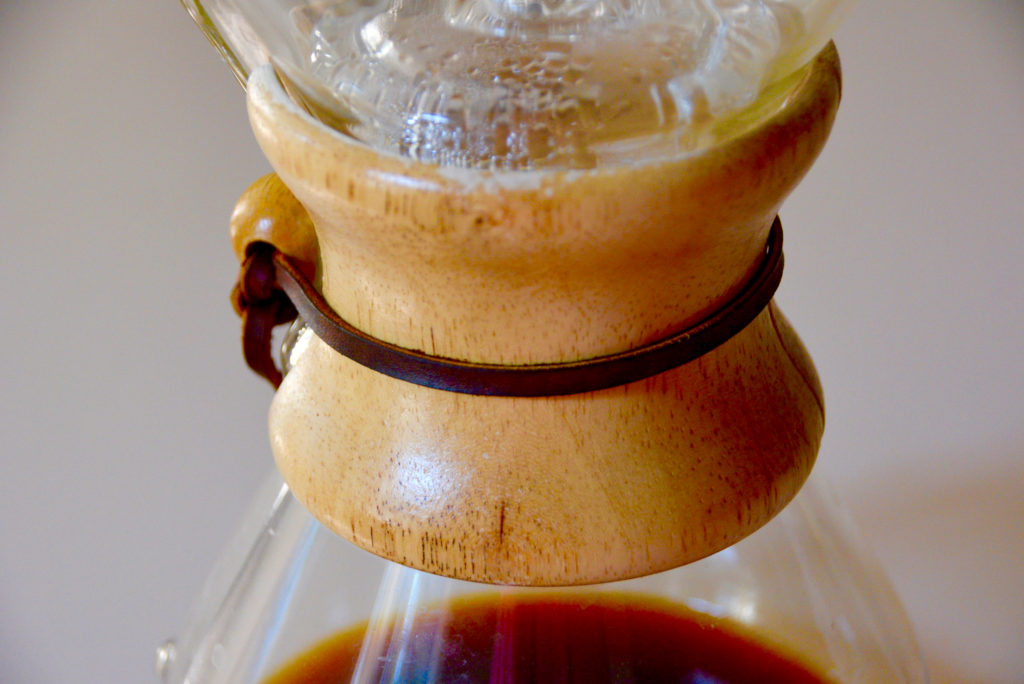
Make sure you have the proper cleaning instruments to wash your brewing device. For instance, you may need an extra long brush to reach inside of a Chemex or a tiny brush to reach into the crevices of a siphon coffee maker.
You’re not tracking and refining your brews.
Lastly, you’re making a big mistake by not writing down what works well and what doesn’t in your brewing endeavors. Since every brew method is different (as well as are the instruments that prepare your coffee), there is, therefore, no one-size-fits-all method.
In tracking your ratios, grind size, water temperature, and final results, you’ll be able to continually refine your brew. For instance, if one brew ends up tasting too strong, you can look back at your ratio/measurements to see how you can adjust your ratio for the next time. Or maybe a brew ends up tasting too bitter, and perhaps you notice that the water temperature you used was on the higher end. Having this information written down in one place (such as a coffee log) or stored in your phone can help you to track what variables may need to be changed in the next brew.
With every brew, see it as an opportunity to continually refine your cup of craft coffee!
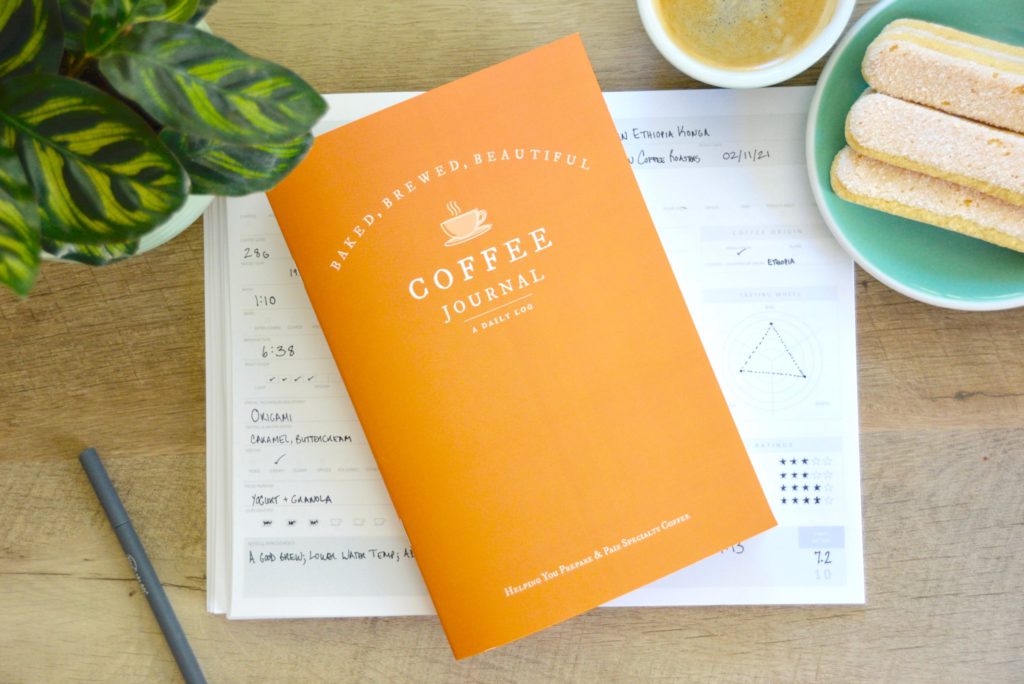
Track Your Daily Coffee Routine With The Coffee Journal
The Coffee Journal helps you to capture the most important details of your daily brewing routine in one organized location.
In recording your regular brewing process, you can refine your cup of java & enjoy more consistent, quality coffee at home.
Get Started For Only $24
Or grab the digital version for only $18


Leave a Reply