Avoid wasting tons of espresso & milk when you’re learning latte art by first taking a look at these common beginner latte art mistakes.
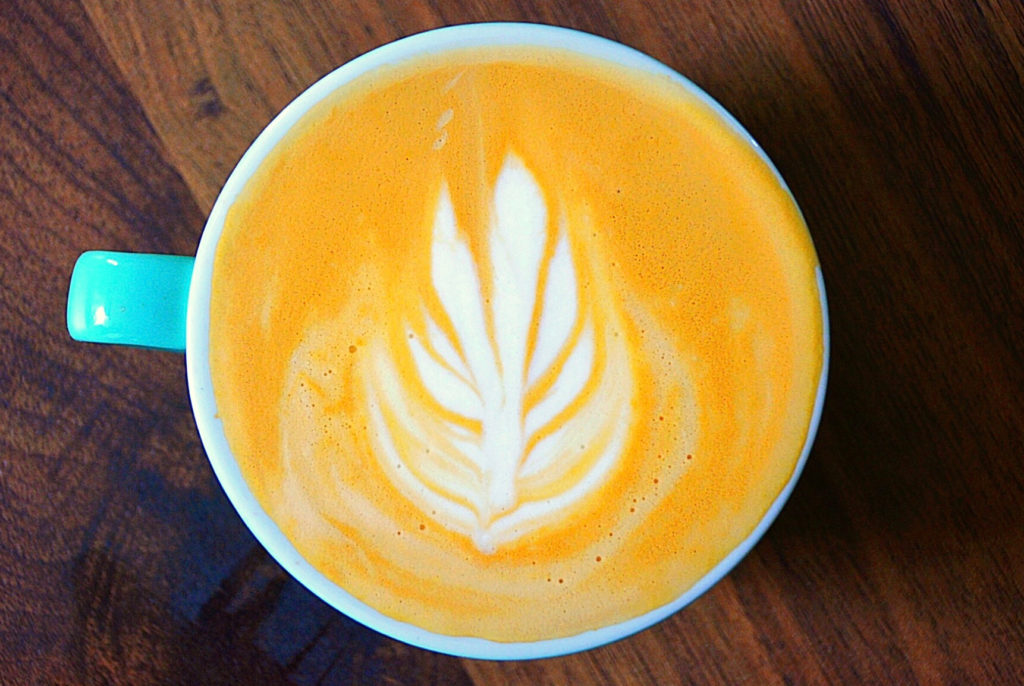
- Latte art is a manner of preparing coffee by pouring micro-foam into espresso, which results in a pattern on the latte’s surface.
- Using the wrong type of milk is one of the biggest mistakes beginners make when it comes to making beautiful latte art.
- Pouring milk from too high or too low also can create issues for latte art designs.
Latte art is still fairly new on the specialty coffee scene, but it has seen exponential growth in the last decade thanks to social media. It’s not uncommon to scroll through your feed nowadays to find at least one of your friends showing off their lattes or cappis with a gorgeous tullip, rosetta, or even a swan atop.
But if you want to save some money and learn to make your own latte art at home, there’s a lot more to it than meets the eye. Besides having the right equipment (including a high-quality espresso machine, a milk wand/frother, a milk pitcher, and the right server), there are a number of techniques that go into making beautiful latte art that are easy to miss for beginning latte artists.
To help you in your latte art endeavors, we thought learning what not to do would be a good place to start. We asked three coffee experts to share what mistakes latte art beginners often make and how you can easily avoid them. Here’s what they had to say.
Note: I may earn a small commission when you make a purchase through some of the below links. Read my disclosure policy to learn more.
Issues with milk:
You’re using the wrong type of milk.
You will have a much harder time making latte art if you use alternative milks such as soy, almond, or any low-fat/non-fat milk, according to Sean Yew, specialty coffee barista and founder of The Hearty Brew
“Soy clumps together, and low-fat milk very simply doesn’t have the fat content needed for latte art, so it’ll be too watery,” Yew said. Therefore, the simple solution is to use fresh, full-fat milk (whole milk) for the best latte art, Yew explained.
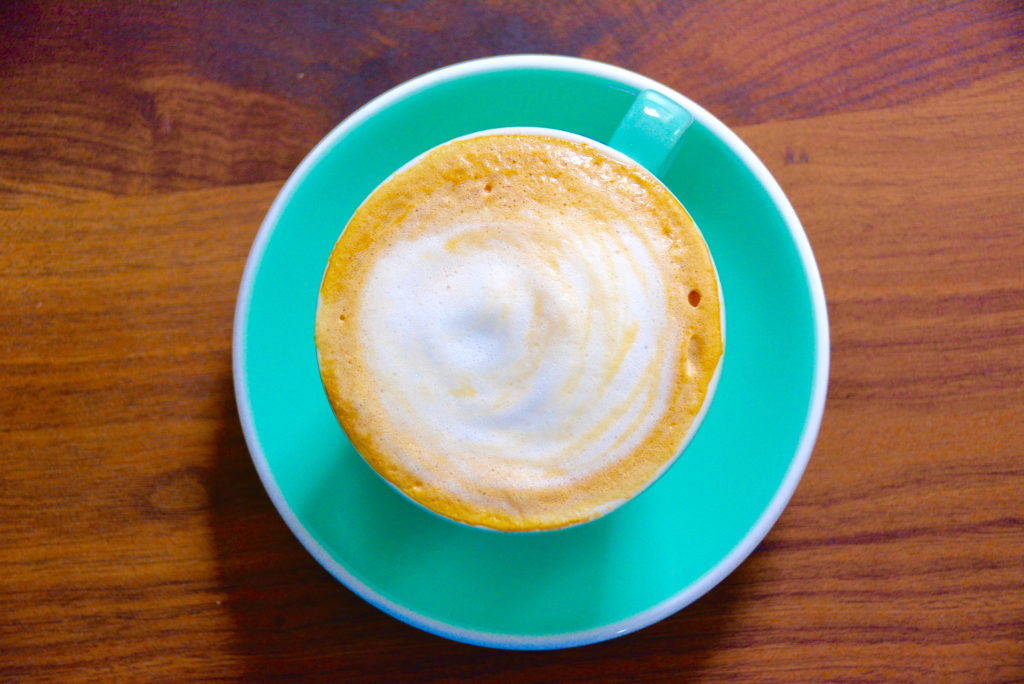
For anyone with dietary restrictions, fear not, there are still non-dairy options out there that can work for latte art (though it may be more challenging to achieve the perfect tulip). The key is to find specific barista editions, according to Asser Christensen, Q Grader and founder of The Coffee Chronicler.
These types of alternative milks have a different composition with more oils and emulsifiers, which helps to create better micro-foam for latte art, Christensen explained. Oatly and Califia Farms have excellent barista edition oat milks.
You’re injecting the wrong amount of air into the milk.
Another mistake you want to avoid is injecting too much or too little air into the milk. For good latte art, creating just the right amount of milk foam is a must, according to Yew. If you inject too little air, the milk will screech and squeal, and the milk will end up too watery. Oppositely, if you blast too much air in, you’ll get thick, bubbly milk that is useless for latte art, he added.
The main method to control how much air is inject int the milk is by adjusting the position of you milk jug, Yew recommended.
“Lower it ever so slightly and you’ll hear a tss-tss-tss sound, or a sound akin to paper tearing. Once you’ve reached the desired amount of foam and you see your milk getting slightly thicker and glossier, that’s when you want to raise the jug,” Yew said.
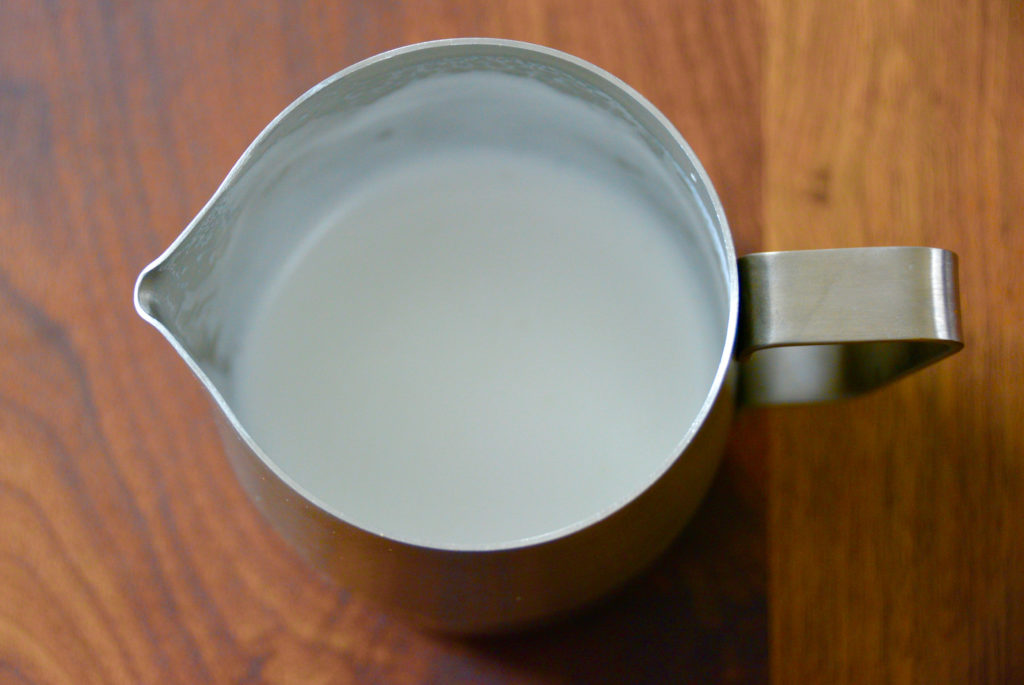
By raising the jug, the steam wand gets fully submerged in the milk, and therefore, no more air is being sucked it. If you injected the perfect amount of air, the end result should have the milk looking silky, with the texture of wet paint, Yew explained.
You’re not getting the milk to spin in a whirlpool.
It’s not enough to just inject air into the milk to get perfect textured milk for latte art, according to Yew. It’s also important to make sure that air gets thoroughly mixed in with the liquid milk. If done properly, the milk should spin around in a whirlpool inside of the milk jug, Yew added.
“Some people make the mistake of placing the steam wand smack dab in the middle, thinking this is the most even position to heat the milk,” Yew said. “You need to position your steam wand so that the tip of it is pointing off-center. It should point towards the wall of the jug.”
By positioning the wand off-center, when you turn the wand on, the steam pressure will force the milk to spin around rapidly, giving you that nice whirlpool, Yew explained.
You’re overheating the milk.
Many people make the mistake of overheating the milk in their attempts to make latte art. Because milk is a protein, you run the risk of the proteins breaking apart when the milk reaches a temperature above 160°F (70°C), according to Yew. If you try to pour latte art with extra hot milk, your pattern will break and clump up, he explained.
The solution is to go for a lower temperature when you are steaming milk for latte art, Yew said. Professionally, in a cafe setting, baristas aim for 140°F to 150°F (60°C to 65°C).
You’re letting the steamed milk sit out too long.
You also want to avoid letting your perfectly steamed milk sit out for too long, according to Yew. If you leave your steamed milk unattended for even just a few minutes, it will spilt, he explained.
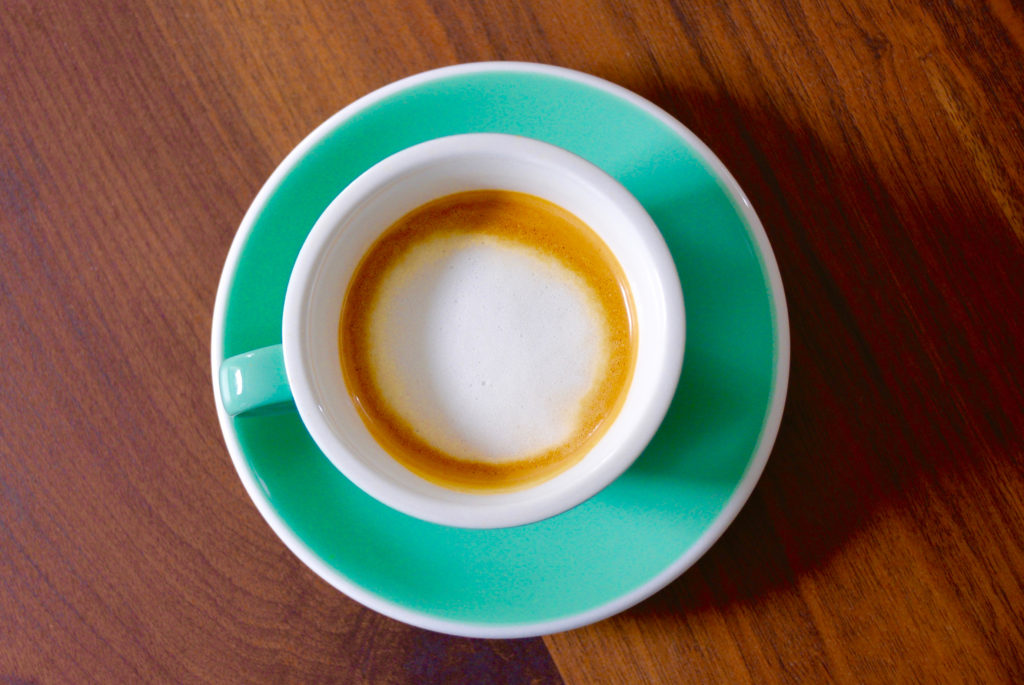
“Foam is lighter than liquid milk. It has the tendency to rise to the top as a separate layer. If this happens, and you try to pour with it, you’ll end up with a messy patch of foam atop the espresso shot,” Yew said.
The trick is simple: after you’ve finished steaming your milk (the right way) and you’ve achieved that nice, glossy texture, pour it immediately!
Issues with the espresso:
You’re not tilting your cup (the cup that holds the espresso).
Some beginners might be tempted to pour latte art with their cup resting on the table, according to Yew. This is a big mistake that will likely lead to bad latte art.
When pouring latte art, you must tilt your cup to a 45-degree angle, Yew said. The tilting creates a deeper pool of liquid espresso in the center of your cup (compared to a level cup sitting on the counter). This is important for proper pouring technique.
You’re not mixing the crema.
The espresso also plays an important role in creating beautiful latte art. One mistake newbies often make is not stirring the crema into the pulled espresso shot, according to Yurii Brown, certified barista and founder of Coffee Geek Lab.
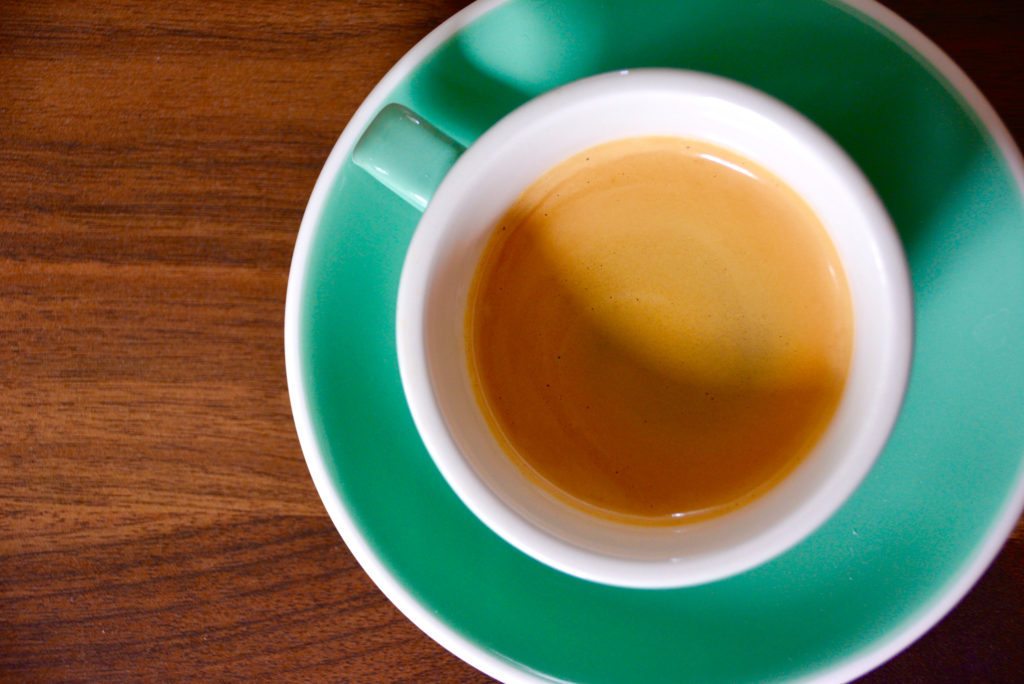
“By mixing the crema in the coffee cup a little, you can create an even, smooth surface for your latte art,” Brown said. “A smoother ‘canvas’ will allow the milk to spread evenly and more symmetrically.” Doing this, in turn, will make it easier for you to achieve your desired design, he added.
To mix the crema in properly, swirl the crema gently in the cup before you start pouring the milk into the cup, Brown explained.
Issues with pouring technique:
You don’t have your milk jug properly positioned.
Besides titling your espresso cup, your milk pitcher also needs to be properly positioned, according to Yew. Your elbow and wrist joints move separately, and many people fail to notice that when pouring latte art. If your wrist happens to be slightly askew, the milk jug will be pointed off-center. The milk that flows out will spin sideways, he explained, and as a result you get a rather undesirable and unbalanced pattern.
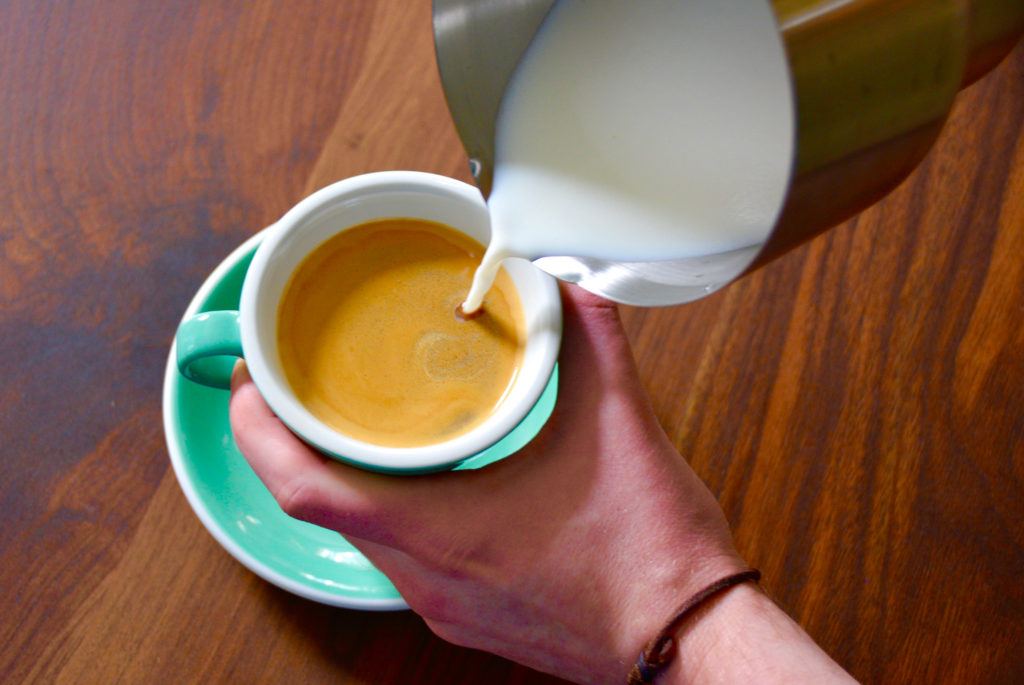
“My suggestion is to lock out your elbow and wrist joints. Keep an absolutely firm grip on the milk pitcher and make sure it points dead center at the middle of the cup,” Yew said.
After you’ve done the above, use your shoulder to guide your pouring arm, Yew advised. By minimizing movement along the arm, it gives a better positioning and more control over the milk jug, he explained.
You’re pouring too low or too high.
Another common problem when it comes to pouring the milk is pouring too high or too low — both cause different issues.
If you start your pour from a low height, Yew said, the white of the milk will splash up to the surface. As a result, you’ll be left with white or beige splotches of milk stains.
After tilting the cup to a slight angle, you have to sink the milk from the jug into the cup, Yew explained. To do so, you must start by pouring from a greater height. This is so the white of the milk will sink into the deep end of the espresso created earlier by tilting the cup, he explained.
On the other hand, if you start by pouring the milk from too high, it can destroy that beautiful caramel-colored canvas you have on top of your espresso, Brown said. Naturally, you won’t be able to get a clear, distinctive design.
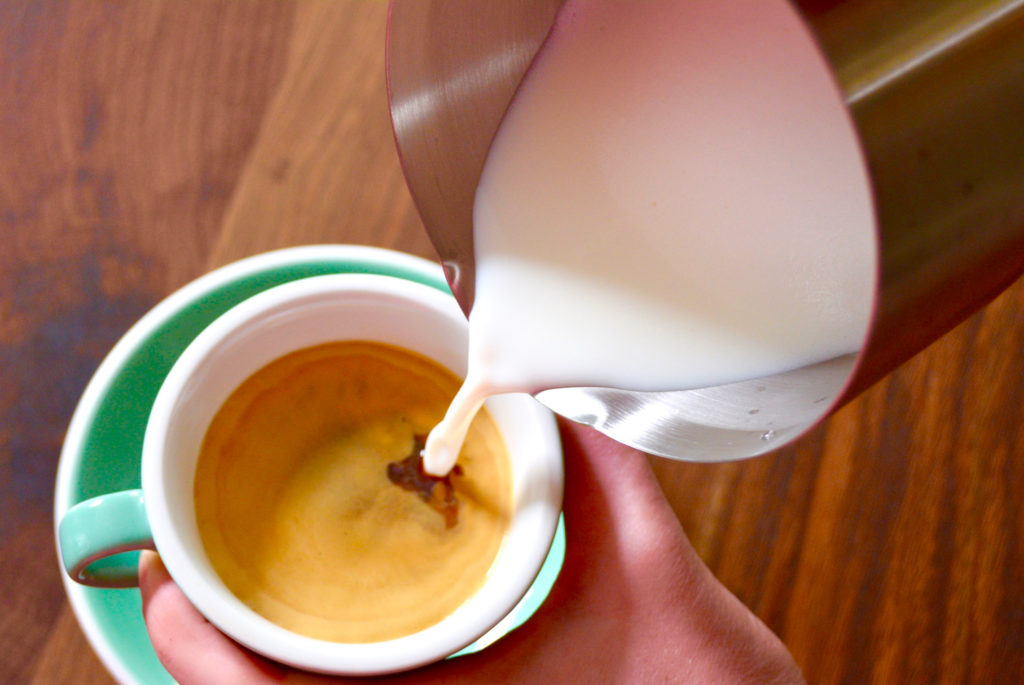
The solution is to start pouring while holding the pitcher about 2 inches above the coffee cup, Brown suggested. That way, you can bring it down low, but make sure you are slow and careful, he added.
You’re pouring too fast.
When pouring latte art, as previously mentioned, you need to preserve the crema of the espresso shot to get a clear design. This golden layer of foam will help bind the patterns together and provide good definition and contrast. If you pour too quickly you risk breaking the crema, according to Yew, and your pattern will look washed out and murky.
To solve this problem, pour with a steady speed, Yew advised. You want to create a controlled stream of milk that leaves the crema intact, he added.
You’re not focusing on the foundations of latte art.
Lastly, avoid getting caught up in the glamour of complex designer latte art such as a unicorn or a monkey hanging off a tree. Newbies commonly attempt these more difficult designs, Yew said, and then get frustrated when they see no progress.
Instead, begin by learning the basics, Yew said. This is a step that any aspiring latte artist cannot skip, he added.
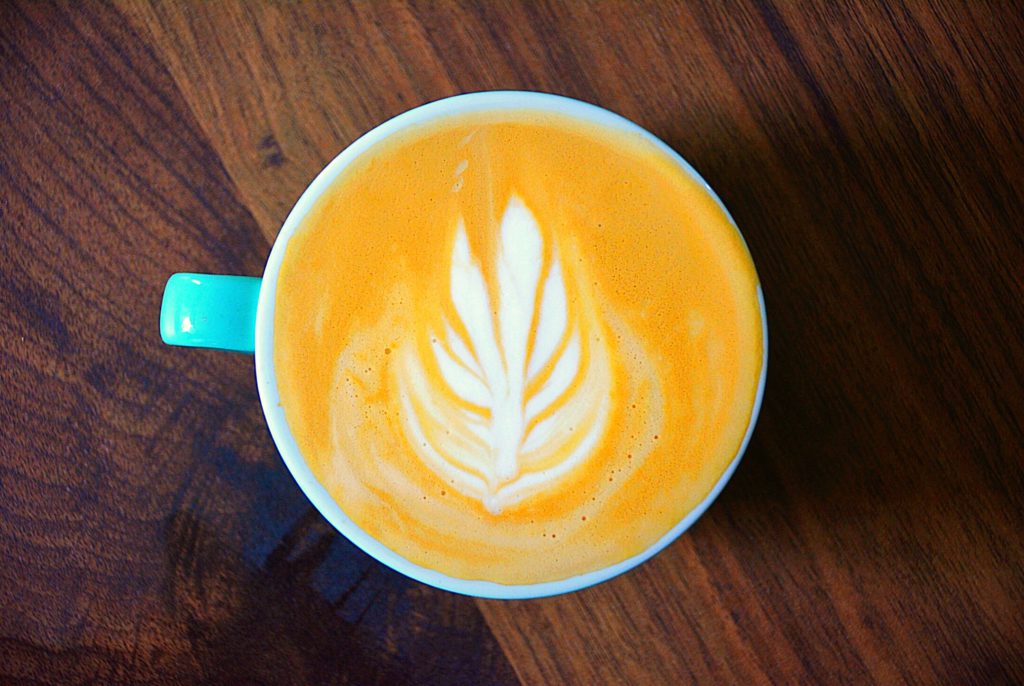
For latte art beginners, Yew recommends starting off with the heart shape. The heart shape is the foundation of latte art, he explained, and you should master this basic design before moving on to anything else.
“It teaches you everything from milk steaming to jug position to pouring speed. I spent one solid month alone practicing the heart shape when I first started out as a trainee barista,” Yew said. “Once I nailed the heart, the other patterns came much quicker and more intuitively.”
Download My FREE Home-Brewing Guide
Join my newsletter (free!) to receive my free home-brewing guide. PLUS, you’ll get instant access to ALL freebies in my resource library including bonus coffee and pairing recipes, coffee hacks & more brew guides!


Leave a Reply